NotificationX offers lots of wonderful themes to design your notification alert templates. Most impressively, it also allows you to personalize the design according to your preferences & take it to a new level with just a few clicks using ‘Advanced Design’. Let’s find out how:
Style Your Notification Alerts With ‘Advanced Design’ #
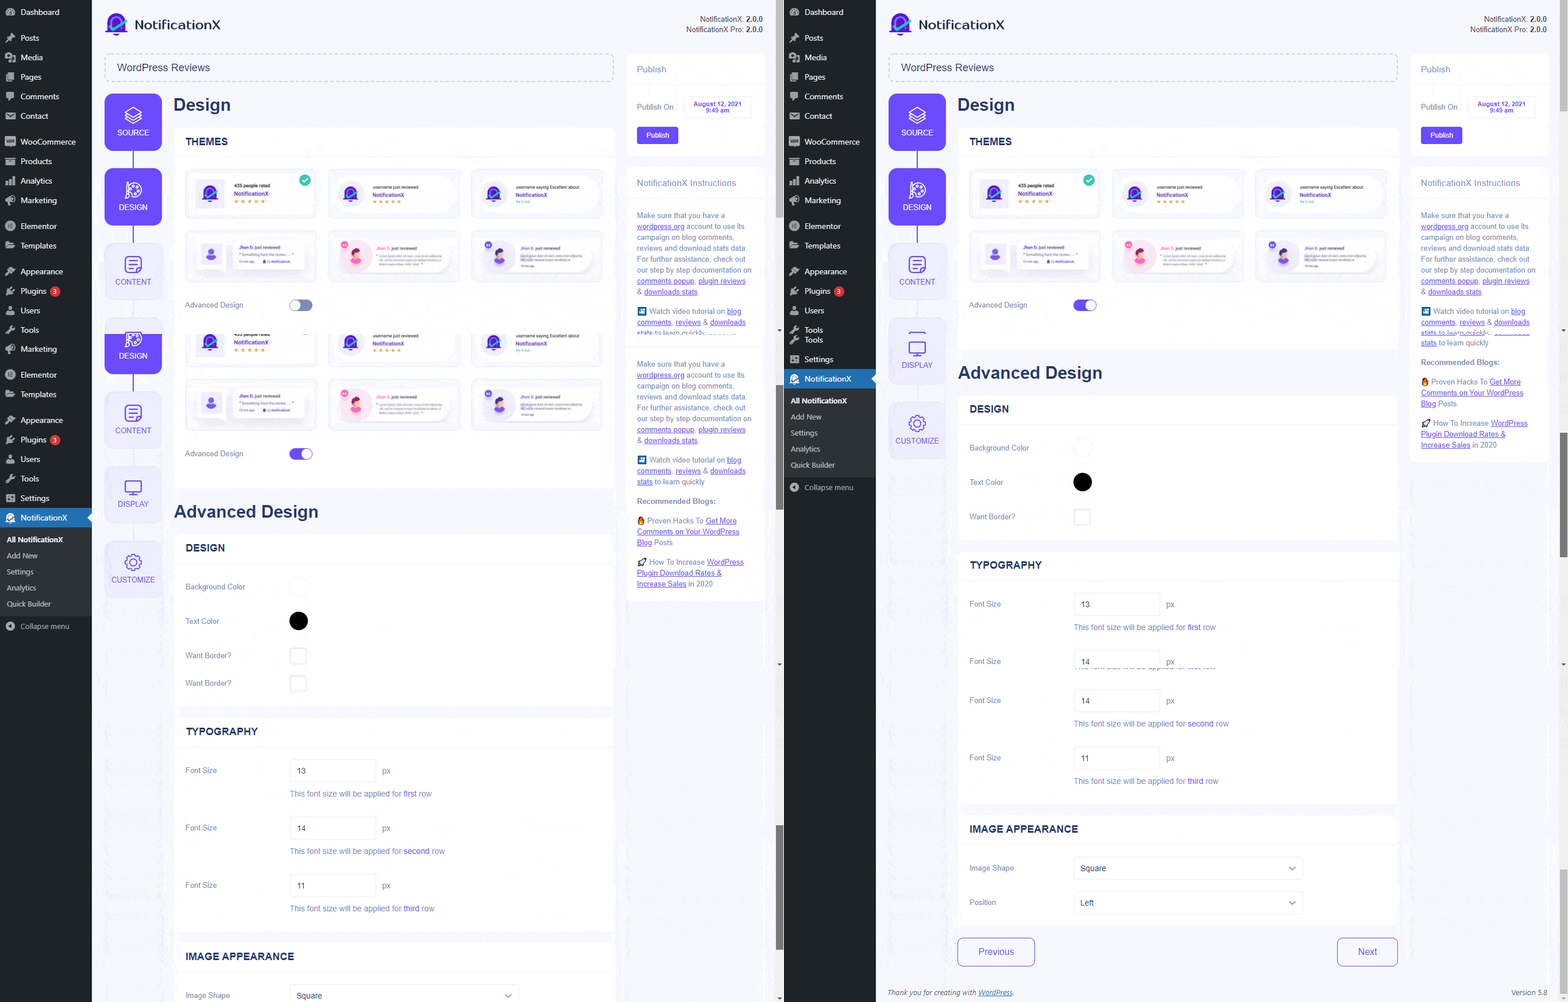
From NotificationX Builder, after you are done configuring the ‘Source’ tab, you will then be redirected to the ‘Design’ tab. Here, you will be able to modify your chosen Theme by customizing it through the ‘Advanced Design’ option. Based on the ‘Source’ type & the template you have chosen for your notification alert, you can style the layout, typography, and image appearance.

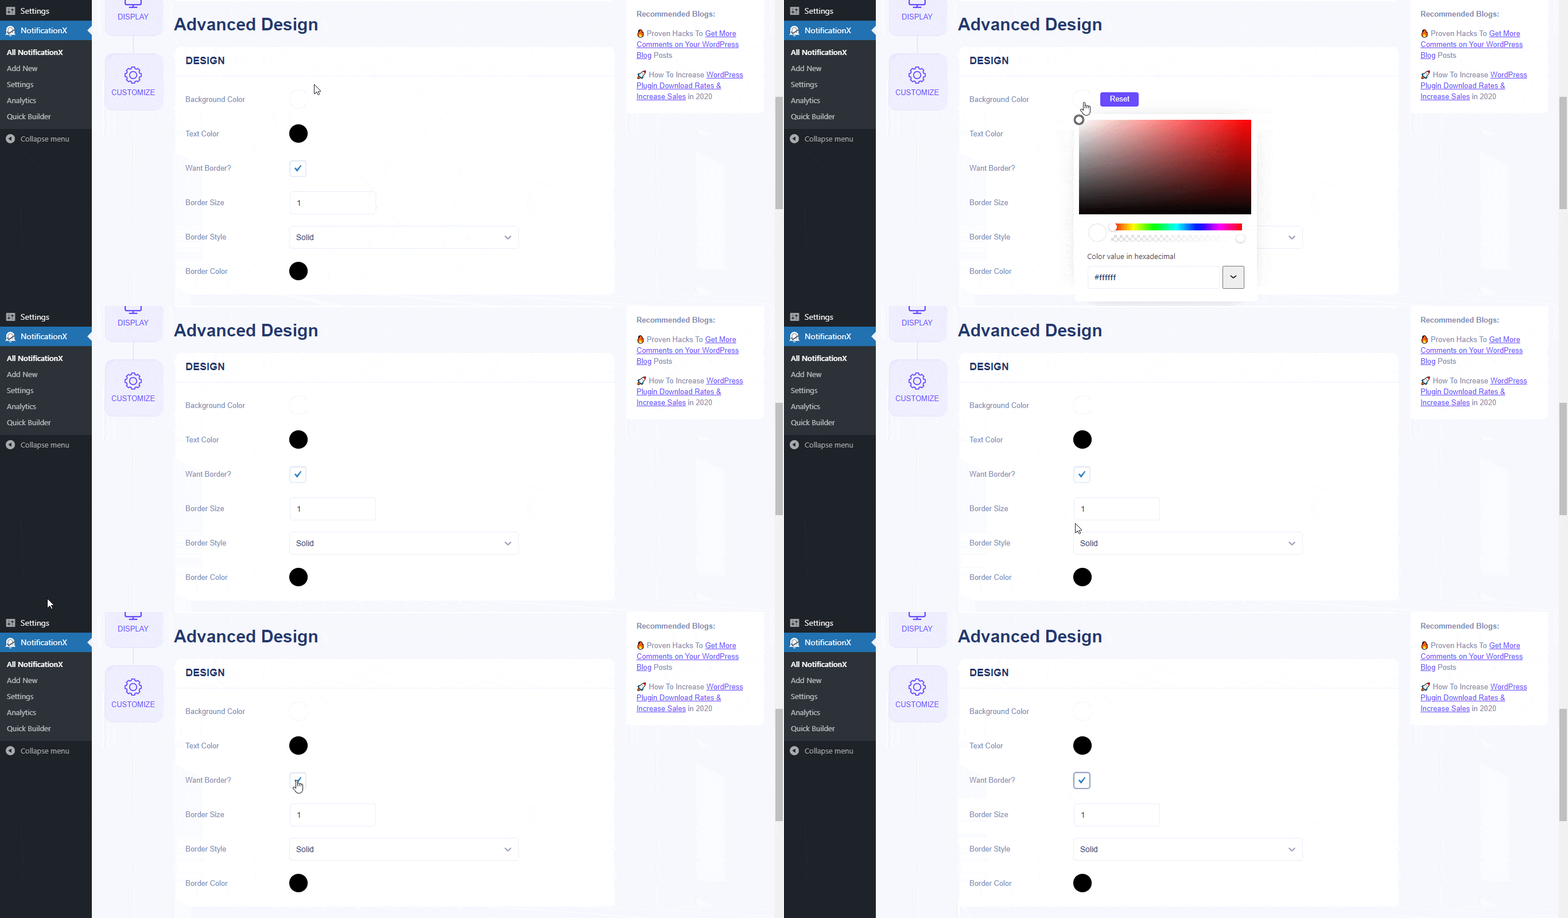
From the ‘Design’ section, You can add a background or text color for the notification popup. If you want, you can even add a border and style it to make the entire layout more appealing to instantly grab the attention of your site visitors.

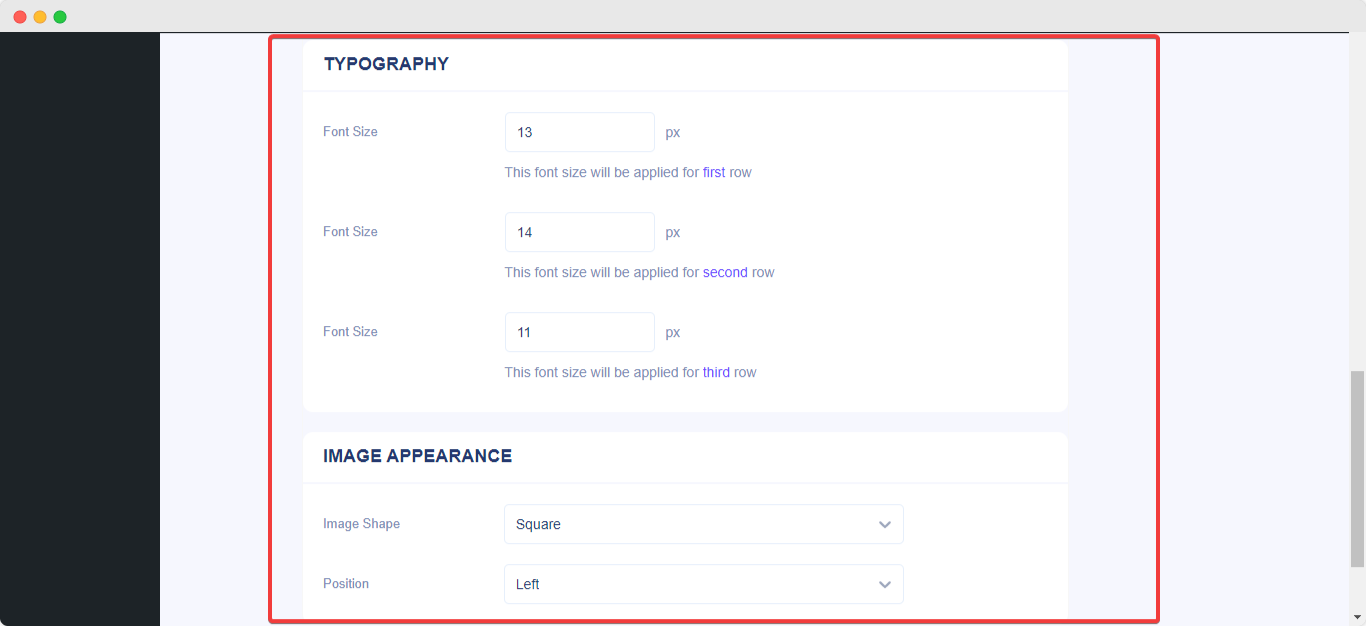
Besides, you have the freedom to play around with the image layout as well. From the ‘Image Appearance’ section, you can change the shape of the Image out of these 4 available patterns: Circle, Rounded, Square & Custom. For the ‘Custom’ shape, you can define a border radius to get the expected outcome. You can choose a position where you want to display the image inside the notification. Moreover, from the ‘Typography’ section, you can change the Font Size for the entire notification popup.

This is how you can easily Style your Notifications using ‘Advanced Design’. Getting Stuck? Feel free to reach out to our dedicated Support Team.


