Follow the steps below to install NotificationX PRO:
How To Install NotificationX PRO? #
Step 1: Make sure that you have installed & activated the free version of NotificationX. You will need to keep the Free version activated to use the Premium version.

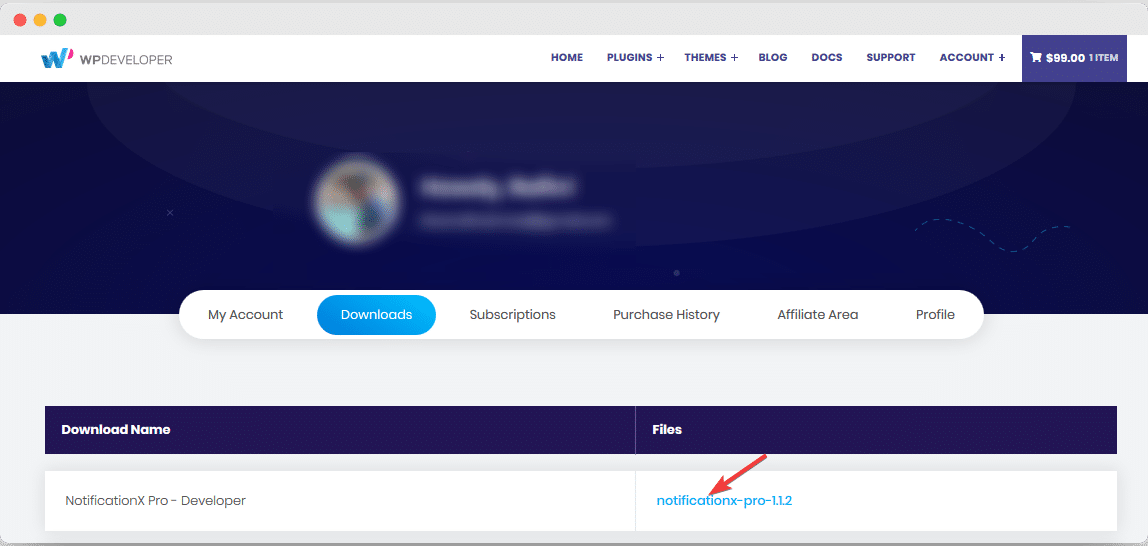
Step 2: Go to your WPDeveloper account and under the “Downloads” tab, you will see your downloadable files. Afterward, download the plugin file. It should look like Notificationx-pro-2.x.x.zip

Step 3: Afterward, Go to your Plugins page from WordPress Dashboard. Then click on the ‘Add New’ option and Upload the NotificationX PRO plugin that you have downloaded. After successfully uploading, click on the ‘Install Now’ button.

Step 4: After installation is finished, simply click on the ‘Activate’ button.

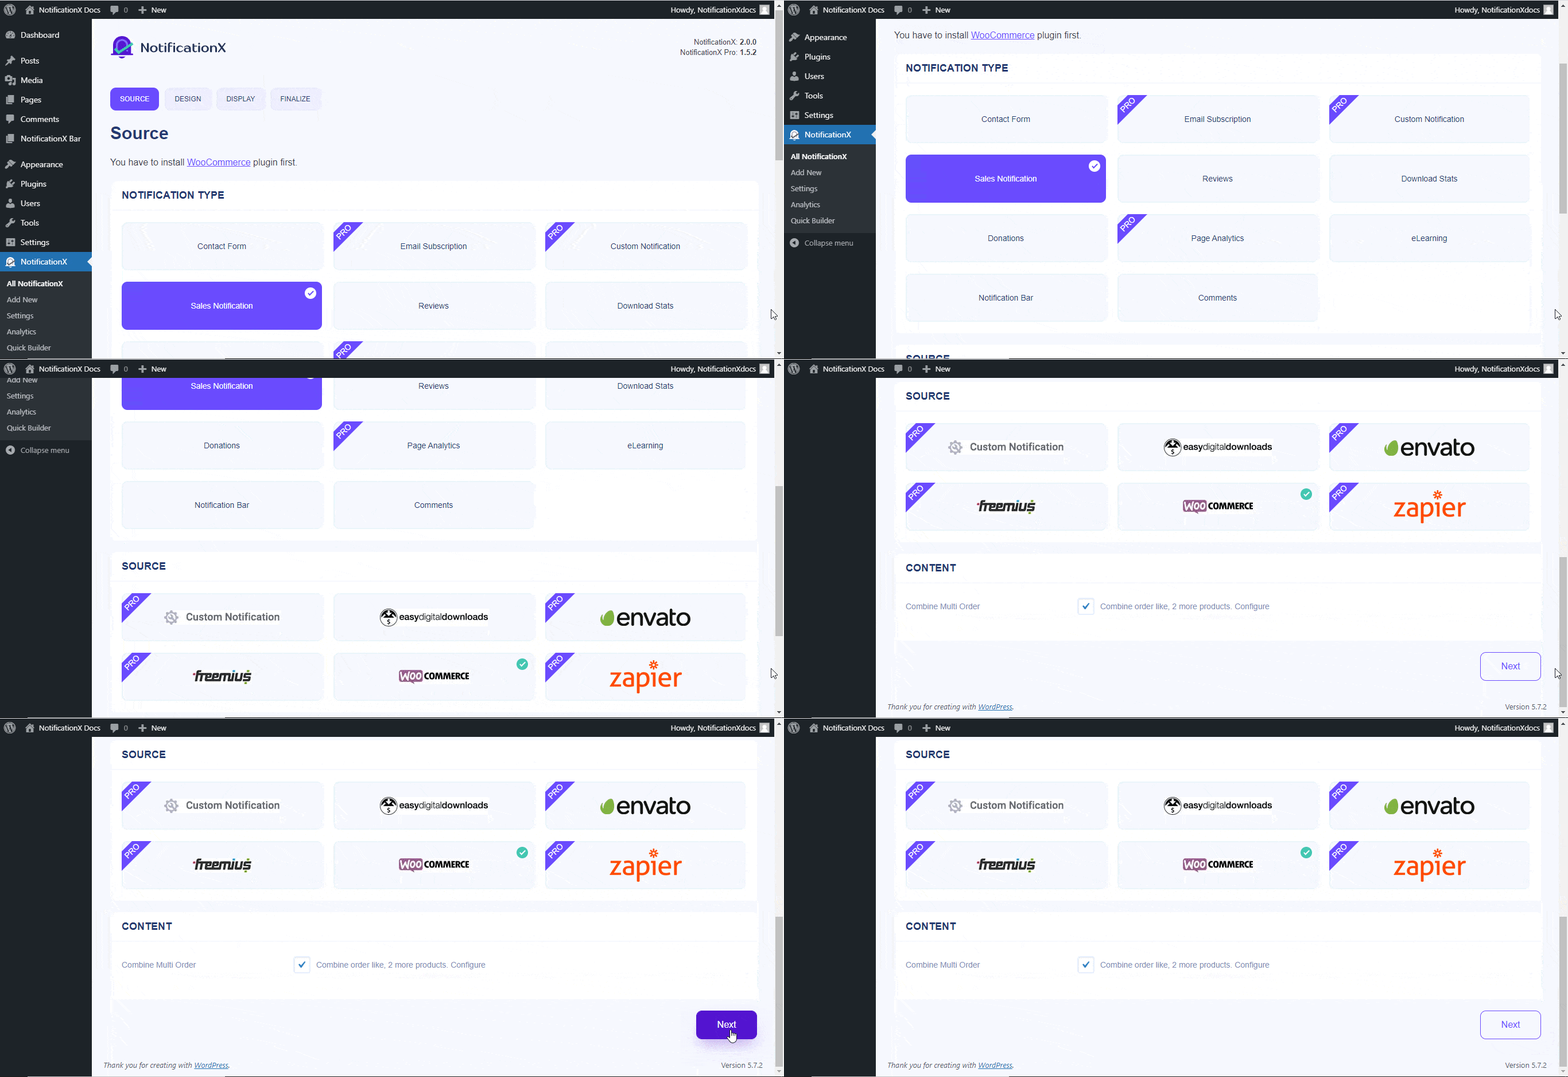
After activating the plugin, you can add new notification alerts and configure them as per your preference from the ‘Quick Builder Page’ of NotificationX.

After you have finished activating NotificationX PRO, this is how your ‘Plugins page’ will look:

If you have any queries, please contact our support team for further assistance.


