
How to Install and Activate NotificationX #
Install And Active NotificationX Plugin: #
Follow the step-by-step guide below to learn how to install and activate NotificationX.
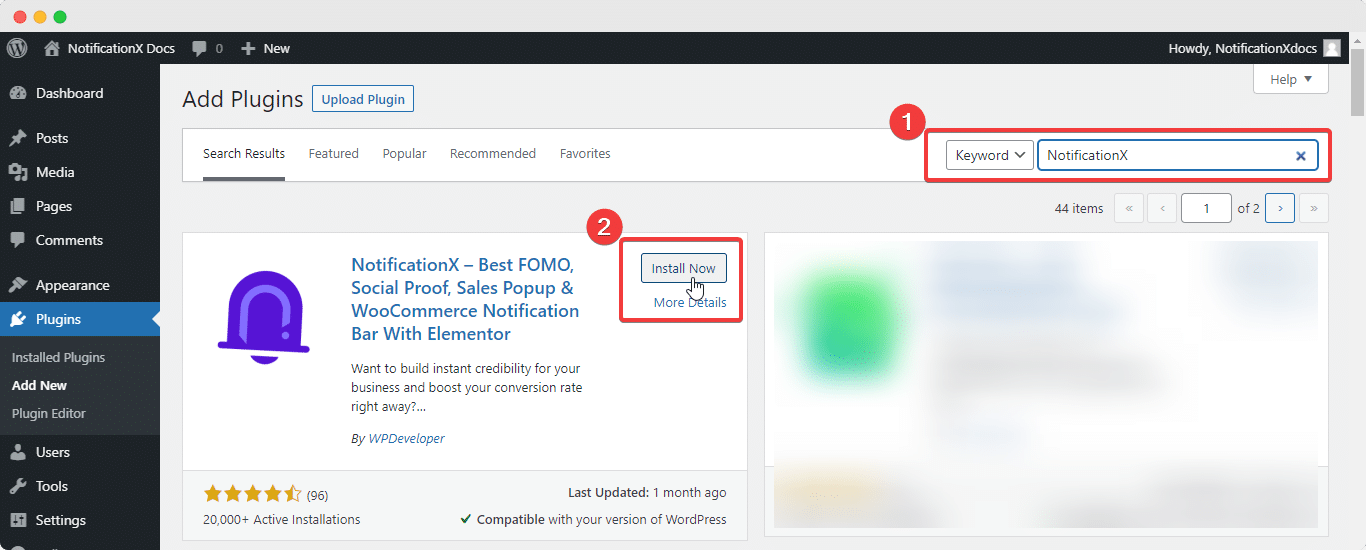
Step 1: Go to your WordPress Dashboard and navigate to wp-admin -> Plugins -> Add New. Then in the search box, put out this keyword ‘NotificationX’. Then simply click on the ‘Install Now’ button.
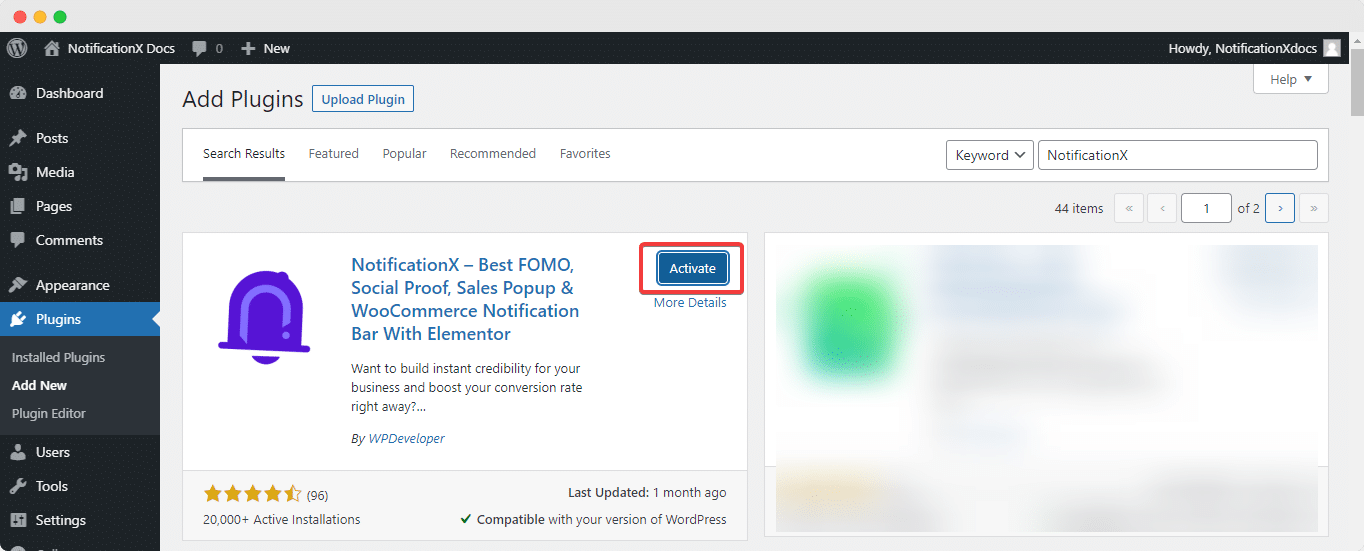
Step 2: After the installation is completed, click on the ‘Activate’ button. The ‘NotificationX’ plugin will be activated immediately.
Step 3: After step 2 is finished and the plugin has been activated, you will be redirected to the ‘Quick Builder’ page of NotificationX which will enable you to create notifications with ease.
Configure NotificationX Settings: #
Step 4: To check and configure the NotificationX settings, navigate to wp-admin -> NotificationX -> Settings from the WordPress dashboard.
From the ‘General‘ tab, you will have the freedom to enable or disable the notification alert modules based on your requirements. After any changes, make sure to hit the ‘Save Settings’ button.
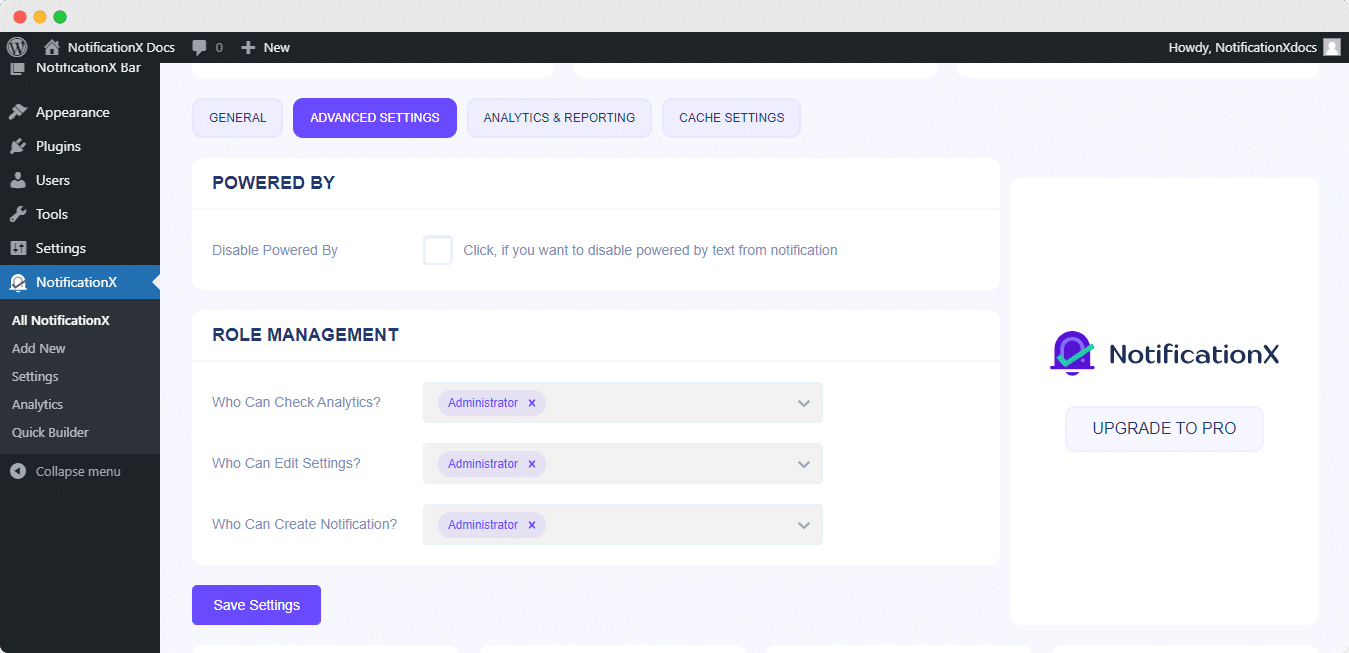
From the ‘Advanced Settings’ tab, you can tick the checkbox to hide the ‘Powered by NotificationX’ text from all your notification alerts. You can also assign ‘Roles’ to your team members and choose who can check analytics, edit settings, and create new notifications.
With NotificationX PRO, you will get few more advanced settings for ‘Global Queue Management’, but to learn more about these features visit our documentation.
You can also configure the settings for NotificationX analytics from the ‘Analytics & Reporting’ tab. Here, you can enable analytics with a single click of a checkbox, disable dashboard widget analytics, set who to collect analytics from, and even choose to discard BOT-generated analytics. You can also enable reports on the analytics, set frequencies and email destinations for the reports, and much more.
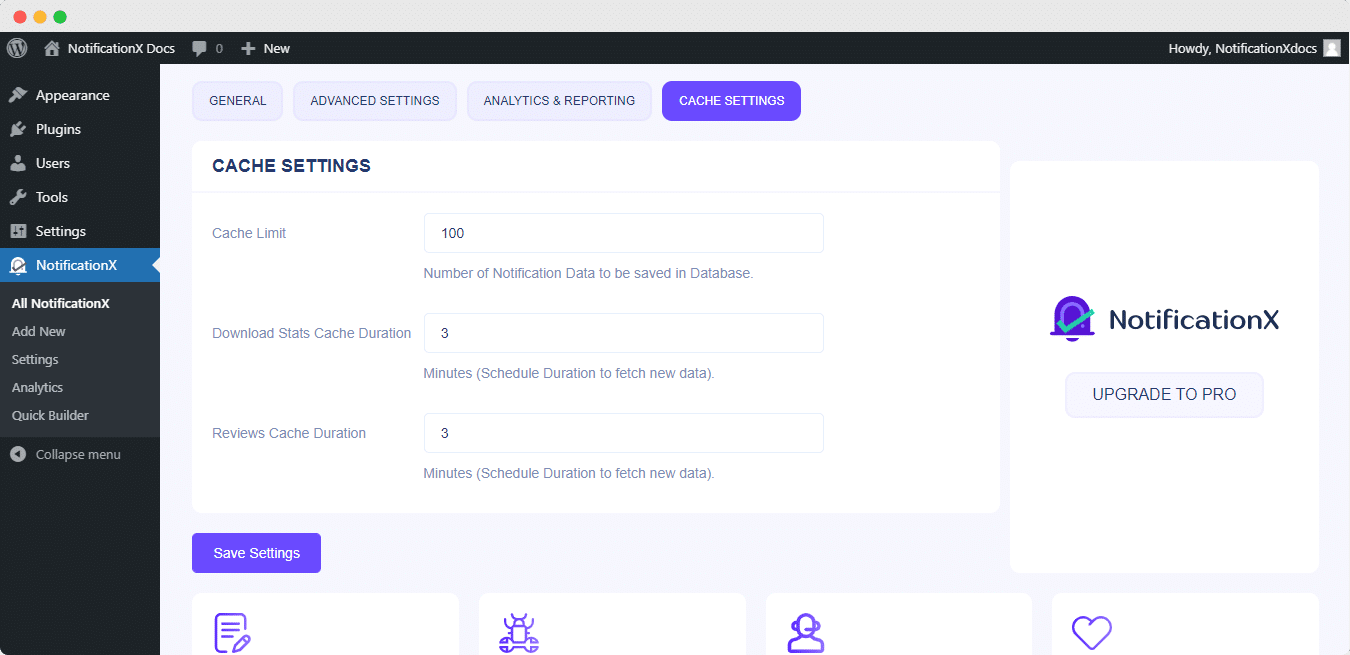
From the ‘Cache Settings’ tab, you can set a cache limit. By default, it is set to 100. It basically means the number of Notification Data you want to store in the Database. Besides this, you can define Cache Durations for Download Stats & Review Teasers. For instance, if the duration is set to 3 minutes, it will refresh & check again for new data.
This is how you can install, activate NotificationX free version and configure all its settings . Learn how to install and activate the PRO plugin to get even more features from NotificationX.
If you have any queries, please contact our support team for further assistance.


