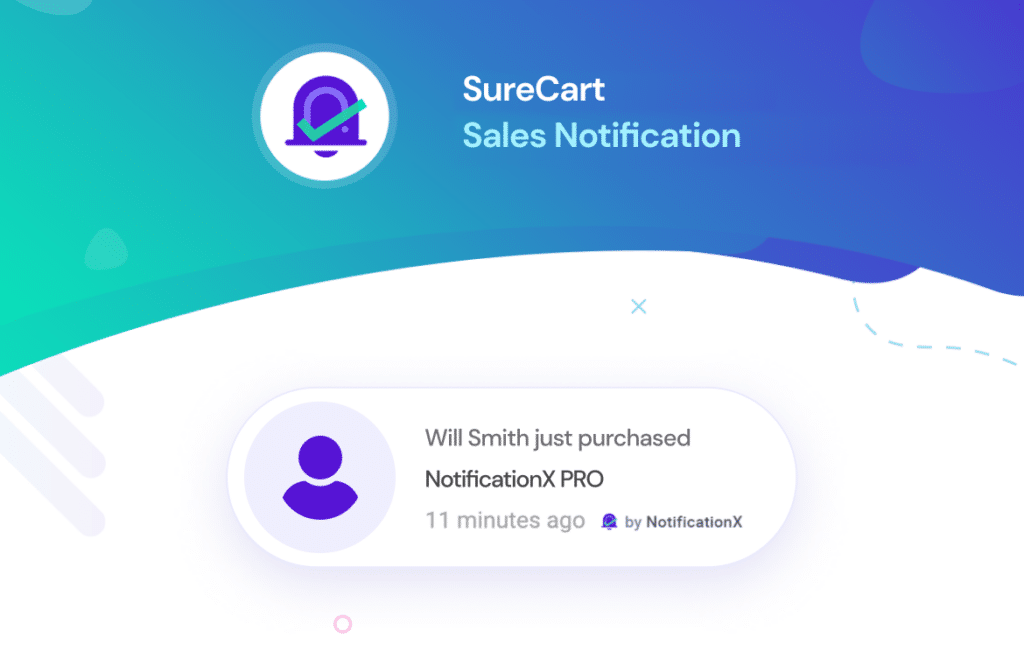
Sales Notification lets you display the recent purchase of your products made by the customers as a notification popup on your website. Thanks to this fantastic FOMO Technique, you are able to immediately grab the attention of your visitors & increase your conversion rate. With NotificationX, you can easily add fascinating SureCart sales alerts to your WordPress website to keep everyone engaged and boost sales.
How To Set Up SureCart Sales Alert With NotificationX? #
Before you begin, make sure that you have installed and activated the SureCart WordPressウェブサイトのプラグイン。
Step1: Add New Notification #
WordPressダッシュボードに移動して、 wp-admin → NotificationX → NotificationX. Then, right at the top, click on ‘Add New’.

Step 2: Choose SureCart As Source #
手順1を完了すると、にリダイレクトされます 'ソース' Tab page of your NotificationX. You can also put a title. Use the drop-down menu to select ‘Sales Notification’ as your Notification type. Then, simply pick ‘SureCart’ あなたのソースとして。その後、先に進み、をクリックします '次' ボタン。

Step 3: Customize The Design #
から '設計' タブでは、レイアウトを選択できます。また、「高度なデザイン」オプションを使用して、好みに応じてレイアウトをカスタマイズすることもできます。から 「テーマ」 section, the chosen layout is how the ‘Sales Notification’ will be displayed on your website.
You can modify your chosen Theme by customizing it through ‘Advanced Design ' オプション。このセクションから、デザイン、画像の外観、タイポグラフィにスタイルを簡単に追加できます。通知ポップアップの背景色またはテキスト色を追加できます。さらに、ボーダーを追加して、それにスタイリングを追加することもできます。
「画像の外観」 セクションでは、 ‘Image Shape’ これらの3つのうちに:丸みを帯びた、円と正方形。ドロップダウンメニューを使用することもできます ‘Position’ 画像の位置を変更するには:左または右。販売通知は3行で構成されています。から 'タイポグラフィ' セクションでは、各行のフォントサイズも変更できます。

Step 4: Customize The Content #
次にリダイレクトされます 'コンテンツ' tab, from where you can modify your ‘Notification Template’ and add your preferred content text. NotificationX offers a 「通知テンプレート」 あなたのコンテンツのために。簡単に先に進んで、好みの変数を選択できます。これらの変数は、特定の時間間隔で特定の製品を購入したユーザーの名前を表示するのに役立ちます。
また、通知ポップアップに表示されるテキストを追加することもできます。一方で、 「高度なテンプレート」 コンテンツ全体のカスタマイズを完全に制御できます SureCart sales alerts.
For example, with the Content settings, your notification popup will display content such as this ‘John Doe recently purchased Example Product 1 hour ago’. From 「リンクオプション」、あなたは選ぶことができます 「リンクタイプ」 通知ポップアップ用。をクリックするだけです '次' ボタンをクリックして続行します。

Step 5: Customize The Appearance #
の中に '表示' tab, there are two available sections: Image & Visibility. From the ‘Image’ section, you can use the checkbox to display the default image or an avatar in the notification popup. If the users don’t have any ‘Avatar’ プロファイルに設定すると、簡単に表示できます ‘Default’ を選択して画像 ‘Default Image’ チェックボックスをオンにして、デフォルトの画像をアップロードします。また、お客様が購入した商品画像を表示する機会があります。
You can set the pages where you want to display the Sales Notification from the’ Visibility’ section. You also have the option to restrict the notification popup based on certain user roles: Always, Logged In & Logged Out. By default, ‘Show On’ is set to ‘Show Everywhere’ その結果、販売通知はWebサイトのすべてのページに表示されます。一方、表示または非表示にするページを指定することもできます。 「販売通知」.

クリックした後 '次' ボタンをクリックすると、 'カスタマイズ' タブ。
Step 6: Customize The Timing & Behaviour #
下 'カスタマイズ' タブには、外観、タイミング、動作の3つのセクションがあります。から '外観' セクションでは、販売通知を表示する位置を設定し、チェックボックスを使用して無効/有効にすることができます ‘Close Button’ & ‘Hide on Mobile’ オプション。通知ポップアップの最大幅を設定することもできます。
You can set the position for Sales Notification to either at the Bottom Left or Bottom Right side of your website. You can also show a ‘Close Button’ which can be clicked to close the Sales Notification. Furthermore, you have the flexibility to hide the 「販売通知」 同様にしたい場合は、モバイルデバイス用。
から 「キュー管理」 セクションでは、この通知のグローバルキューシステムをアクティブ化できます。その場合、通知のタイミングセクションを編集する必要はありません。 [時間]セクションでは、時間を設定する自由があります ‘Initial’, ‘Display For’ & ‘Delay Between’ options as per your preference from the ‘Timing’ section. You can set an initial time after which your 「販売通知」 will be popped up. By default, it is set to 5 seconds. You can also set a time limit for how long you want each notification popup to be displayed by modifying the ‘Display For’ field. To choose a time interval between two notifications of Sales Notification, simply set the time in the ‘Display Between’ field.
から '動作' セクションでは、特定の過去の日の売上数を表示するように選択できます。チェックすることによって ‘Loop Notification’ ボックスの場合、通知ポップアップが表示され続けます。これを無効にすることもできます。訪問者が通知ポップアップをクリックすると、リンクを新しいウィンドウで開くか、新しいタブで開くかを制御できます。 ‘Open link in new tab’ チェックボックス。

ステップ7:通知を公開する #
After you have completed step 6, click on the ‘公開する’ button. As a result, the ‘Sales Notification’ will be successfully created. By following these mentioned steps and a bit more modifying & styling, your outcome would look like something like this.

This is how you can easily design and display appealing SureCart Sales alerts on your WordPress website using NotificationX. If you face any issues, you can contact our Support Team ここに.


