
Sales Notification lets you display the recent purchase of your products made by the customers as a notification popup on your website. Thanks to this fantastic FOMO Technique, you are able to immediately grab the attention of your visitors & increase your conversion rate. With NotificationX, you can easily add fascinating SureCart sales alerts to your WordPress website to keep everyone engaged and boost sales.
How To Set Up SureCart Sales Alert With NotificationX? #
Before you begin, make sure that you have installed and activated the SureCart plugin no seu site WordPress.
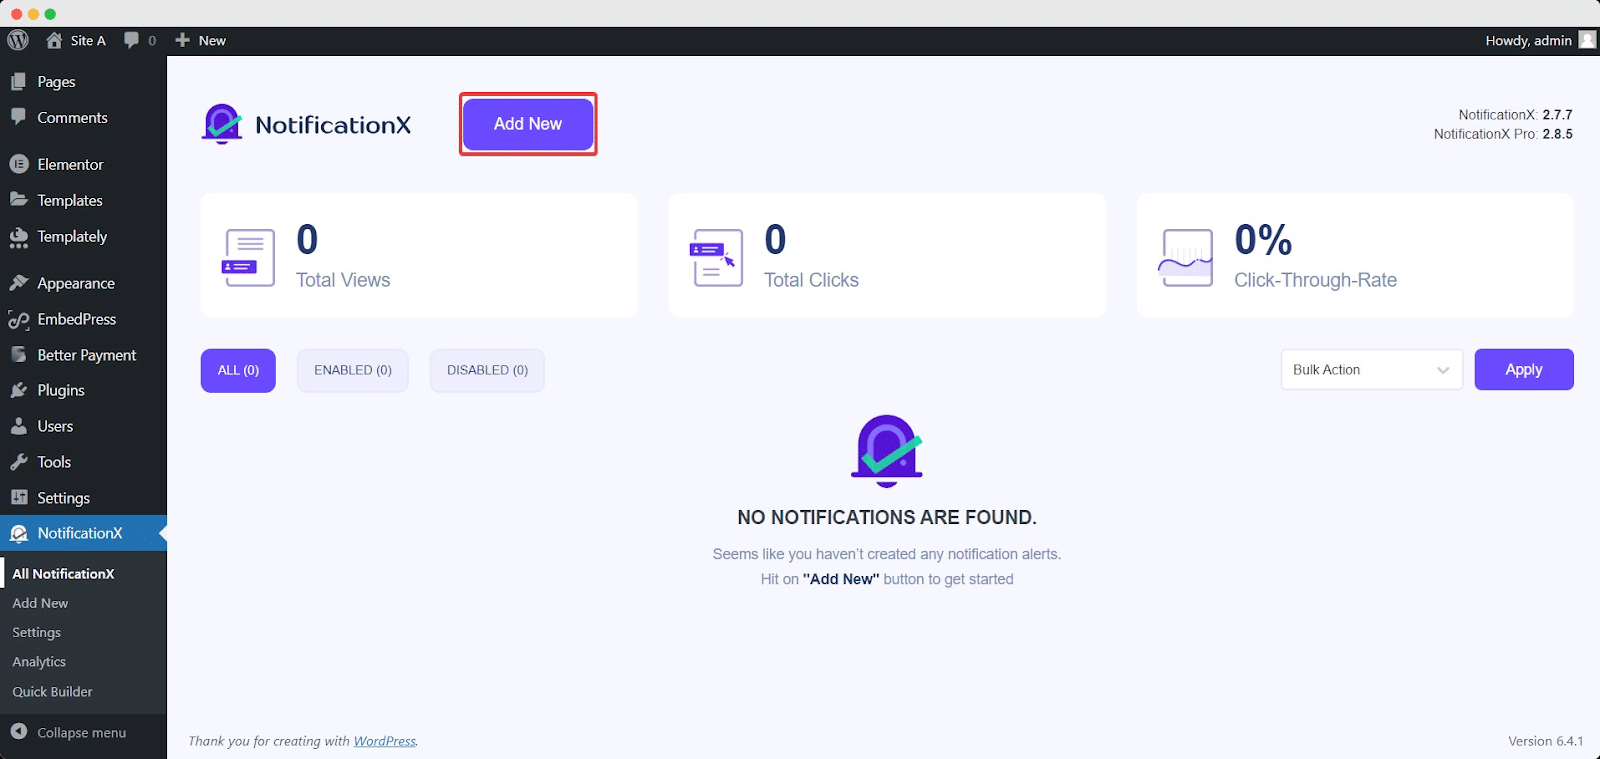
Step1: Add New Notification #
Vá para o Painel do WordPress e navegue até wp-admin → NotificationX → NotificationX. Then, right at the top, click on ‘Add New’.
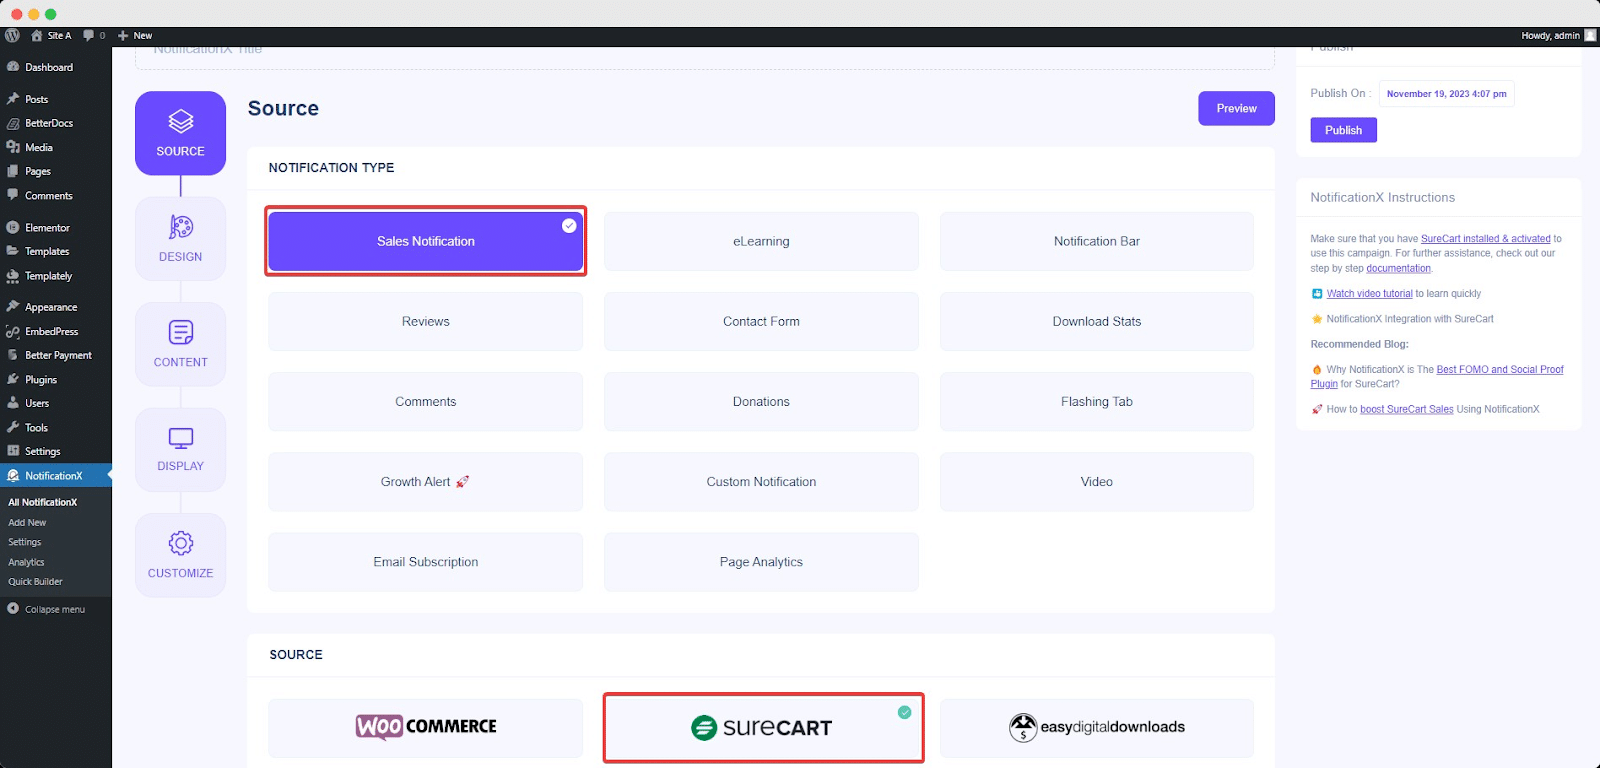
Step 2: Choose SureCart As Source #
Depois de concluir a etapa 1, você será redirecionado para o 'Fonte' Tab page of your NotificationX. You can also put a title. Use the drop-down menu to select ‘Sales Notification’ as your Notification type. Then, simply pick ‘SureCart’ como sua fonte. Depois, vá em frente e clique no 'Próximo' botão.
Step 3: Customize The Design #
De 'Projeto' Na guia, você pode escolher um layout e também ter a flexibilidade de usar a opção 'Design avançado' para personalizá-lo conforme sua preferência. De 'Temas' section, the chosen layout is how the ‘Sales Notification’ will be displayed on your website.
You can modify your chosen Theme by customizing it through ‘Design Avançado ' opção. Nesta seção, você poderá adicionar estilo facilmente ao seu design, aparência da imagem e tipografia. Você pode adicionar a cor de fundo ou de texto para o pop-up de notificação. Além disso, você também pode adicionar uma borda e adicionar estilo a ela.
'Aparência da imagem' seção permite que você altere o ‘Image Shape’ para um destes três: arredondado, círculo e quadrado. Você também pode usar o menu suspenso ‘Position’ para mudar a posição da imagem: Esquerda ou Direita. Notificação de vendas consiste em três linhas. A partir de 'Tipografia' seção, você também pode alterar o tamanho da fonte para cada linha.
Step 4: Customize The Content #
Você será redirecionado para o 'Conteúdo' tab, from where you can modify your ‘Notification Template’ and add your preferred content text. NotificationX offers a 'Modelo de notificação' para o seu conteúdo. Você pode facilmente escolher suas variáveis preferidas. Essas variáveis ajudam a exibir o nome do usuário que adquiriu um determinado produto em um determinado intervalo de tempo.
Além disso, você também pode adicionar seu texto que aparecerá no pop-up de notificação. Por outro lado, 'Modelo avançado' dá a você controle total sobre a personalização de todo o conteúdo para SureCart sales alerts.
For example, with the Content settings, your notification popup will display content such as this ‘John Doe recently purchased Example Product 1 hour ago’. From 'Opções de link', você pode escolher um 'Tipo de Link' para o seu pop-up de notificação. Basta clicar no 'Próximo' botão para continuar.
Step 5: Customize The Appearance #
No 'Exibição' tab, there are two available sections: Image & Visibility. From the ‘Image’ section, you can use the checkbox to display the default image or an avatar in the notification popup. If the users don’t have any ‘Avatar’ definido em seu perfil, você pode simplesmente exibir o ‘Default’ imagem selecionando o ‘Default Image’ caixa de seleção e enviar uma imagem padrão. Além disso, você terá a oportunidade de exibir a imagem do produto adquirido pelo cliente.
You can set the pages where you want to display the Sales Notification from the’ Visibility’ section. You also have the option to restrict the notification popup based on certain user roles: Always, Logged In & Logged Out. By default, ‘Show On’ is set to ‘Show Everywhere’ como resultado, a Notificação de vendas será exibida em todas as páginas do seu site. Por outro lado, você também pode especificar as páginas onde deseja exibir ou ocultar o 'Notificação de vendas'.
Depois de clicar no 'Próximo' você será redirecionado para o 'Customizar' Aba.
Step 6: Customize The Timing & Behaviour #
Debaixo de 'Customizar' Na guia, você encontrará três seções separadas: Aparência, Tempo e comportamento. De 'Aparência' seção, você pode definir a posição onde deseja exibir a Notificação de vendas e usar a caixa de seleção para ativar / desativar ‘Close Button’ & ‘Hide on Mobile’ opções. Você também pode definir uma largura máxima para o pop-up de notificação.
You can set the position for Sales Notification to either at the Bottom Left or Bottom Right side of your website. You can also show a ‘Close Button’ which can be clicked to close the Sales Notification. Furthermore, you have the flexibility to hide the 'Notificação de vendas' para dispositivos móveis, se você quiser.
De 'Gestão de filas' seção, você pode ativar o sistema de fila global para esta notificação. Dessa vez, você não precisará editar a seção de tempo para a notificação. Na seção The Time, você tem a liberdade de definir o tempo para ‘Initial’, ‘Display For’ & ‘Delay Between’ options as per your preference from the ‘Timing’ section. You can set an initial time after which your 'Notificação de vendas' will be popped up. By default, it is set to 5 seconds. You can also set a time limit for how long you want each notification popup to be displayed by modifying the ‘Display For’ field. To choose a time interval between two notifications of Sales Notification, simply set the time in the ‘Display Between’ field.
De 'Comportamento' seção, você pode optar por exibir o número de vendas feitas em determinados dias anteriores. Ao verificar o ‘Loop Notification’ caixa, o pop-up de notificação continuará sendo exibido. Você também pode desativar isso. Quando um visitante clica no pop-up de notificação, você pode controlar se deseja que o link seja aberto em uma nova janela ou em uma nova guia no ‘Open link in new tab’ caixa de seleção.
Etapa 7: Publique sua notificação #
After you have completed step 6, click on the ‘Publicar’ button. As a result, the ‘Sales Notification’ will be successfully created. By following these mentioned steps and a bit more modifying & styling, your outcome would look like something like this.
This is how you can easily design and display appealing SureCart Sales alerts on your WordPress website using NotificationX. If you face any issues, you can contact our Support Team aqui.


