
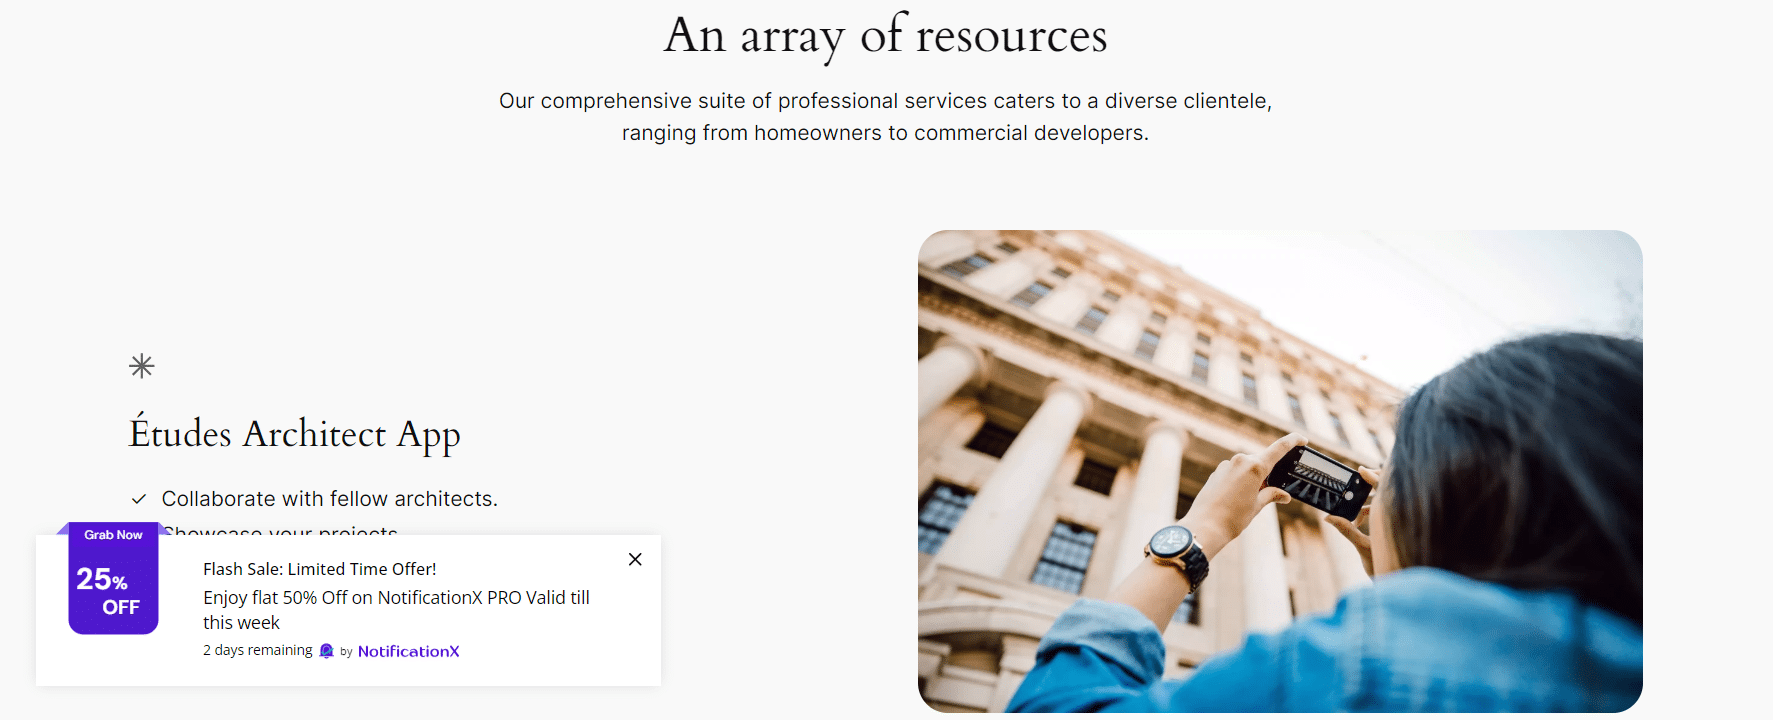
Com NotificaçãoX, you can display Discount Alerts on your website. Such notification pop-ups will help you to attract and encourage your site visitors to purchase your products or services instantly. By displaying discount alerts on your website, you can leverage the highly effective FOMO marketing tactic.
How to Configure Discount Alerts with NotificationX #
Antes de começar, verifique se possui installed and activated the NotificationX plugin on your website. Plus make sure you also have installed and activated the PRO plugin since this is a PRO feature. Let’s check out the guideline below to learn how to display Discount Alerts using NotificationX.
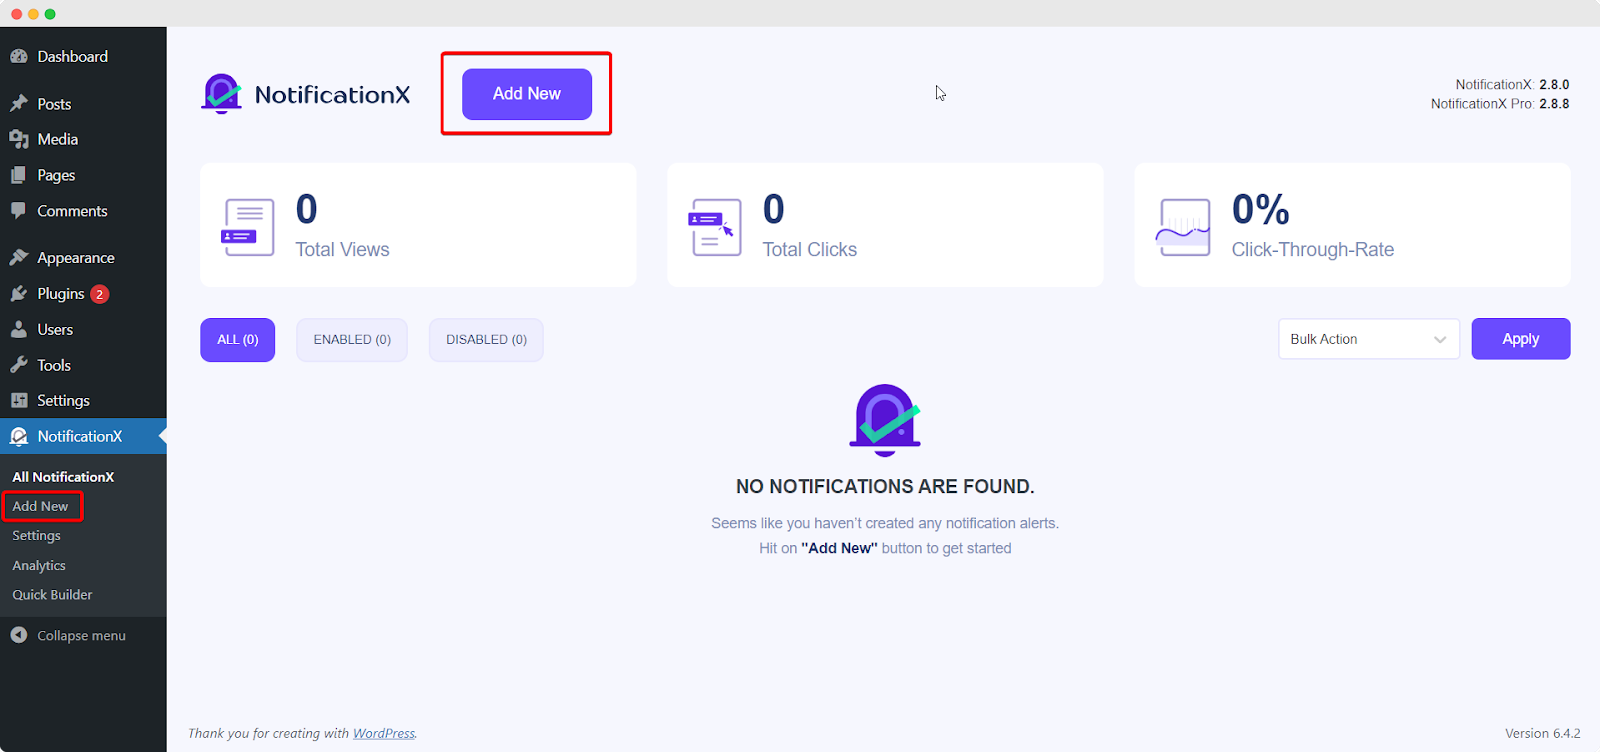
Etapa 1: Adicionar Nova Notificação #
Vá para o Painel do WordPress e navegue até wp-admin → NotificationX. Então, no topo, clique em ‘Add New’. You can also simply go to the ‘Add New’ tab from the sidebar.
Etapa 2: escolha uma fonte #
Depois de concluir a etapa 1, você será redirecionado para o 'Fonte' Tab page of NotificationX. Choose your notification type and select ‘Discount Alert’ como sua fonte. Em seguida, clique no 'Próximo' botão.

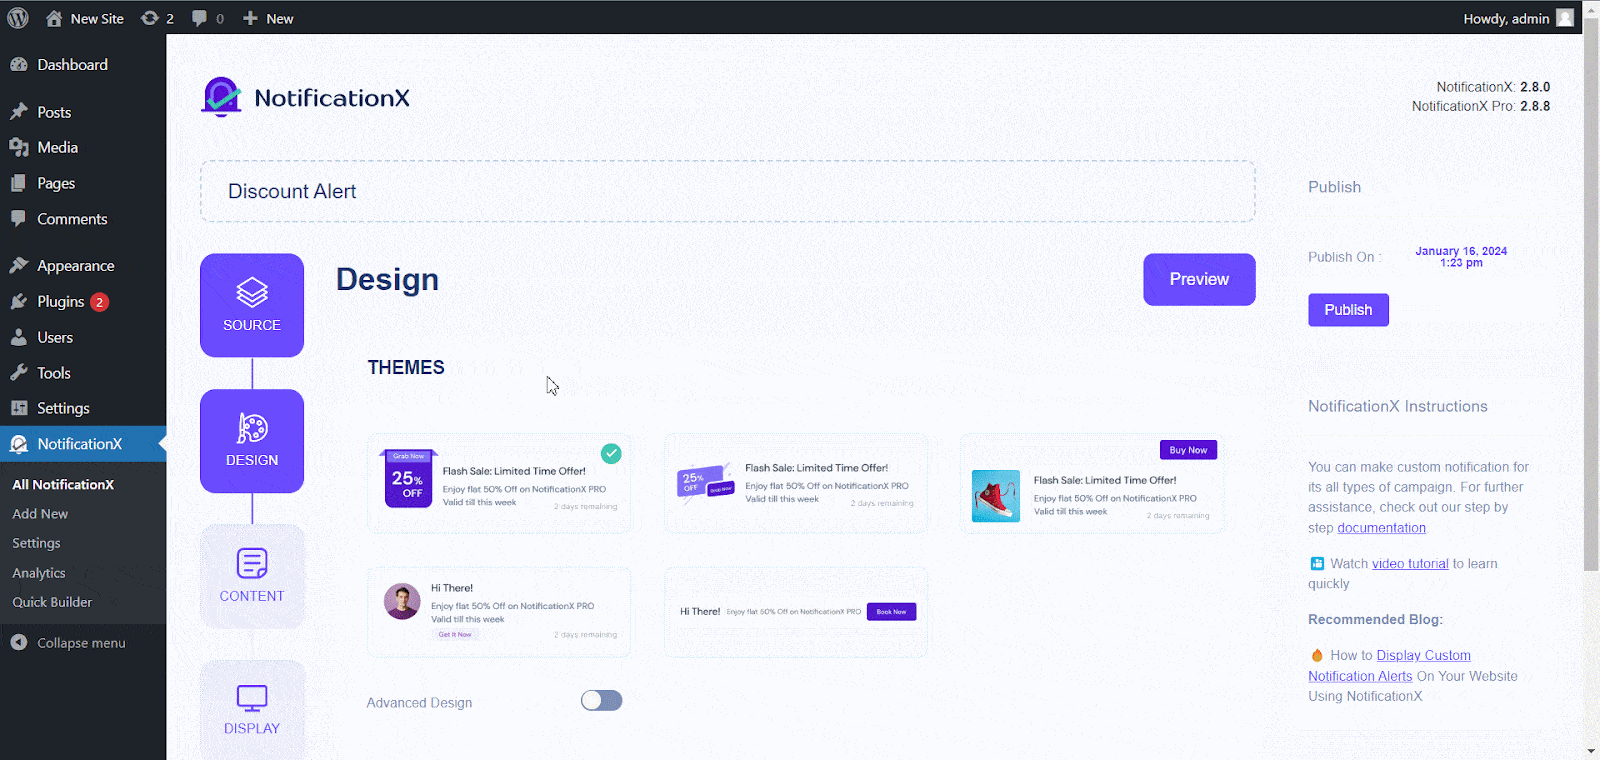
Etapa 3: Escolha um tema de design #
De 'Projeto' tab, you can choose a ‘theme‘ for your notification alert – there are 5 different designs to choose from. Your chosen theme will be the layout of the Discount Alerts that will be displayed on your website.
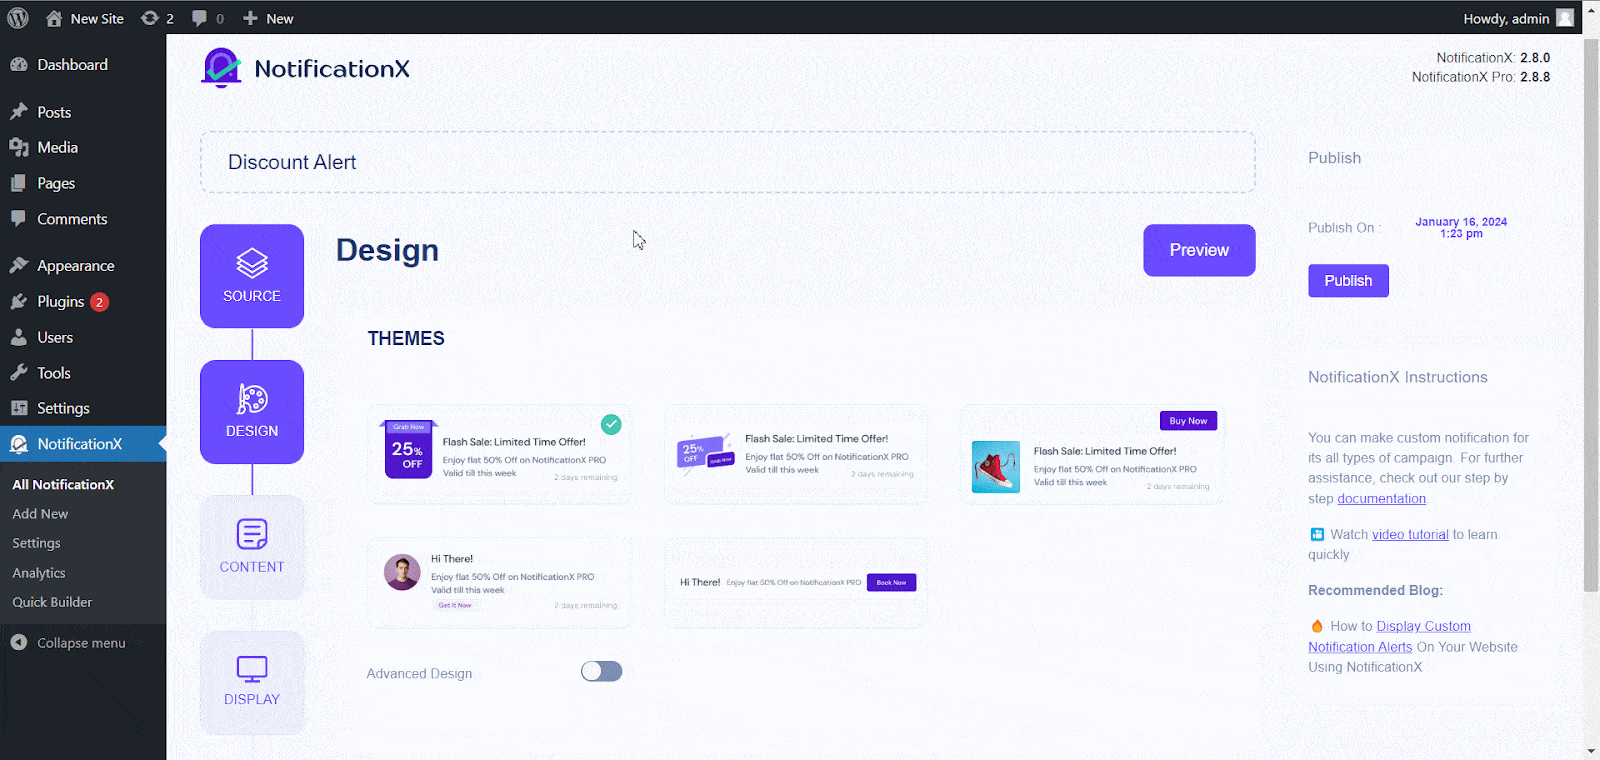
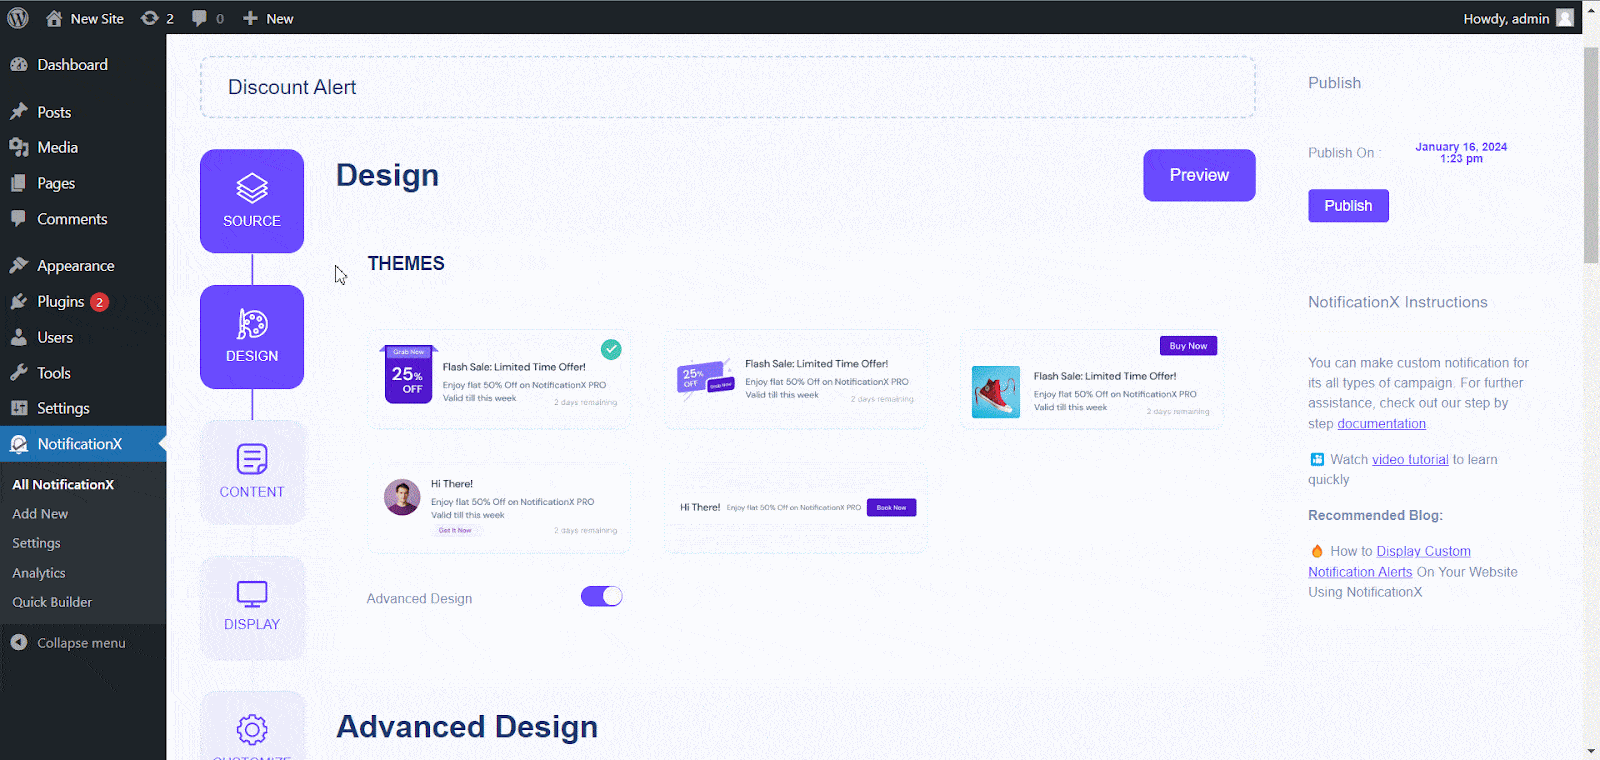
You can also customize the chosen theme by enabling ‘Advanced Designs’. From this section, you will be able to easily add styling to your design, image appearance, and typography. Basically, Discount Alert consists of three rows. From the 'Tipografia' seção, você também pode alterar o tamanho da fonte para cada linha.
Etapa 4: configurar o conteúdo do modelo #
Você será redirecionado para o 'Conteúdo' guia de onde você pode modificar seu 'Modelo de notificação' and add your preferred content text. You can easily go ahead and choose your preferred variables. These variables help to display offer titles, offer percentages, offer descriptions, CTA buttons & expiration times.
Por outro lado, 'Modelo avançado' dá a você controle total sobre a personalização de todo o conteúdo para ‘Discount Alert’ também. Além disso, você também pode acompanhar os vários tipos de campanhas através do NotificationX. 'Controle UTM' allows you to add ‘Campaign’, ‘Medium’, e 'Fonte' to your notification popup.
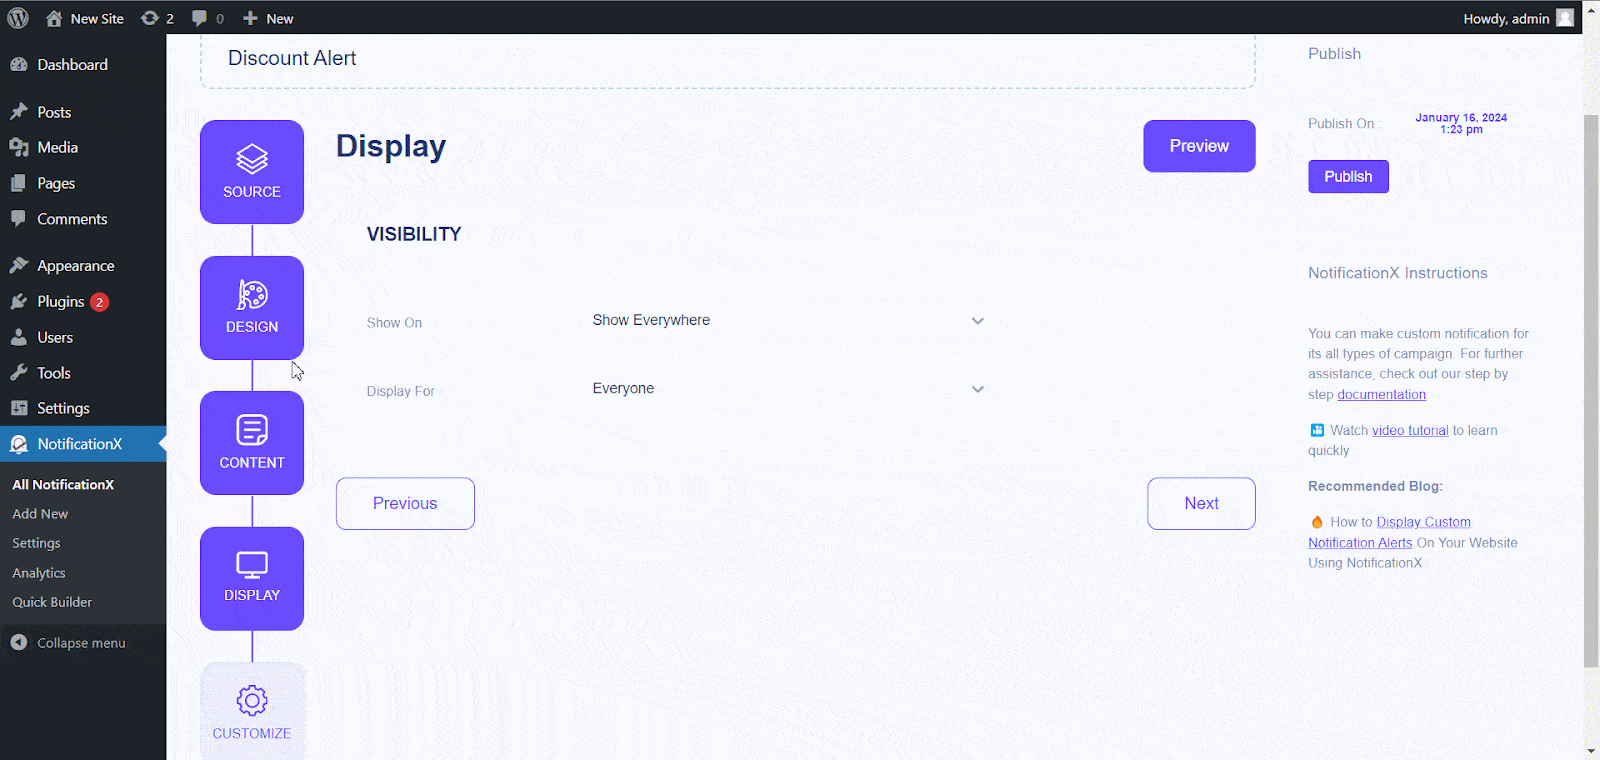
Etapa 5: ajuste as opções de exibição #
No 'Exibição' tab, there is one available section: Visibility. From the 'Visibilidade' section, you can set the pages where you want to display the Discount Alert. Below, you also have the option to restrict the notification popup based on certain user roles. After you click on the 'Próximo' você será redirecionado para o 'Customizar' Aba.

Step 6: Customize Discount Alert #
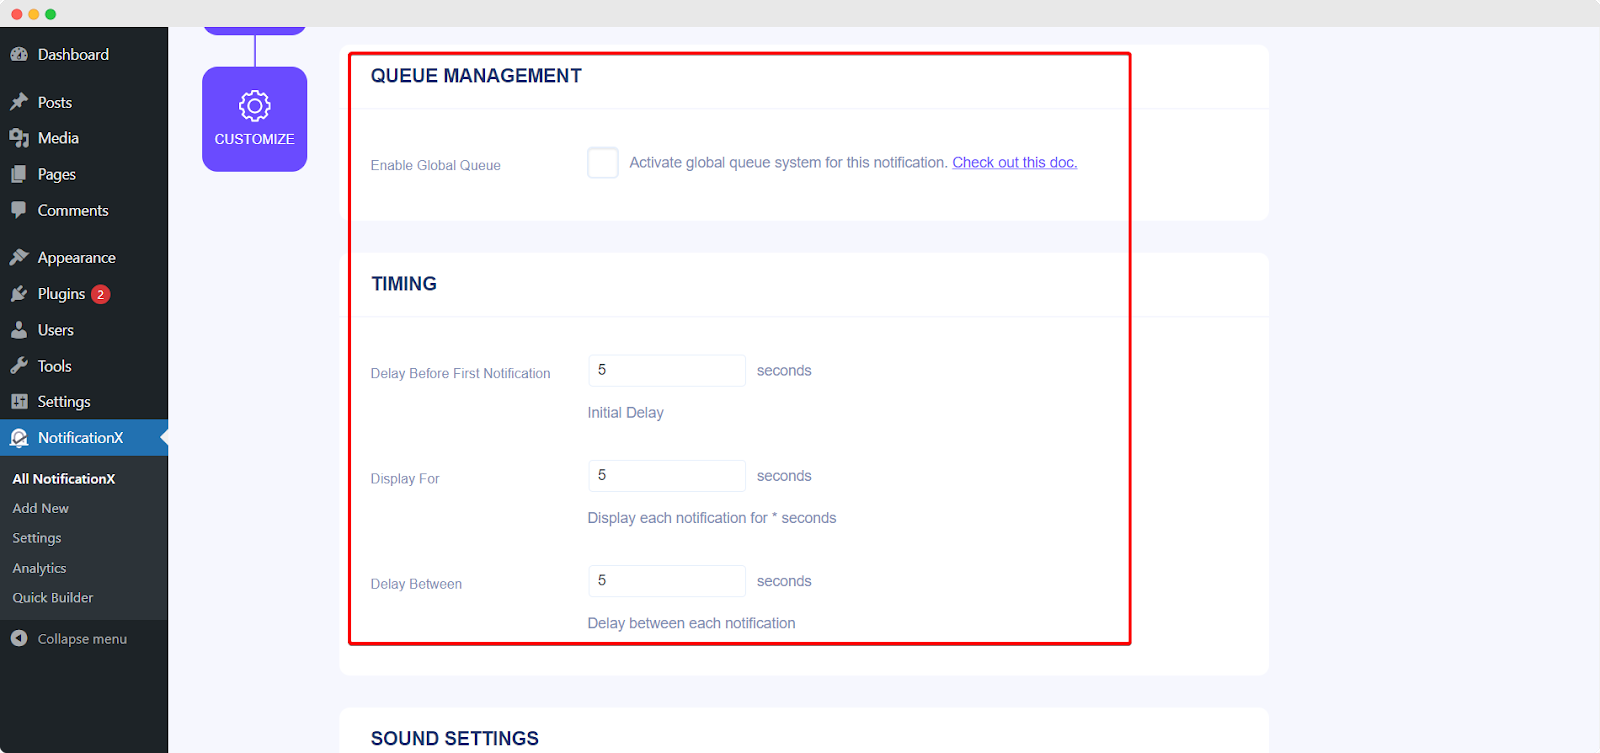
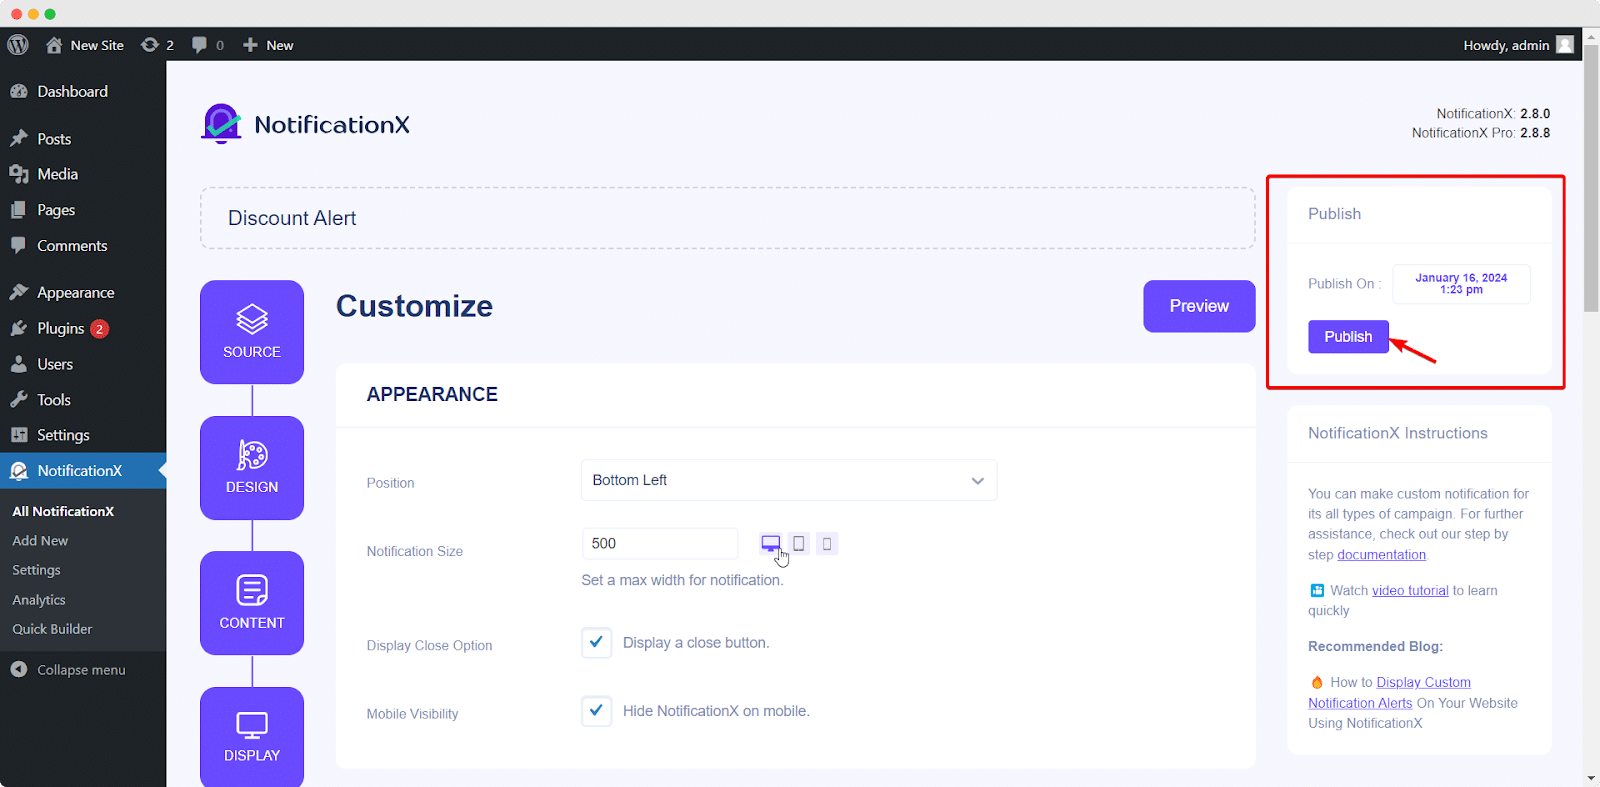
Debaixo de 'Customizar' Na guia, você encontrará quatro seções separadas: Aparência, Tempo, Comportamento e Configurações de som. De 'Aparência' section, you can set the position for Discount Alert to either at the button left or bottom right side of your website. Besides, you can even set a max-width for your notification popup as well.
Besides, you also have the freedom to set time for the ‘Initial’, ‘Display For’ & ‘Delay Between’ opções de acordo com sua preferência do ‘Timing‘ section. You can also set a time limit for how long you want each notification popup to be displayed by modifying the ‘Display For’ field. To choose a time interval between two notifications of Review, simply set the time in the ‘Display Between’ field. Or, if you want to display multiple types of notifications, you can simply activate the 'Global Queue Management' option using NotificationX PRO.
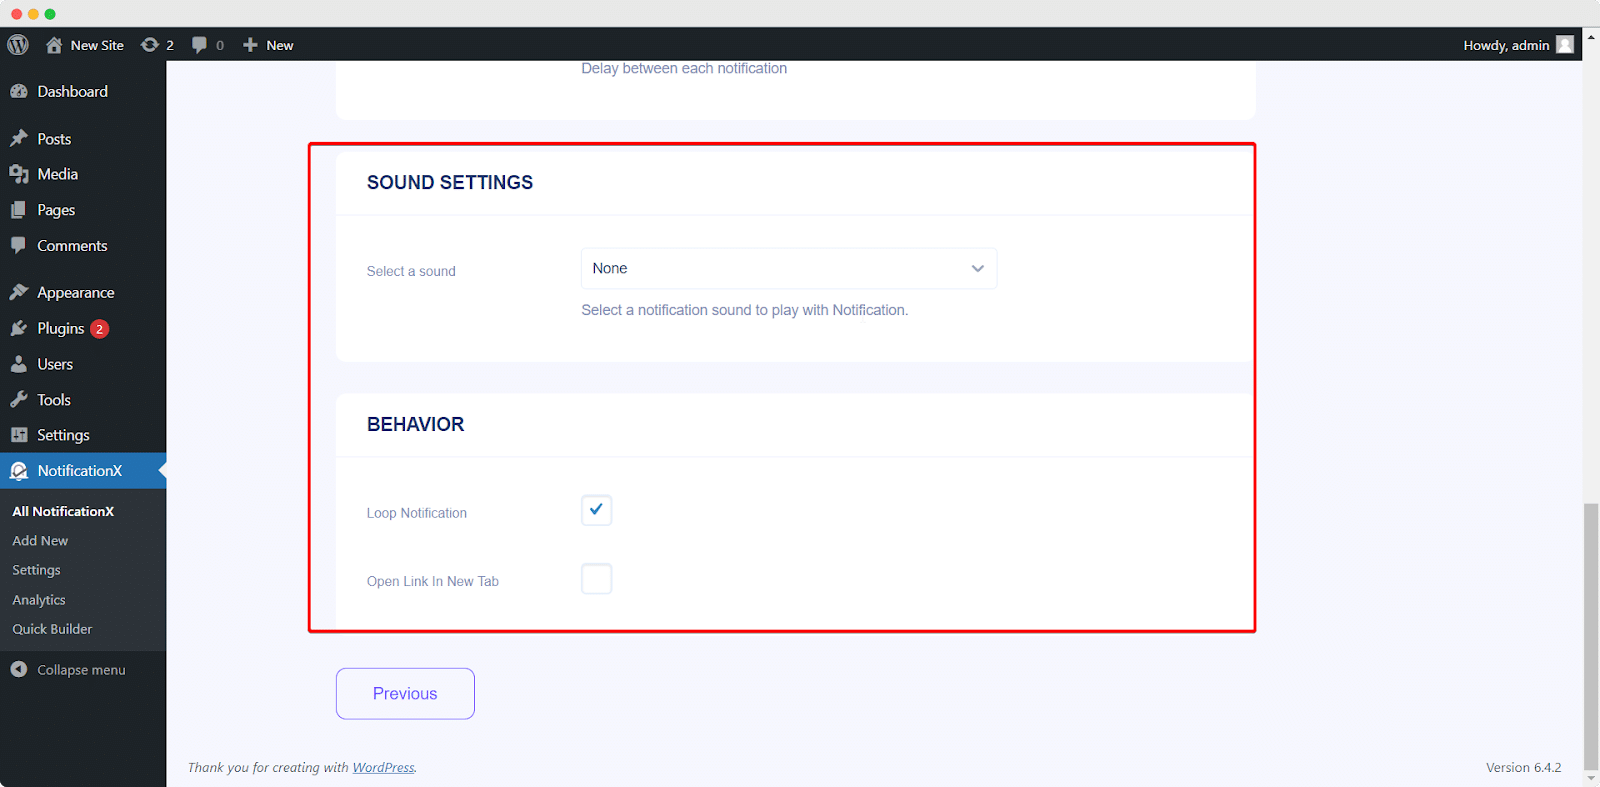
With the help of NotificationX PRO, you can also enable sound alerts for your notifications from the 'Definições de som' section. You can easily choose a sound from the drop-down menu that will be played with each notification popup.
Etapa 7: Publique sua notificação #
Depois de concluir a etapa 6, clique no botão 'Publicar' botão. Como resultado, o ‘Discount Alert Notification’ será criado com sucesso.
Seguindo essas etapas mencionadas e um pouco mais de modificação e estilo, seu resultado final seria mais ou menos assim:
É assim que você pode projetar e exibir facilmente um recurso atraente ‘Discount Alert’ on your WordPress website and boost your sales with NotificationX.
If you face any issues or have any queries, you can contact our equipe de suporte.


