と NotificationX, you can display Discount Alerts on your website. Such notification pop-ups will help you to attract and encourage your site visitors to purchase your products or services instantly. By displaying discount alerts on your website, you can leverage the highly effective FOMO marketing tactic.
How to Configure Discount Alerts with NotificationX #
始める前に、 installed and activated the NotificationX plugin on your website. Plus make sure you also have installed and activated the PRO plugin since this is a PRO feature. Let’s check out the guideline below to learn how to display Discount Alerts using NotificationX.
ステップ1:新しい通知を追加する #
WordPressダッシュボードに移動して、 wp-admin → NotificationX。次に、右上にある ‘Add New’. You can also simply go to the ‘Add New’ tab from the sidebar.

ステップ2:ソースを選択する #
手順1を完了すると、にリダイレクトされます 'ソース' Tab page of NotificationX. Choose your notification type and select ‘Discount Alert’ あなたのソースとして。次に、をクリックします '次' ボタン。

ステップ3:デザインテーマを選択する #
から '設計' tab, you can choose a ‘theme‘ for your notification alert – there are 5 different designs to choose from. Your chosen theme will be the layout of the Discount Alerts that will be displayed on your website.

You can also customize the chosen theme by enabling ‘Advanced Designs’. From this section, you will be able to easily add styling to your design, image appearance, and typography. Basically, Discount Alert consists of three rows. From the 'タイポグラフィ' セクションでは、各行のフォントサイズも変更できます。

ステップ4:テンプレートコンテンツを構成する #
次にリダイレクトされます 'コンテンツ' 変更できるタブ 「通知テンプレート」 and add your preferred content text. You can easily go ahead and choose your preferred variables. These variables help to display offer titles, offer percentages, offer descriptions, CTA buttons & expiration times.
一方、 「高度なテンプレート」 コンテンツ全体のカスタマイズを完全に制御できます ‘Discount Alert’ 同じように。さらに、NotificationXを介してさまざまなタイプのキャンペーンを追跡することもできます。 「UTMコントロール」 allows you to add ‘Campaign’, ‘Medium’、 と 'ソース' to your notification popup.

ステップ5:表示オプションを調整する #
の中に '表示' tab, there is one available section: Visibility. From the 「可視性」 section, you can set the pages where you want to display the Discount Alert. Below, you also have the option to restrict the notification popup based on certain user roles. After you click on the '次' ボタンをクリックすると、 'カスタマイズ' タブ。

Step 6: Customize Discount Alert #
下 'カスタマイズ' タブには、外観、タイミング、動作、サウンド設定の4つのセクションがあります。から '外観' section, you can set the position for Discount Alert to either at the button left or bottom right side of your website. Besides, you can even set a max-width for your notification popup as well.

Besides, you also have the freedom to set time for the ‘Initial’, ‘Display For’ & ‘Delay Between’ からの好みに応じたオプション ‘Timing‘ section. You can also set a time limit for how long you want each notification popup to be displayed by modifying the ‘Display For’ field. To choose a time interval between two notifications of Review, simply set the time in the ‘Display Between’ field. Or, if you want to display multiple types of notifications, you can simply activate the 「グローバルキュー管理」 option using NotificationX PRO.

With the help of NotificationX PRO, you can also enable sound alerts for your notifications from the 「サウンド設定」 section. You can easily choose a sound from the drop-down menu that will be played with each notification popup.

ステップ7:通知を公開する #
手順6を完了したら、 「公開」 ボタン。その結果、 ‘Discount Alert Notification’ 正常に作成されます。

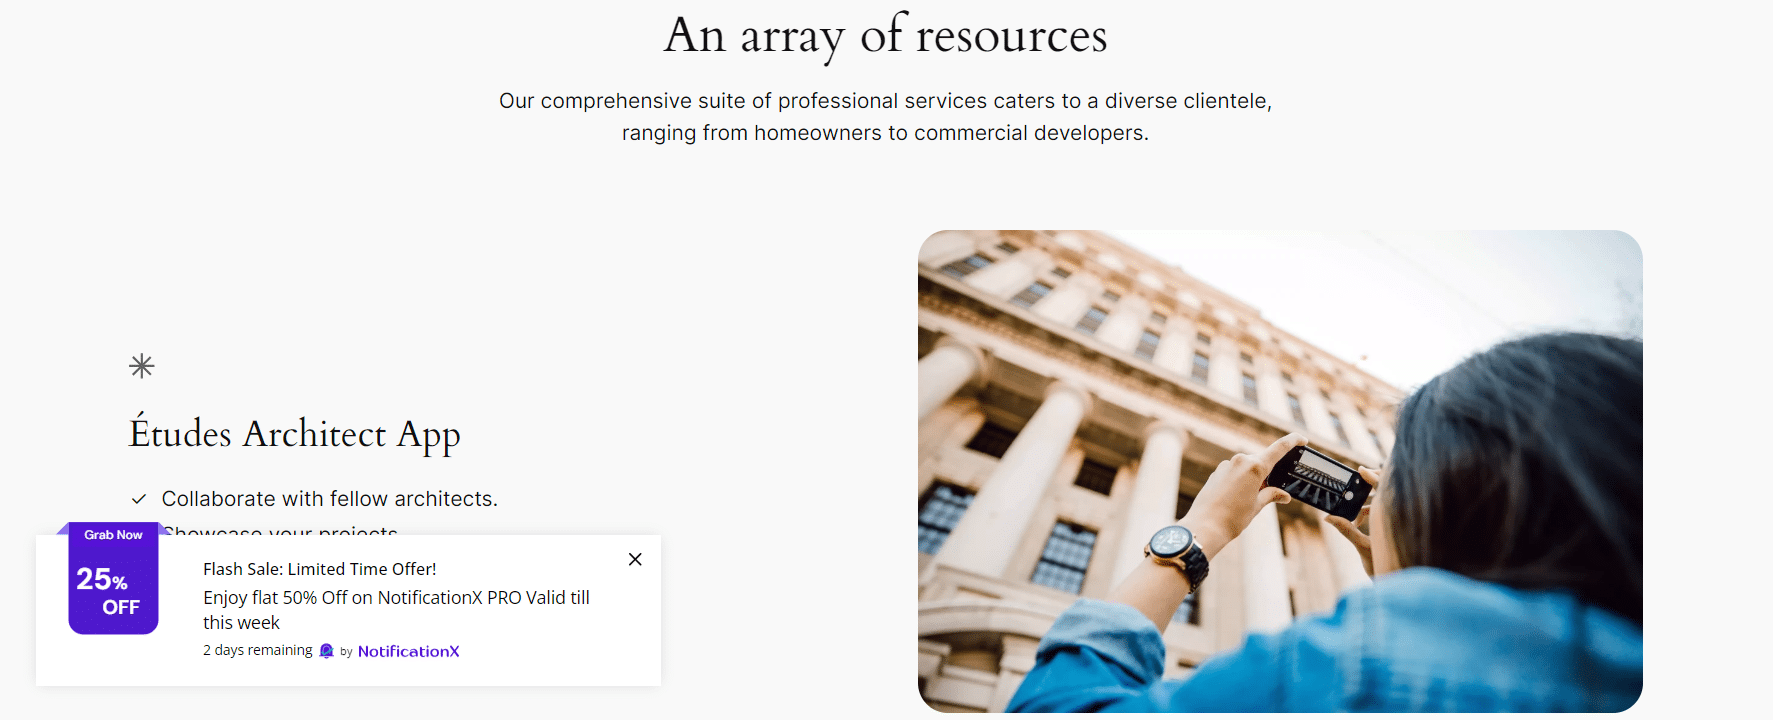
これらの前述の手順に従い、もう少し変更とスタイリングを行うと、最終的な結果は次のようになります。

これは、魅力的なデザインと表示を簡単に行う方法です ‘Discount Alert’ on your WordPress website and boost your sales with NotificationX.
If you face any issues or have any queries, you can contact our 支援チーム.


