
Pro NotificationX membolehkan anda membuat seberapa banyak pemberitahuan penukaran tersuai yang anda mahu dan menunjukkannya sebagai makluman pop timbul yang menakjubkan di tapak web anda. Anda akan mempunyai kebebasan untuk menggayakan dan memperibadikan makluman FOMO tersuai dengan cara yang anda mahukan.
Bagaimana Untuk Membuat Pemberitahuan Tersuai Dengan NotificationX? #
Follow the step-by-step guide below to create Pemberitahuan Tersuai dengan NotificaitonX:
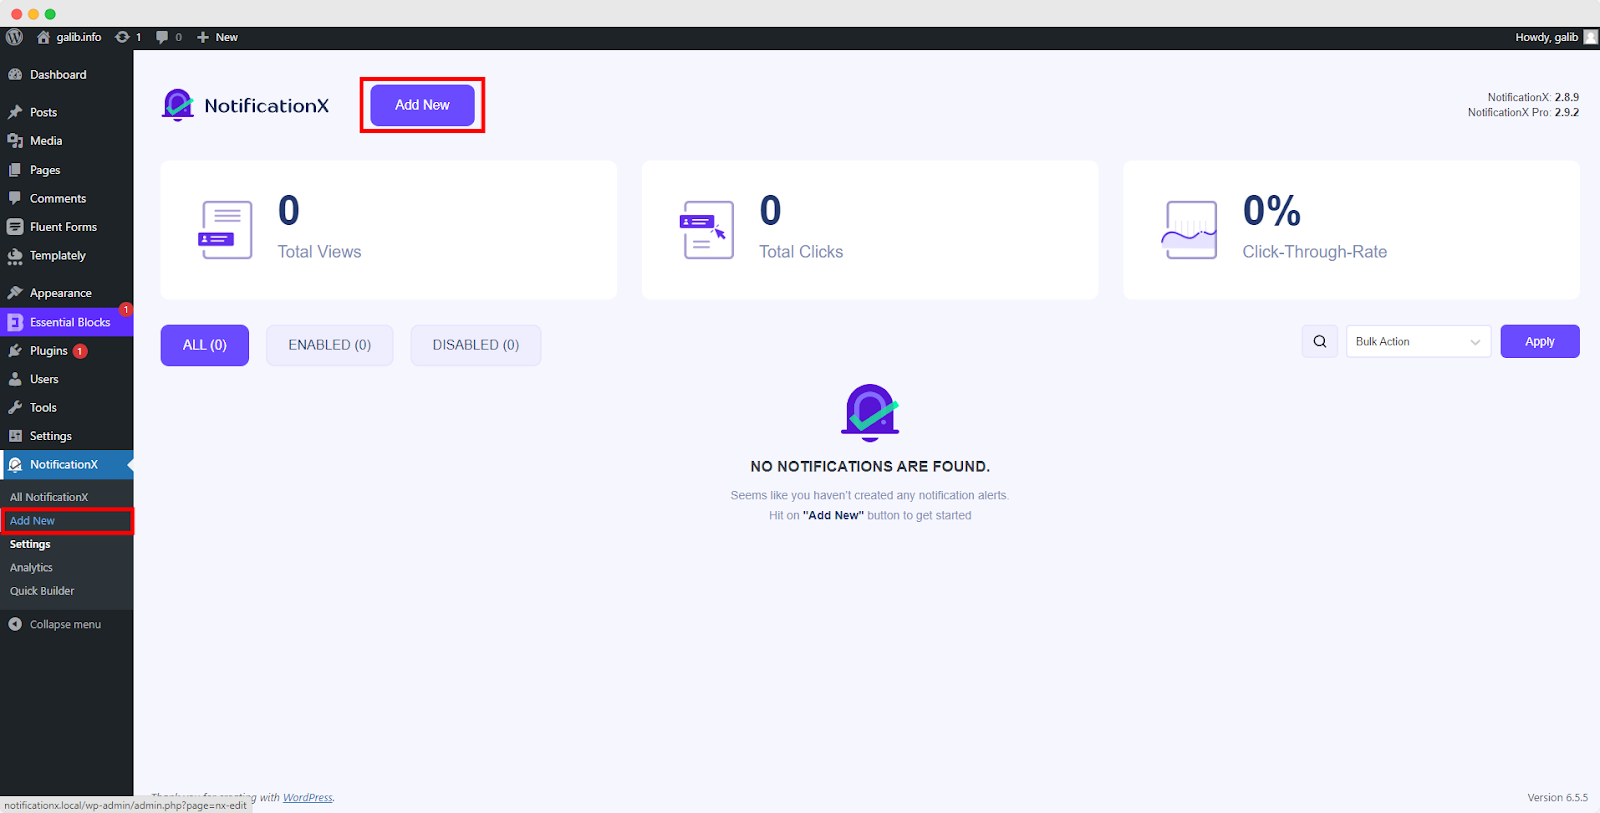
Langkah 1: Buat Pemberitahuan Baharu #
Pergi ke papan pemuka WordPress anda dan navigasi ke NotificationX dan klik pada 'Tambah baru' butang betul-betul di bahagian atas. Atau, anda juga boleh terus menavigasi ke wp-admin -> NotificationX -> NotificationX -> Tambah Baru daripada papan pemuka anda.
Langkah 2: Pilih Sumber #
Setelah anda selesai dengan langkah 1, anda akan diarahkan ke 'Sumber' tab page of your NotificationX. Here, you can select ‘Pemberitahuan Tersuai‘ as your Notification type.
Langkah 3: Memilih Tema Reka Bentuk #
Daripada 'Reka Bentuk' tab, Daripada 'Reka Bentuk' tab, you can choose a ‘tema‘ for your notification alert and this will be the layout of the Custom Notifications that will be displayed on your website. From here, you can pick from a vast amount of themes that allows you to create any type of notification alerts (Sales, Reviews, Comments, Download stats, etc.).
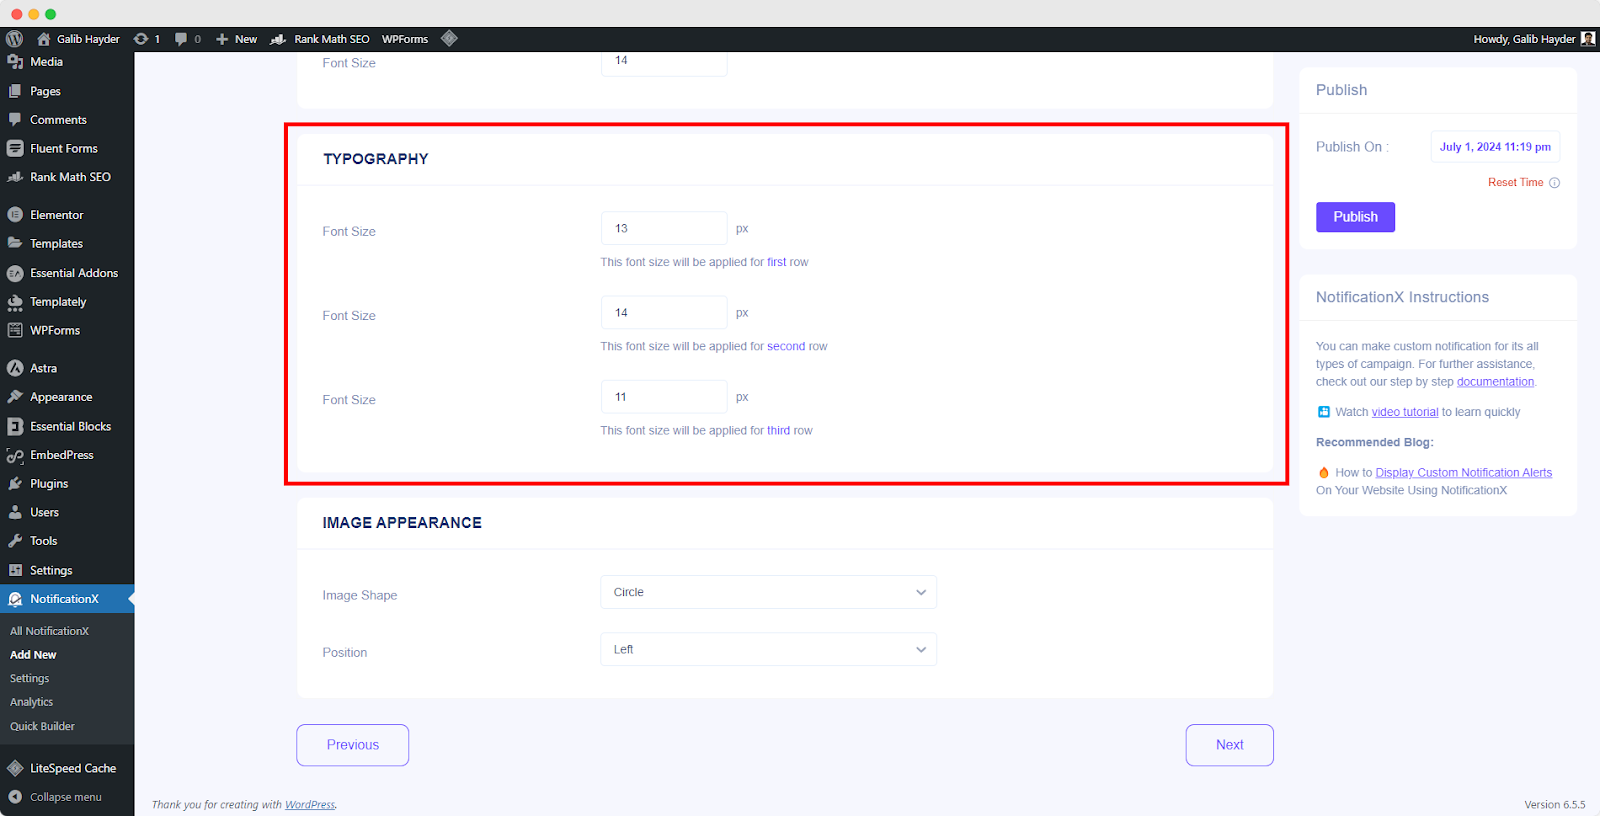
Anda juga boleh menyesuaikan tema yang dipilih dengan mendayakan 'Reka Bentuk Termaju’. From this section, you will be able to easily add styling to your design, image appearance, and typography.
‘Image Appearance‘ section lets you change the ‘Image Shape’ out of these three: Rounded, Circle & Square. You can also use the drop-down menu ‘Position’ to change the position of the image: left or right. Basically, Custom notification consists of Three rows. From the 'Tipografi' bahagian, anda boleh menukar saiz fon untuk setiap baris juga.
Step 4: Configure Template Content And Upload CSV #
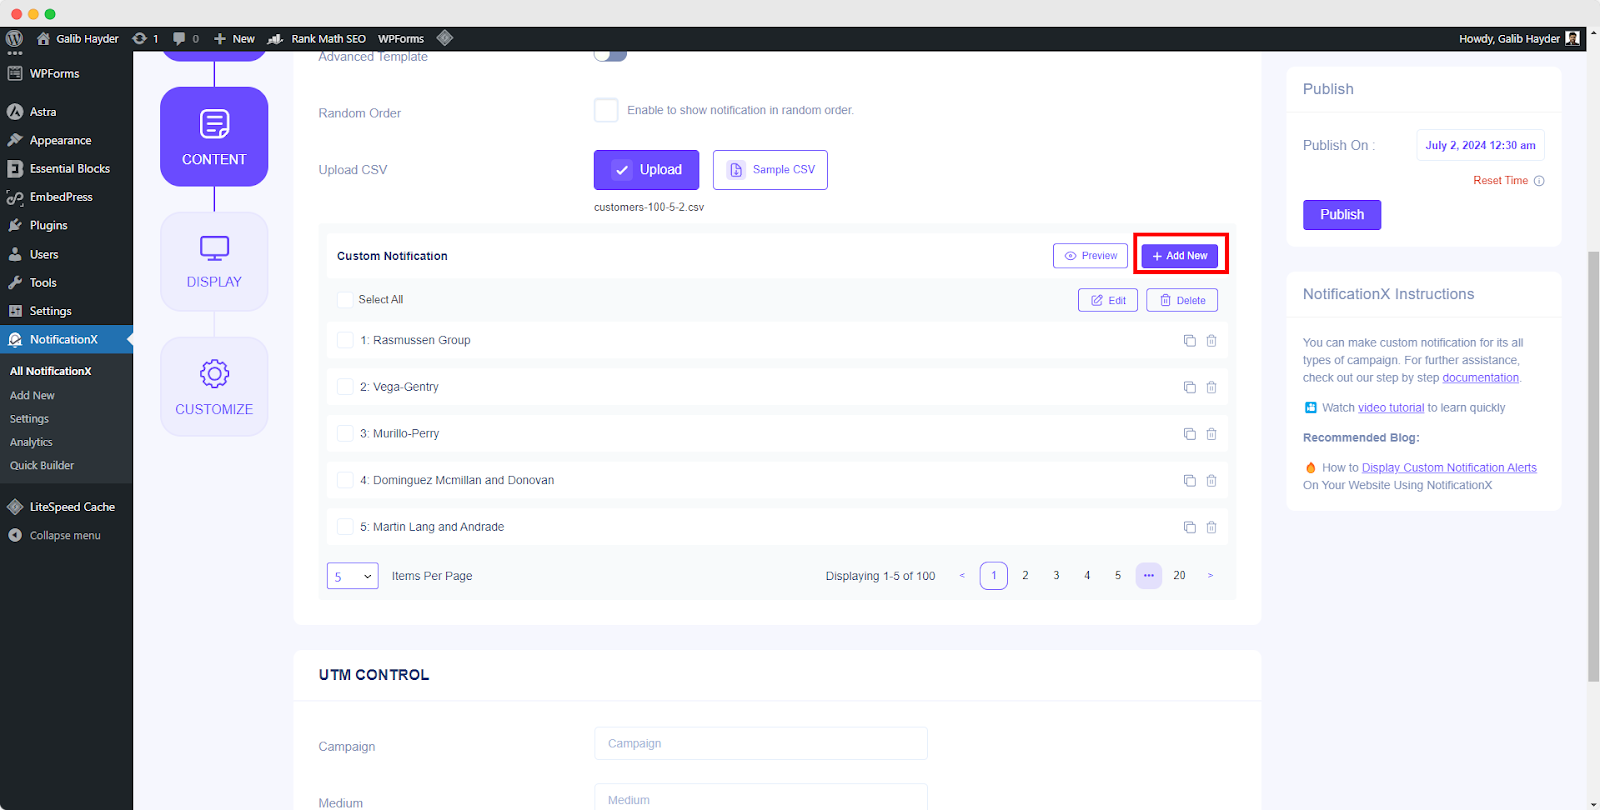
Here in the ‘Kandungan’ tab you can modify your ‘Templat Pemberitahuan’ and add your preferred content text, add multiple notifications manually one-by-one or create them in bulk using a CSV file. These settings may vary depending on your notification theme selection.
Now upload a CSV file containing notification details to create them in bulk. You can click on the ‘Sample CSV’ button to download a template CSV file and ensure your file format is correct. This template will include all the required columns for your notification data (e.g., title, content, image URL, etc.).

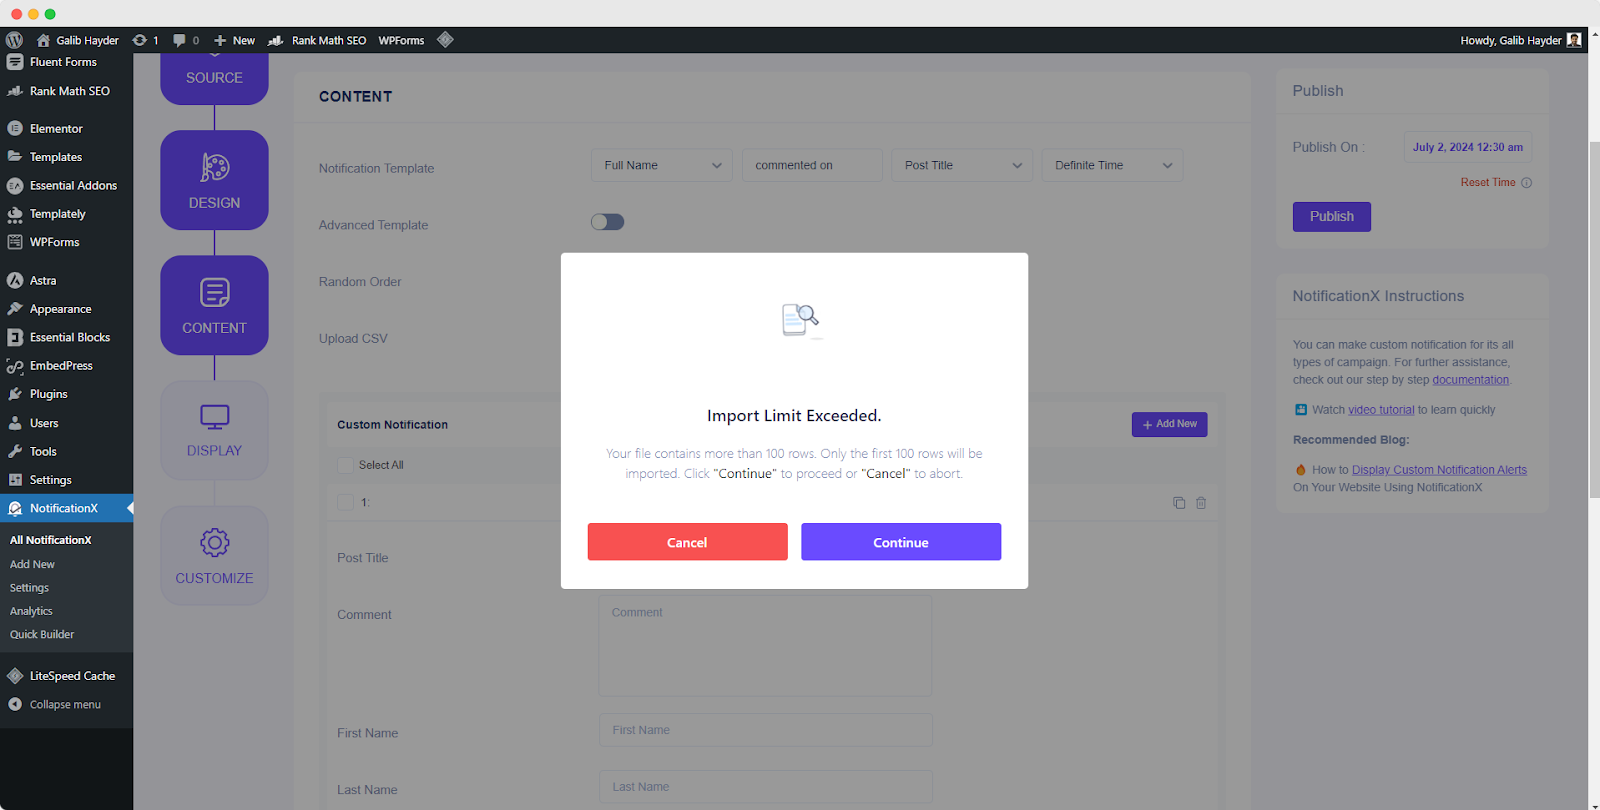
Upload your prepared CSV file containing notification details. Click the ‘Upload CSV’ button and select your CSV file from your computer. NotificationX will validate the uploaded file format. If there are any errors (missing columns, invalid data types), you will receive an error message explaining the issue.
If the CSV file contains more than 100 notifications, a warning message will appear informing you that only the first 100 entries will be processed due to limitations. NotificationX will process the valid entries (up to 100) from your CSV file.
After that, individual notifications will be created based on the information provided in the CSV File. Modify the Notification Template to define the desired text content for your notifications.
Note: Uploading a CSV is an alternative way to create multiple notifications at once. You can still create individual notifications by modifying the Notification Template directly if preferred.
Anda boleh mengklik pada '+' button to add more custom user information, contents & conversions which will be displayed on your website. Under the ‘Conversion’ section, you will have to fill up all the fields as per your wish. Besides, You can also upload a user/product image of your choosing. You can just go ahead and add as many custom conversions as you want.
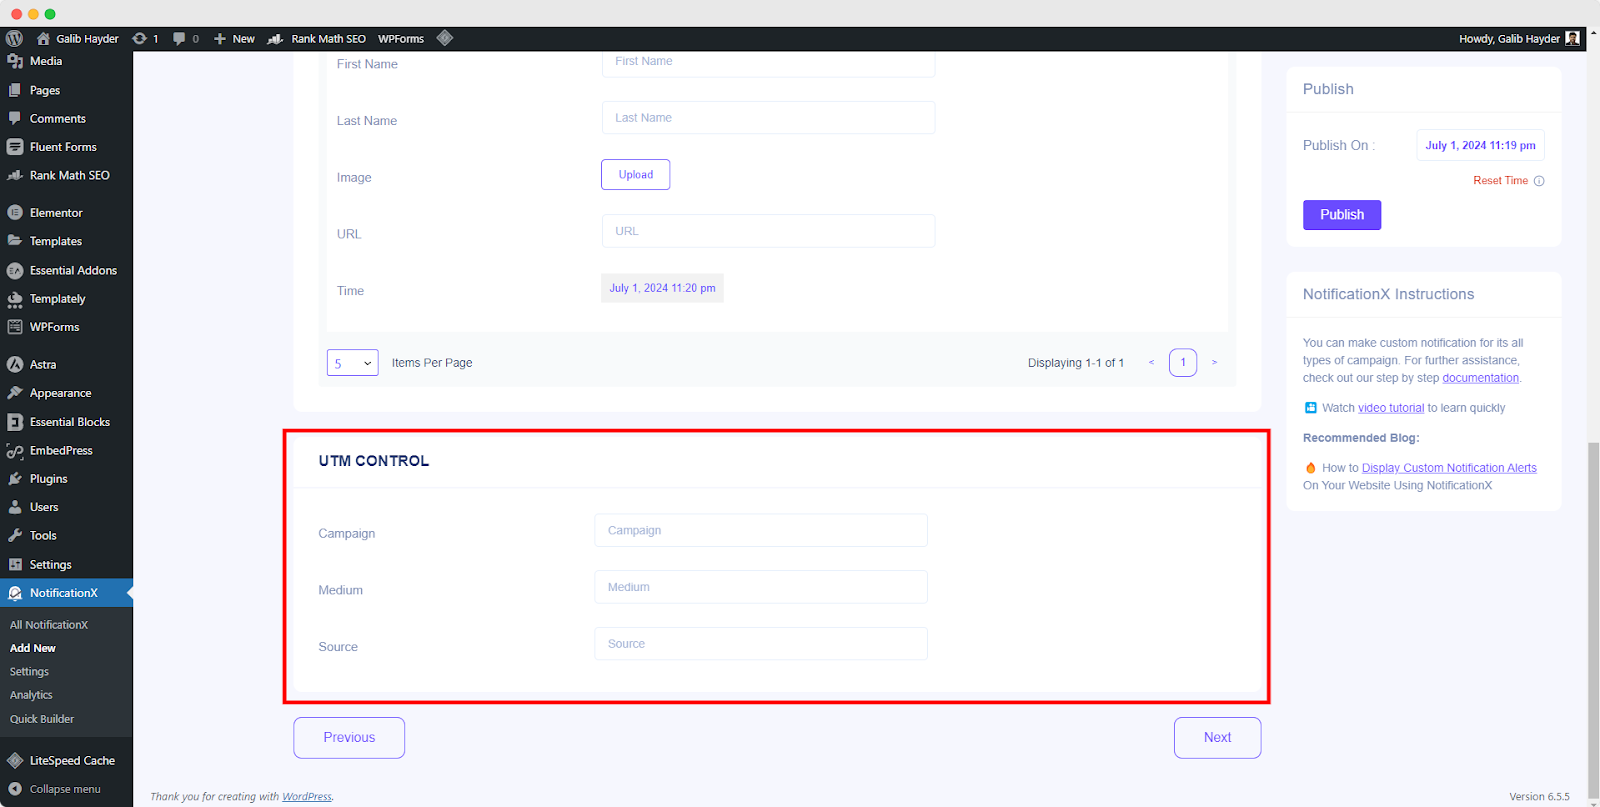
Dari 'Pilihan Pautan', you can pick a ‘Jenis Pautan’ for your notification popup. Moreover, you can even track the various types of campaigns through NotificationX as well. 'Kawalan UTM' allows you to add ‘Campaign', 'Sederhana' dan 'Sumber’ to your ‘Custom Notification’. Simply click on the ‘Next’ button to continue.
Langkah 5: Konfigurasikan Pilihan Paparan #
Di dalam 'Paparan' tab, terdapat dua bahagian yang tersedia: Imej & Keterlihatan. Daripada 'Imej' section, you can use the checkbox to display the default image or an avatar in the notification popup. If the users don’t have any ‘Avatar’ set in their profile, you can simply display the ‘Default’ image by selecting the ‘Default Image’ checkbox and uploading a default image.
Daripada 'Penglihatan' section, you can set the pages where you want to display the Sales Notification. You also have the option to restrict the notification popup based on certain user roles. On the other hand, you can also specify the pages where you want to display or hide the ‘Custom Notification’.
Langkah 6: Sediakan Penampilan #
Di bawah 'Sesuaikan' tab, you will find three separate sections: Appearance, Timing, Behavior & Sound Settings. From the ‘Penampilan’ section, you can set the position where you want to display Custom Notification and use the checkbox to disable/enable the ‘Close Button’ & ‘Hide on Mobile’ options. You can even set a max-width for your Notification Popup as well.

Besides, you also have the freedom to set time for ‘Initial', 'Display For’ & ‘Delay Between’ options as per your preference from the ‘Masa‘ section. You can also set a time limit for how long you want each notification popup to be displayed by modifying the ‘Display For’ field. Or, if you want to display multiple types of notifications, you can simply activate the ‘Pengurusan Antrian Global' pilihan menggunakan PRO NotificationX.

Daripada 'Kelakuan' section, you can choose to display the number of reviews made for certain past days. By checking the ‘Loop Notification’ box, the notification popup will keep on displaying. You can disable this as well.

Dengan bantuan PRO NotificationX, anda juga boleh mendayakan isyarat bunyi untuk pemberitahuan anda daripada 'Tetapan Bunyibahagian '. Anda boleh memilih bunyi dengan mudah daripada menu lungsur yang akan dimainkan dengan setiap pop timbul pemberitahuan.

Langkah 7: Menerbitkan Pemberitahuan Anda #
Setelah anda melengkapkan langkah 6, klik pada 'Menerbitkan' butang. Hasilnya, ‘Custom Notification’ akan berjaya dibuat.

Dengan mengikut langkah yang dinyatakan ini dan sedikit lagi mengubah suai & menggayakan, hasil akhir anda akan kelihatan seperti ini.

Inilah cara anda boleh mereka bentuk dan memaparkan dengan mudah 'Custom Notification’ di tapak web WordPress anda menggunakan NotificationX. Jika anda menghadapi sebarang masalah, anda boleh hubungi Pasukan Sokongan kami.


