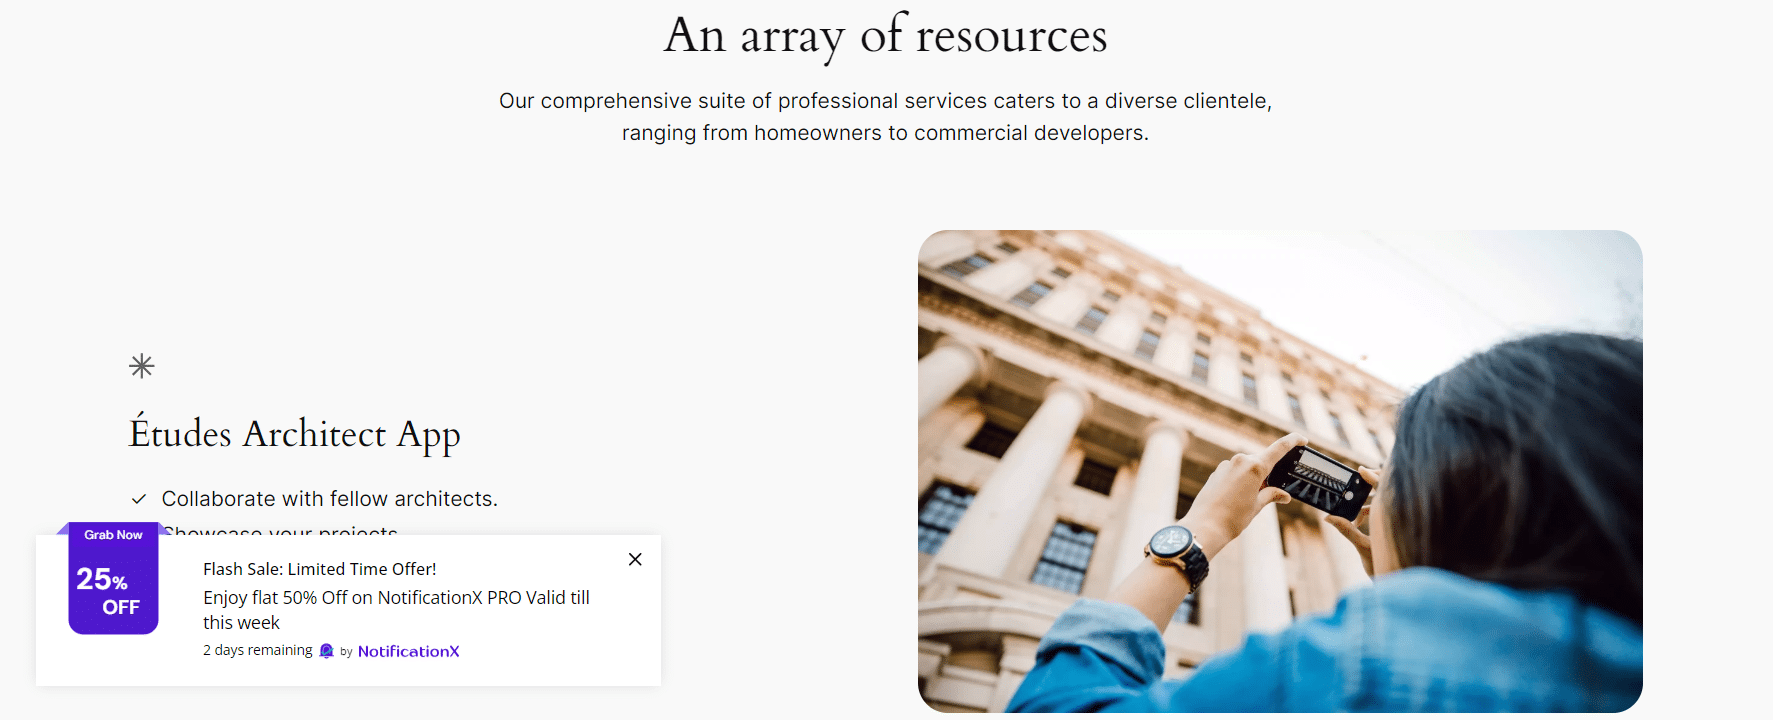
Mit NotificationX, you can display Discount Alerts on your website. Such notification pop-ups will help you to attract and encourage your site visitors to purchase your products or services instantly. By displaying discount alerts on your website, you can leverage the highly effective FOMO marketing tactic.
How to Configure Discount Alerts with NotificationX #
Bevor Sie beginnen, stellen Sie sicher, dass Sie haben installed and activated the NotificationX plugin on your website. Plus make sure you also have installed and activated the PRO plugin since this is a PRO feature. Let’s check out the guideline below to learn how to display Discount Alerts using NotificationX.
Schritt 1: Neue Benachrichtigung hinzufügen #
Gehen Sie zu Ihrem WordPress-Dashboard und navigieren Sie zu wp-admin → NotificationX. Klicken Sie dann ganz oben auf ‘Add New’. You can also simply go to the ‘Add New’ tab from the sidebar.

Schritt 2: Wählen Sie eine Quelle aus #
Nachdem Sie mit Schritt 1 fertig sind, werden Sie zu weitergeleitet 'Quelle' Tab page of NotificationX. Choose your notification type and select ‘Discount Alert’ als deine Quelle. Klicken Sie dann auf das 'Nächster' Taste.

Schritt 3: Wählen Sie ein Designthema #
Von dem 'Design' tab, you can choose a ‘theme‘ for your notification alert – there are 5 different designs to choose from. Your chosen theme will be the layout of the Discount Alerts that will be displayed on your website.

You can also customize the chosen theme by enabling ‘Advanced Designs’. From this section, you will be able to easily add styling to your design, image appearance, and typography. Basically, Discount Alert consists of three rows. From the 'Typografie' Abschnitt können Sie auch die Schriftgröße für jede Zeile ändern.

Schritt 4: Vorlageninhalt konfigurieren #
Sie werden dann zu weitergeleitet 'Inhalt' Registerkarte, von der aus Sie Ihre ändern können 'Benachrichtigungsvorlage' and add your preferred content text. You can easily go ahead and choose your preferred variables. These variables help to display offer titles, offer percentages, offer descriptions, CTA buttons & expiration times.
Auf der anderen Seite, 'Erweiterte Vorlage' gibt Ihnen die vollständige Kontrolle über die Anpassung des gesamten Inhalts für ‘Discount Alert’ auch. Darüber hinaus können Sie die verschiedenen Kampagnentypen auch über NotificationX verfolgen. 'UTM-Steuerung' allows you to add ‘Campaign’, ‘Medium’, und 'Quelle' to your notification popup.

Schritt 5: Anzeigeoptionen anpassen #
In dem 'Anzeige' tab, there is one available section: Visibility. From the 'Sichtweite' section, you can set the pages where you want to display the Discount Alert. Below, you also have the option to restrict the notification popup based on certain user roles. After you click on the 'Nächster' Klicken Sie auf die Schaltfläche, um zu weitergeleitet zu werden 'Anpassen' Tab.

Step 6: Customize Discount Alert #
Unter dem 'Anpassen' Auf der Registerkarte finden Sie vier separate Abschnitte: Aussehen, Timing, Verhalten und Toneinstellungen. Von dem 'Aussehen' section, you can set the position for Discount Alert to either at the button left or bottom right side of your website. Besides, you can even set a max-width for your notification popup as well.

Besides, you also have the freedom to set time for the ‘Initial’, ‘Display For’ & ‘Delay Between’ Optionen nach Ihren Wünschen von der ‘Timing‘ section. You can also set a time limit for how long you want each notification popup to be displayed by modifying the ‘Display For’ field. To choose a time interval between two notifications of Review, simply set the time in the ‘Display Between’ field. Or, if you want to display multiple types of notifications, you can simply activate the 'Globale Warteschlangenverwaltung' option using NotificationX PRO.

With the help of NotificationX PRO, you can also enable sound alerts for your notifications from the 'Toneinstellungen' section. You can easily choose a sound from the drop-down menu that will be played with each notification popup.

Schritt 7: Veröffentlichen Sie Ihre Benachrichtigung #
Nachdem Sie Schritt 6 abgeschlossen haben, klicken Sie auf 'Veröffentlichen' Taste. Infolgedessen ist die ‘Discount Alert Notification’ wird erfolgreich erstellt.

Indem Sie diese Schritte befolgen und ein bisschen mehr modifizieren und stylen, würde Ihr Endergebnis ungefähr so aussehen:

So können Sie auf einfache Weise ein ansprechendes Design entwerfen und anzeigen ‘Discount Alert’ on your WordPress website and boost your sales with NotificationX.
If you face any issues or have any queries, you can contact our Support-team.


