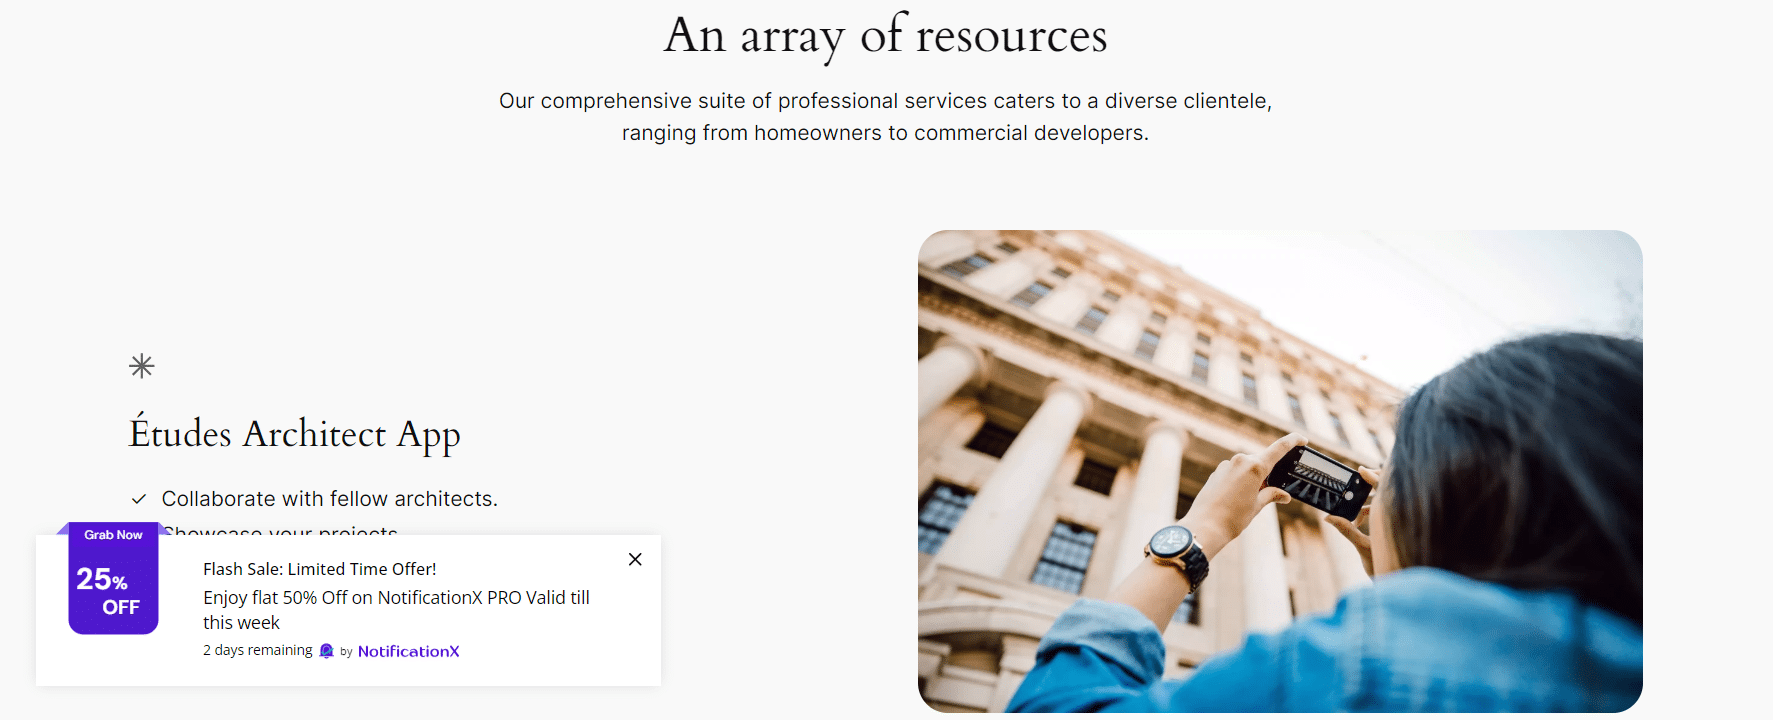
Con NotificaciónX, you can display Discount Alerts on your website. Such notification pop-ups will help you to attract and encourage your site visitors to purchase your products or services instantly. By displaying discount alerts on your website, you can leverage the highly effective FOMO marketing tactic.
How to Configure Discount Alerts with NotificationX #
Antes de comenzar, asegúrese de tener installed and activated the NotificationX plugin on your website. Plus make sure you also have installed and activated the PRO plugin since this is a PRO feature. Let’s check out the guideline below to learn how to display Discount Alerts using NotificationX.
Paso 1: agregar una nueva notificación #
Vaya a su Panel de WordPress y navegue hasta wp-admin → NotificationX. Luego, justo en la parte superior, haga clic en ‘Add New’. You can also simply go to the ‘Add New’ tab from the sidebar.

Paso 2: elige una fuente #
Una vez que haya terminado con el paso 1, será redirigido a 'Fuente' Tab page of NotificationX. Choose your notification type and select ‘Discount Alert’ como tu Fuente. Luego, haga clic en el 'Próximo' botón.

Paso 3: elige un tema de diseño #
Desde el 'Diseño' tab, you can choose a ‘theme‘ for your notification alert – there are 5 different designs to choose from. Your chosen theme will be the layout of the Discount Alerts that will be displayed on your website.

You can also customize the chosen theme by enabling ‘Advanced Designs’. From this section, you will be able to easily add styling to your design, image appearance, and typography. Basically, Discount Alert consists of three rows. From the 'Tipografía' sección, también puede cambiar el tamaño de fuente para cada fila.

Paso 4: configurar el contenido de la plantilla #
Luego será redirigido a 'Contenido' pestaña desde donde puede modificar su 'Plantilla de notificación' and add your preferred content text. You can easily go ahead and choose your preferred variables. These variables help to display offer titles, offer percentages, offer descriptions, CTA buttons & expiration times.
Por otra parte, 'Plantilla avanzada' le brinda un control total sobre la personalización de todo el contenido para ‘Discount Alert’ también. Además, incluso puede realizar un seguimiento de los diversos tipos de campañas a través de NotificationX también. 'Control UTM' allows you to add ‘Campaign’, ‘Medium’, y 'Fuente' to your notification popup.

Paso 5: ajustar las opciones de visualización #
En el 'Monitor' tab, there is one available section: Visibility. From the 'Visibilidad' section, you can set the pages where you want to display the Discount Alert. Below, you also have the option to restrict the notification popup based on certain user roles. After you click on the 'Próximo' botón, será redirigido a la 'Personalizar' Lengüeta.

Step 6: Customize Discount Alert #
Bajo la 'Personalizar' pestaña, encontrará cuatro secciones separadas: Apariencia, Tiempo, Comportamiento y Configuración de sonido. Desde el 'Apariencia' section, you can set the position for Discount Alert to either at the button left or bottom right side of your website. Besides, you can even set a max-width for your notification popup as well.

Besides, you also have the freedom to set time for the ‘Initial’, ‘Display For’ Y ‘Delay Between’ opciones según su preferencia de la ‘Timing‘ section. You can also set a time limit for how long you want each notification popup to be displayed by modifying the ‘Display For’ field. To choose a time interval between two notifications of Review, simply set the time in the ‘Display Between’ field. Or, if you want to display multiple types of notifications, you can simply activate the 'Gestión global de colas' option using NotificationX PRO.

With the help of NotificationX PRO, you can also enable sound alerts for your notifications from the 'Ajustes de sonido' section. You can easily choose a sound from the drop-down menu that will be played with each notification popup.

Paso 7: publique su notificación #
Después de completar el paso 6, haga clic en el 'Publicar' botón. Como resultado, el ‘Discount Alert Notification’ se creará correctamente.

Siguiendo estos pasos mencionados y un poco más de modificación y estilo, su resultado final se vería así:

Así es como puede diseñar y mostrar fácilmente un atractivo ‘Discount Alert’ on your WordPress website and boost your sales with NotificationX.
If you face any issues or have any queries, you can contact our equipo de apoyo.


