С NotificationX, you can showcase attractive popups to let everyone know when someone subscribes to your newsletter using ActiveCampaign. This premium feature of NotificationX PRO helps you to display ActiveCampaign email subscription alerts that boost your business by increasing conversions. This simple marketing trick helps you grow your user base and take your business to the next level.
ActiveCampaign stands as a leading Email Marketing platform renowned for its effectiveness. NotificationX offers seamless integration with ActiveCampaign, enabling you to showcase recent subscriptions through eye-catching notification alerts on your website.
To initiate this integration, ensure you have your ActiveCampaign Account Keys in hand. These include the API Key and API URL, which you must generate from your ActiveCampaign Account. Simply copy these keys for further use.

Guide To Show ActiveCampaign Email Subscription Alert Using NotificationX #
Once you have the ActiveCampaign keys, go to your WordPress Dashboard and navigate to wp-admin → NotificationX → Settings → API Integrations. From there, navigate to the ‘ActiveCampaign Settings’ tab and input the appropriate keys from your ActiveCampaign account.
Additionally, you can specify a time interval for NotificationX to check your account for new subscriptions in the ‘Cache Duration’ settings. Once this is completed successfully, you’re all set.

Once you’ve completed the previous steps, follow the guidelines below to showcase ActiveCampaign Email Subscription alerts using NotificationX.
Шаг 1. Добавьте новое уведомление #
Перейдите на панель инструментов WordPress и перейдите к wp-admin → NotificationX → Все NotificationX, Затем прямо вверху, нажмите на ‘Add New’. Or you can also simply go to the ‘Add New’ tab from the sidebar.

Шаг 2. Выберите источник #
После выполнения шага 1 вы будете перенаправлены на 'Источник' Вкладка вашего пользовательского интерфейса NotificationX.
By default, the notification type is set as ‘Sales Notifications’. Simply write a title and choose ‘Email Subscription’ as your Notification type. Afterward, select ‘ActiveCampaign’ as your source to display ActiveCampaign Email Subscription alerts. Then, click on the ‘Next‘ кнопка.

Шаг 3. Выберите тему дизайна #
От 'Дизайн' На вкладке вы можете выбрать макет, а также иметь возможность использовать «Расширенный дизайн» option to customize it as per your preference.
От «Тема» section, you can choose a ‘theme‘ for your notification alert and this will be the layout of the Email Subscription Alerts that will be displayed on your website.

Moreover, you can modify your chosen Theme by customizing it through the «Расширенный дизайн» option. From this section, you will be able to easily add styling to your design, image appearance, and typography. You can add a Background or Text color for the notification popup.
Besides, you can also add a Border and add styling to it. Basically, an Email Subscription consists of three rows. From the 'Типография' раздел, вы также можете изменить размер шрифта для каждой строки.

Шаг 4. Настройте содержимое шаблона #
Вы будете перенаправлены на «Содержание» вкладка, где вы можете изменить свой ‘Notification Template‘ and add your preferred content text. From here, you specify the ‘ActiveCampaign List’ from which the Email Subscription List will be fetched and displayed on your WordPress website.
NotificationX offers a «Шаблон уведомления» for your content where you can easily choose your preferred variables. These variables help to display the names of the users who have subscribed to your ActiveCampaign Email Newsletter on a certain day. On the other hand, «Расширенный шаблон» дает вам полный контроль над настройкой всего Контента для ‘ActiveCampaign Email Subscription’ также.

Более того, вы также можете отслеживать различные типы кампаний через NotificationX. UTM Control allows you to add ‘Campaign’, ‘Medium’ а также 'Источник' to your ‘ActiveCampaign Email Subscription’ тревога.

Шаг 5. Настройте параметры отображения #
в «Дисплей» На вкладке есть два доступных раздела: изображение и видимость. От ‘Image‘ section, you can use the checkbox to display the default image or an avatar in the notification popup. If the users don’t have any ‘Gravatar’ set in their profile, you can simply display the ‘Default‘ image by selecting the ‘Default Image’ checkbox and uploading a default image.
От «Видимость» section, you can set the pages where you want to display the Email Subscription. You also have the option to restrict the notification popup based on certain user roles: Always, Logged In & Logged Out. By default, ‘Show On’ установлен на ‘Show Everywhere’ as a result the Email Subscription popup will be displayed on every single page of your website.
On the other hand, you can also specify the pages where you want to display or hide the ‘Email Subscription’ notification alert. Afterward, when you click on the 'Следующий' кнопка, вы будете перенаправлены на «Настройка» Tab.
Шаг 6: Настройте внешний вид #
You also have the freedom to set time for the ‘Initial’, ‘Display For’ & ‘Delay Between’ варианты в соответствии с вашими предпочтениями из «Сроки» section. You can set an initial time after which your ‘Email Subscription’ уведомление будет выскакивать. По умолчанию установлено 5 секунд.

You can also set a time limit for how long you want each notification popup to be displayed by modifying the ‘Display For’ field. To choose a time interval between two notifications of Review, simply set the time in the ‘Display Between’ field. Or, if you want to display multiple types of notifications, you can simply activate the 'Глобальное управление очередью’option using NotificationX PRO.

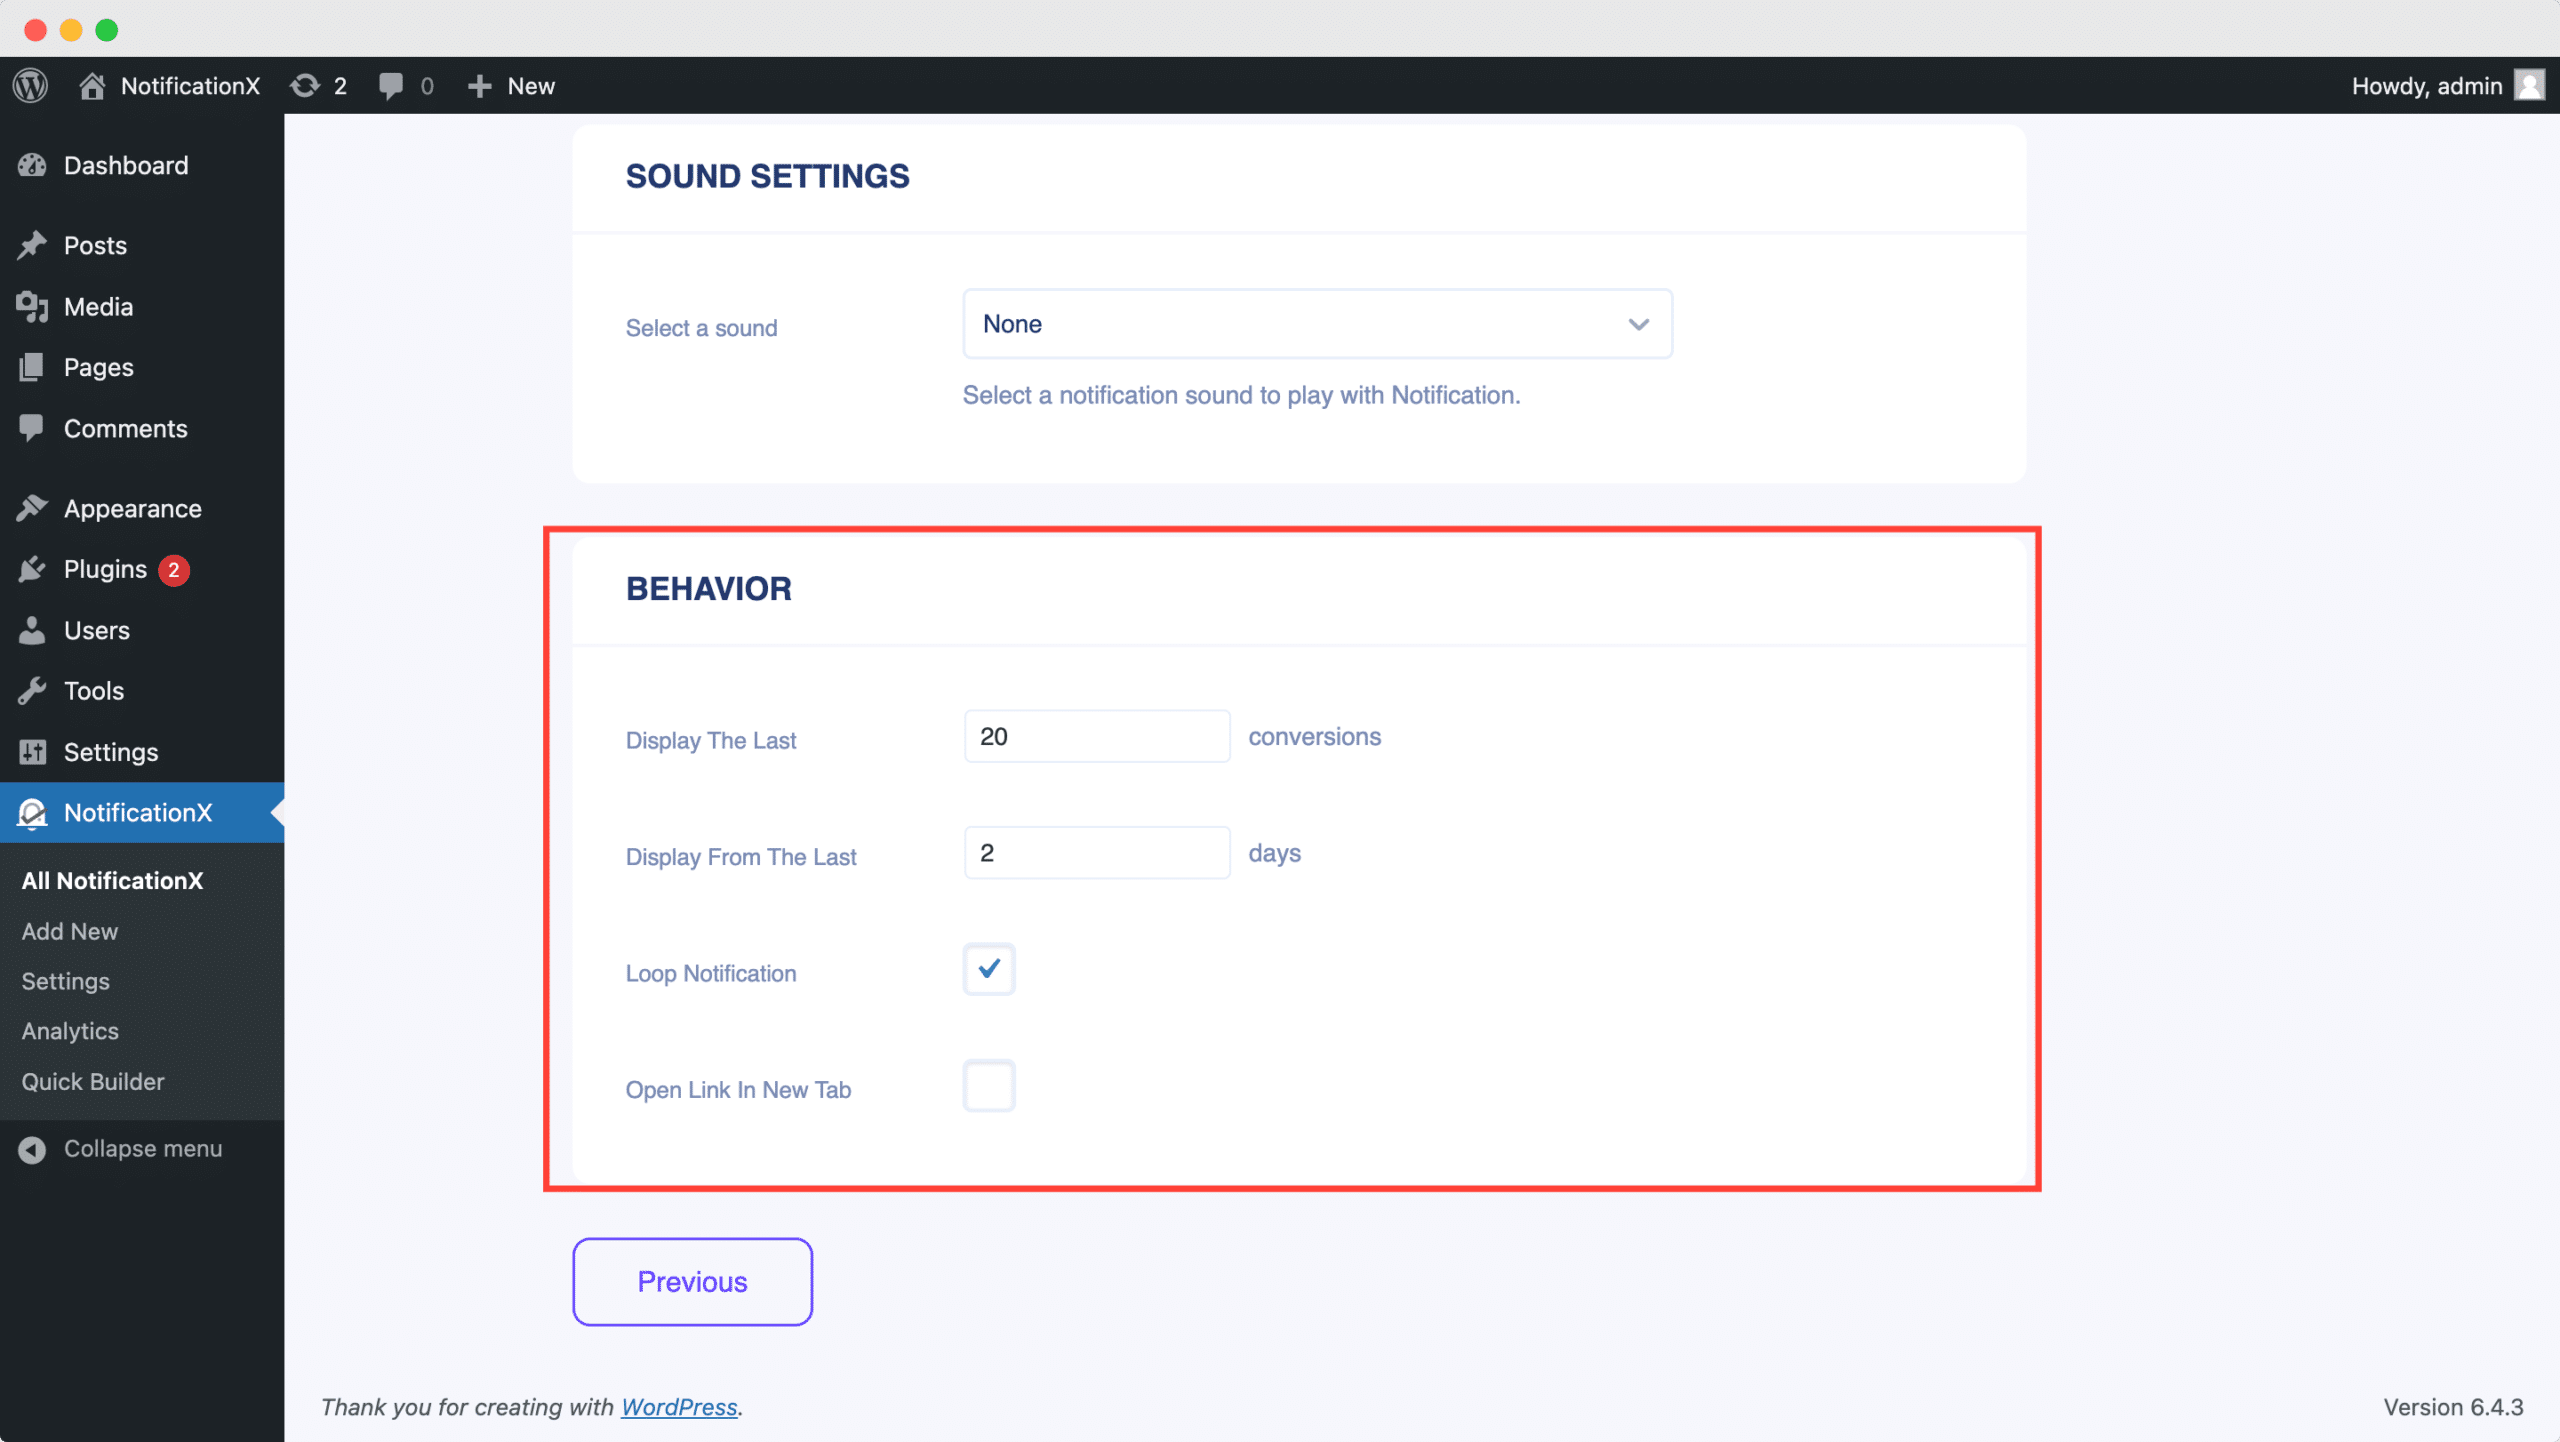
От 'Поведение' section, you can choose to display a number of users who have subscribed to your Email Newsletter for certain past few days. By checking the ‘Loop Notification’ box, the notification popup will keep on displaying. You can disable this as well. When a visitor clicks on the notification popup, you can control whether you want the link to open in a new window or a new tab from the ‘Open link in new tab’ checkbox.

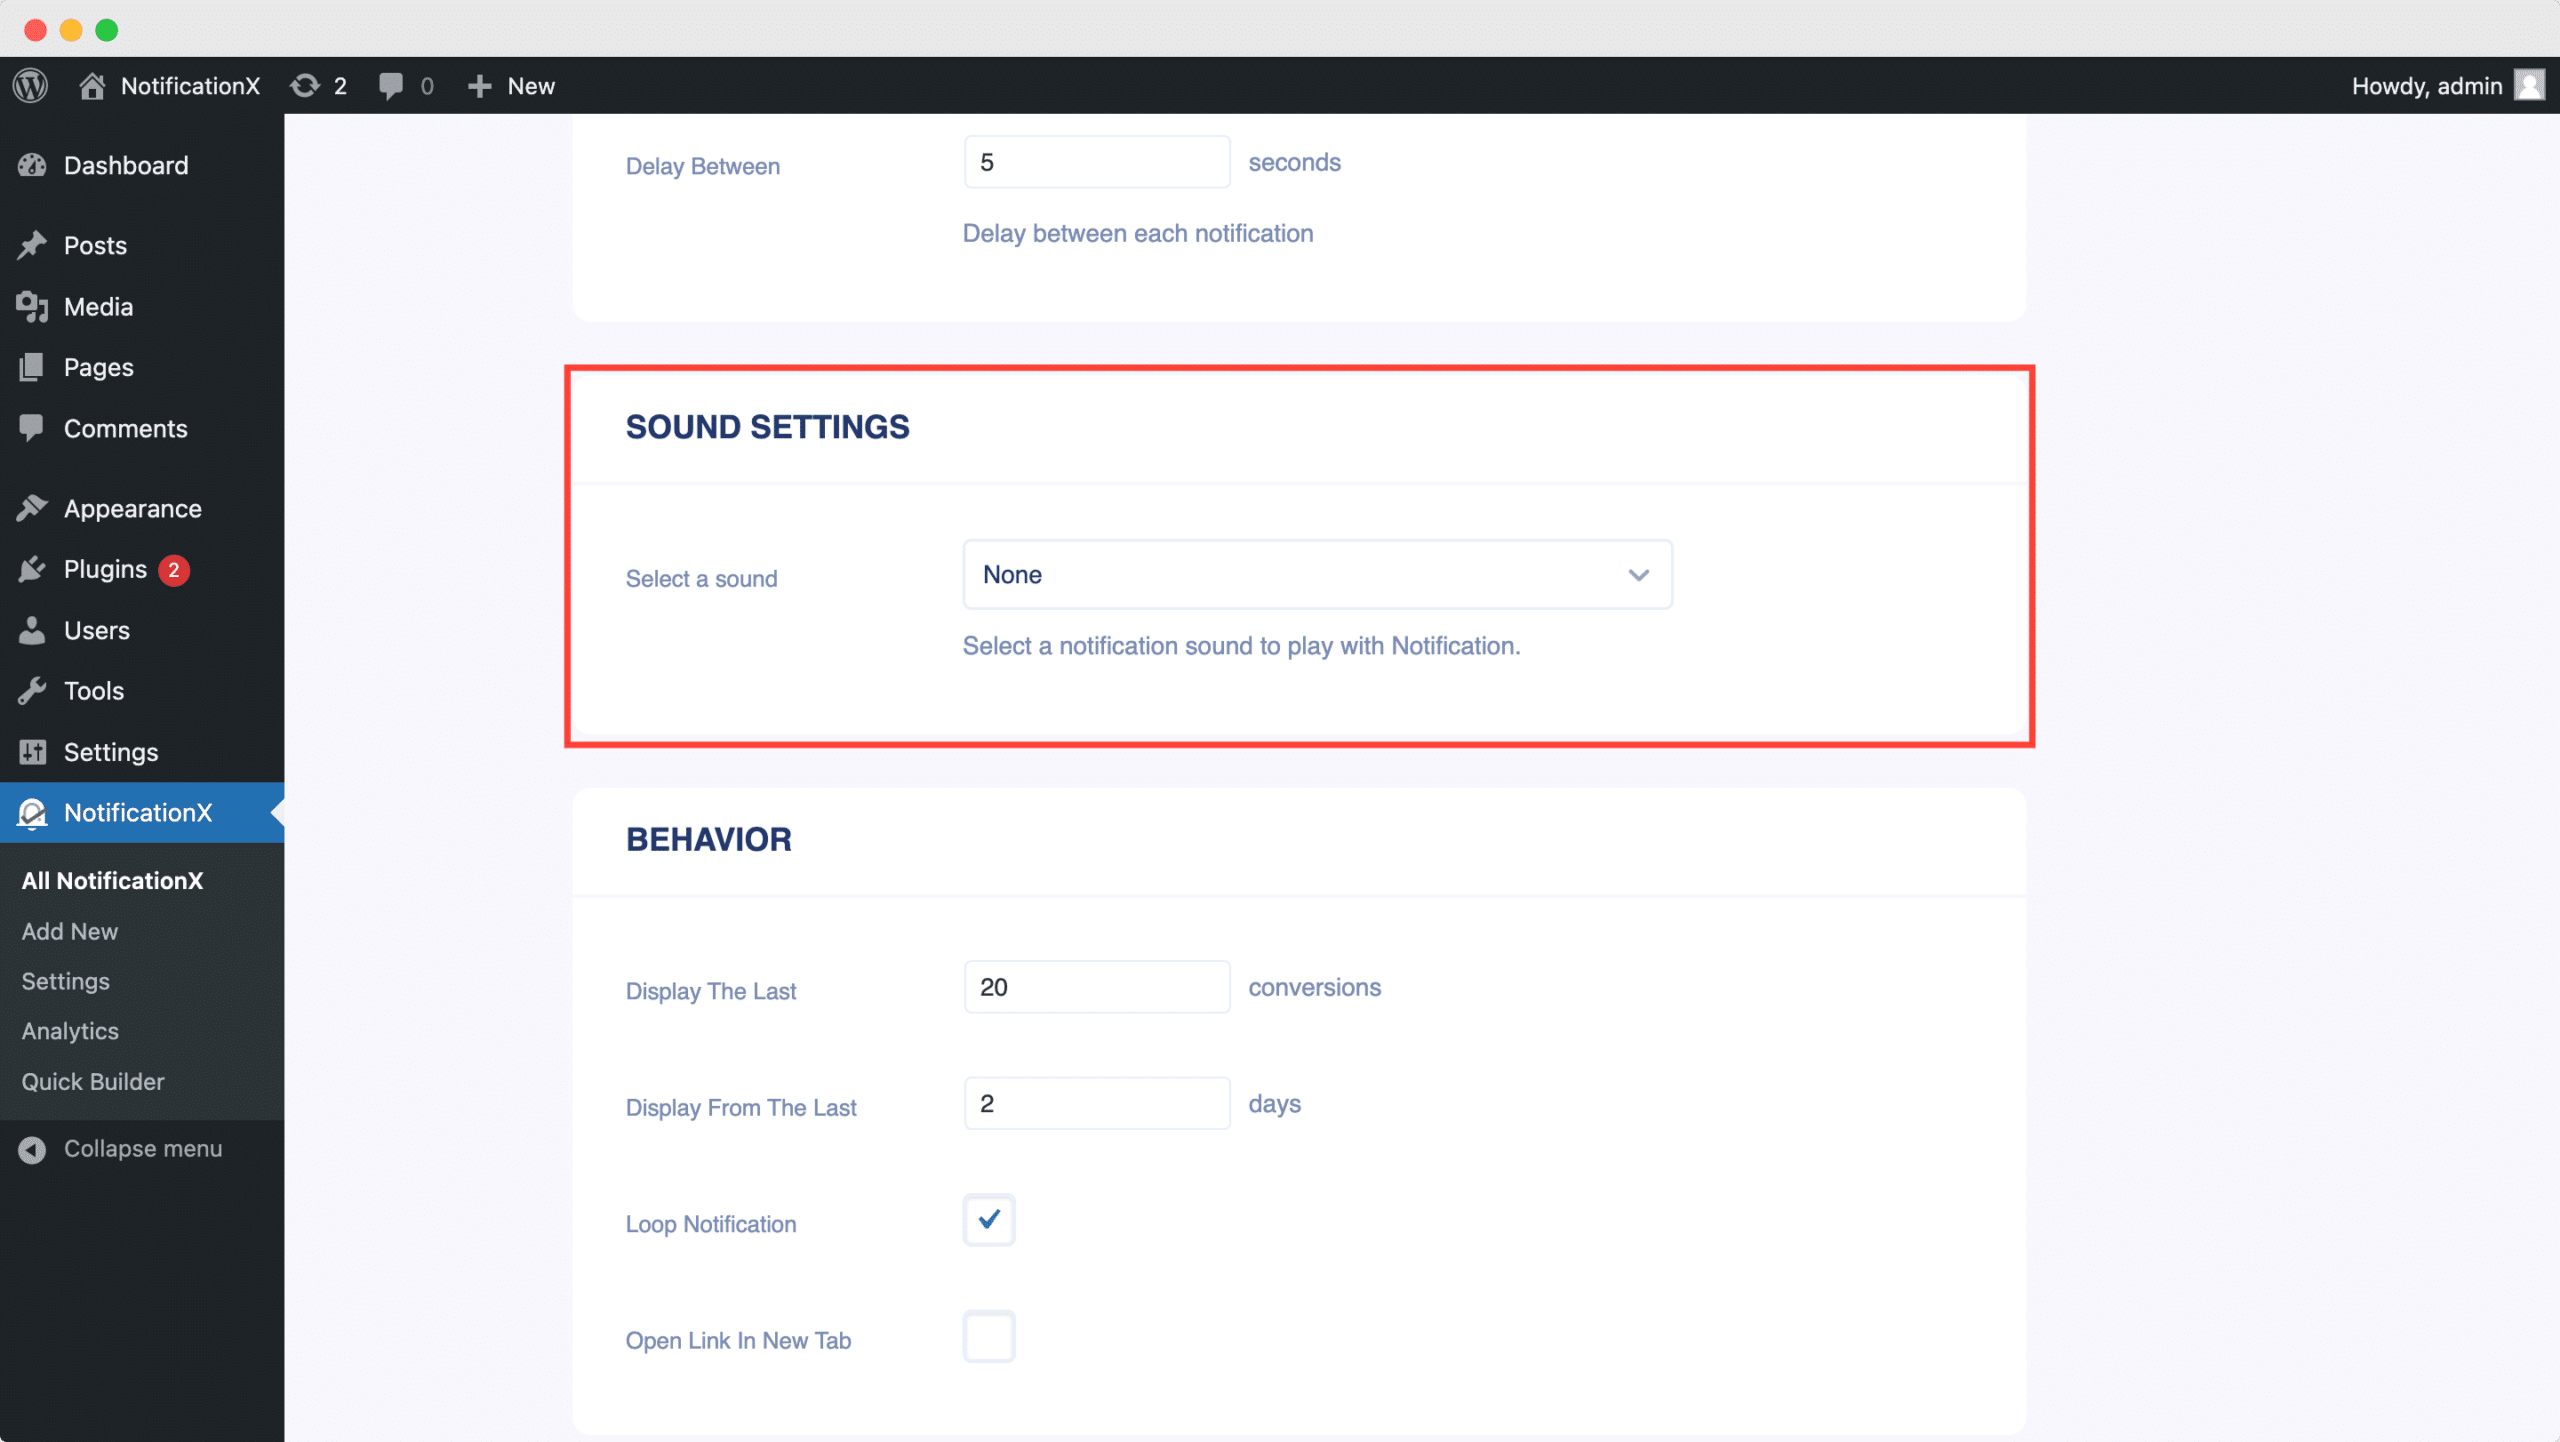
С другой стороны, 'Настройки звука' раздел позволяет выбрать звуковое оповещение для всплывающего окна подписки на электронную почту. Вы также можете контролировать его громкость.

Step 7: Publish Your ActiveCampaign Notification #
После выполнения шага 6 нажмите на 'Публиковать' button. As a result, the ActiveCampaign Email Subscription alert will be successfully created.

By following these mentioned steps and a bit more modifying & styling, the final outcome of your ActiveCampaign email subscription alert would look something like this.

By using NotificationX, this is how you can easily design and display an attractive ActiveCampaign Email Subscription alert on your WordPress website & grow your user base.
Если у вас возникнут проблемы или вопросы, вы можете свяжитесь с нашей службой поддержки.


