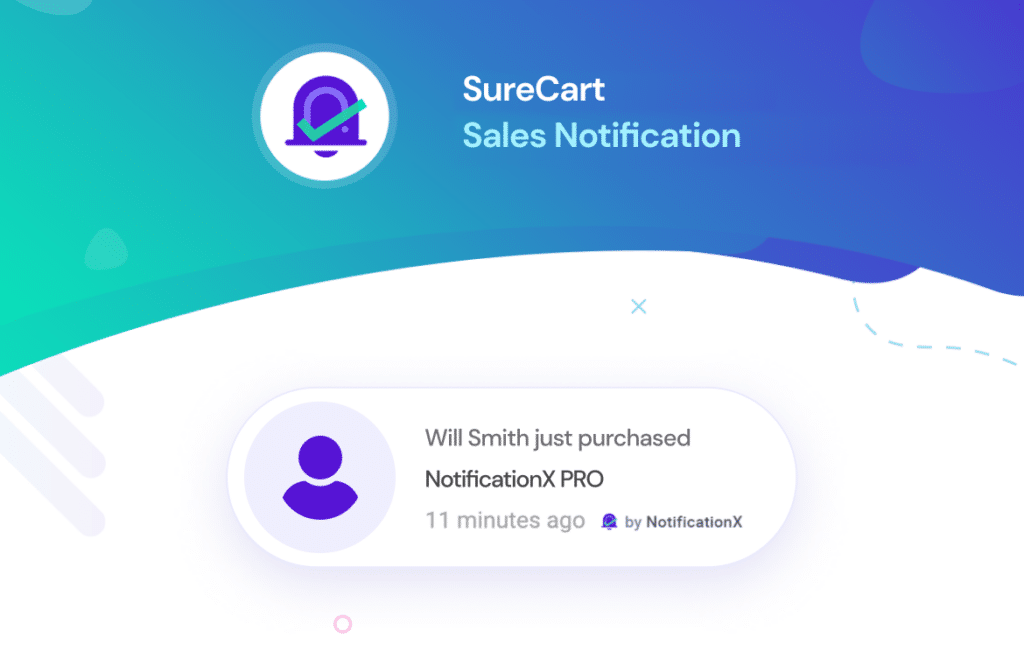
Sales Notification lets you display the recent purchase of your products made by the customers as a notification popup on your website. Thanks to this fantastic FOMO Technique, you are able to immediately grab the attention of your visitors & increase your conversion rate. With NotificationX, you can easily add fascinating SureCart sales alerts to your WordPress website to keep everyone engaged and boost sales.
How To Set Up SureCart Sales Alert With NotificationX? #
Before you begin, make sure that you have installed and activated the SureCart المكون الإضافي على موقع WordPress الخاص بك.
Step1: Add New Notification #
انتقل إلى لوحة تحكم WordPress الخاصة بك وانتقل إلى wp-admin → NotificationX → NotificationX. Then, right at the top, click on ‘Add New’.

Step 2: Choose SureCart As Source #
بعد الانتهاء من الخطوة 1 ، ستتم إعادة توجيهك إلى ملف 'مصدر' Tab page of your NotificationX. You can also put a title. Use the drop-down menu to select ‘Sales Notification’ as your Notification type. Then, simply pick ‘SureCart’ كمصدرك. بعد ذلك ، انطلق وانقر على 'التالي' زر.

Step 3: Customize The Design #
من 'تصميم' tab, you can choose a layout and also have the flexibility to use the ‘Advanced Design’ option to customize it as per your preference. From the "ثيمات" section, the chosen layout is how the ‘Sales Notification’ will be displayed on your website.
You can modify your chosen Theme by customizing it through ‘التصميم المتقدم اختيار. من هذا القسم ، ستتمكن بسهولة من إضافة نمط إلى التصميم ومظهر الصورة والطباعة. يمكنك إضافة لون الخلفية أو لون النص للإعلام المنبثق. إلى جانب ذلك ، يمكنك أيضًا إضافة حد وإضافة نمط إليه.
"مظهر الصورة" يتيح لك القسم تغيير ملف ‘Image Shape’ من بين هؤلاء الثلاثة: دائري ، دائري ، ومربع. يمكنك أيضًا استخدام القائمة المنسدلة ‘Position’ لتغيير موضع الصورة: يسار أو يمين. يتكون إعلام المبيعات من ثلاثة صفوف. من عند "الطباعة" ، يمكنك تغيير حجم الخط لكل صف أيضًا.

Step 4: Customize The Content #
ستتم إعادة توجيهك بعد ذلك إلى ملف 'المحتوى' tab, from where you can modify your ‘Notification Template’ and add your preferred content text. NotificationX offers a "نموذج الإخطار" للمحتوى الخاص بك. يمكنك المضي قدمًا بسهولة واختيار المتغيرات المفضلة لديك. تساعد هذه المتغيرات في عرض اسم المستخدم الذي اشترى منتجًا معينًا في فترة زمنية معينة.
إلى جانب ذلك ، يمكنك أيضًا إضافة النص الخاص بك والذي سيظهر في نافذة الإشعارات المنبثقة. من ناحية أخرى، "نموذج متقدم" يمنحك التحكم الكامل في تخصيص المحتوى بالكامل لـ SureCart sales alerts.
For example, with the Content settings, your notification popup will display content such as this ‘John Doe recently purchased Example Product 1 hour ago’. From "خيارات الارتباط"، يمكنك اختيار أ "نوع الارتباط" لإعلامك المنبثق. ببساطة انقر فوق ملف 'التالي' زر للمتابعة.

Step 5: Customize The Appearance #
في ال 'عرض' tab, there are two available sections: Image & Visibility. From the ‘Image’ section, you can use the checkbox to display the default image or an avatar in the notification popup. If the users don’t have any ‘Avatar’ في ملفهم الشخصي ، يمكنك ببساطة عرض ملف ‘Default’ الصورة عن طريق تحديد ملف ‘Default Image’ مربع الاختيار وتحميل الصورة الافتراضية. إلى جانب ذلك ، ستتاح لك الفرصة لعرض صورة المنتج الذي اشتراه العميل.
You can set the pages where you want to display the Sales Notification from the’ Visibility’ section. You also have the option to restrict the notification popup based on certain user roles: Always, Logged In & Logged Out. By default, ‘Show On’ is set to ‘Show Everywhere’ نتيجة لذلك ، سيتم عرض إشعار المبيعات في كل صفحة من صفحات موقع الويب الخاص بك. من ناحية أخرى ، يمكنك أيضًا تحديد الصفحات التي تريد عرضها أو إخفاء ملف "إشعار المبيعات".

بعد النقر فوق ملف 'التالي' الزر ، ستتم إعادة توجيهك إلى ملف 'يعدل أو يكيف' فاتورة غير مدفوعة.
Step 6: Customize The Timing & Behaviour #
تحت 'يعدل أو يكيف' علامة التبويب ، ستجد ثلاثة أقسام منفصلة: المظهر والتوقيت والسلوك. من 'مظهر خارجي' في القسم ، يمكنك تعيين الموضع الذي تريد عرض إشعار المبيعات فيه واستخدام مربع الاختيار للتعطيل / التمكين ‘Close Button’ & ‘Hide on Mobile’ والخيارات. يمكنك أيضًا تعيين أقصى عرض لإشعاراتك المنبثقة.
You can set the position for Sales Notification to either at the Bottom Left or Bottom Right side of your website. You can also show a ‘Close Button’ which can be clicked to close the Sales Notification. Furthermore, you have the flexibility to hide the "إشعار المبيعات" للأجهزة المحمولة إذا كنت تريد ذلك أيضًا.
من عند "قائمة الانتظار" قسم يمكنك تنشيط نظام قائمة الانتظار العالمية لهذا الإخطار. في ذلك الوقت لن تحتاج إلى تعديل قسم التوقيت للإشعار. في قسم الوقت ، لديك الحرية في تحديد الوقت ‘Initial’, ‘Display For’ & ‘Delay Between’ options as per your preference from the ‘Timing’ section. You can set an initial time after which your "إشعار المبيعات" will be popped up. By default, it is set to 5 seconds. You can also set a time limit for how long you want each notification popup to be displayed by modifying the ‘Display For’ field. To choose a time interval between two notifications of Sales Notification, simply set the time in the ‘Display Between’ field.
من 'سلوك' ، يمكنك اختيار عرض عدد المبيعات التي تمت في أيام ماضية معينة. عن طريق التحقق من ‘Loop Notification’ مربع ، ستستمر نافذة الإخطار المنبثقة في العرض. يمكنك تعطيل هذا أيضًا. عندما ينقر الزائر على نافذة الإشعار المنبثقة ، يمكنك التحكم فيما إذا كنت تريد فتح الرابط في نافذة جديدة أو علامة تبويب جديدة من ‘Open link in new tab’ خانة الاختيار.

الخطوة 7: انشر إخطارك #
After you have completed step 6, click on the ‘ينشر’ button. As a result, the ‘Sales Notification’ will be successfully created. By following these mentioned steps and a bit more modifying & styling, your outcome would look like something like this.

This is how you can easily design and display appealing SureCart Sales alerts on your WordPress website using NotificationX. If you face any issues, you can contact our Support Team هنا.


