
NotificationX allows you to display an exit intent popup on your website to bring someone back into your sales funnel when they are about to leave. And now, this feature is AI-powered. It means you can create an exit intent popup with AI instead of building your popup design from scratch. You can simply describe what you want in plain words, and NotificationX will generate a complete, ready-to-use design for you in seconds.
With this feature, you can display your latest sales, discounts, or urgent announcements amazingly on the website to influence your potential customers to buy your products or take your services, all without spending time on manual design work.
Let’s see how to create an Exit Intent Popup with AI using NotificationX.
How to Create an Exit Intent Popup with AI in NotificationX #
Follow this step-by-step process to design and show an exit intent popup on your website using AI in NotificationX.
Note: To use this freemium feature, make sure you have installed and activated NotificationX on your WordPress website before getting started.
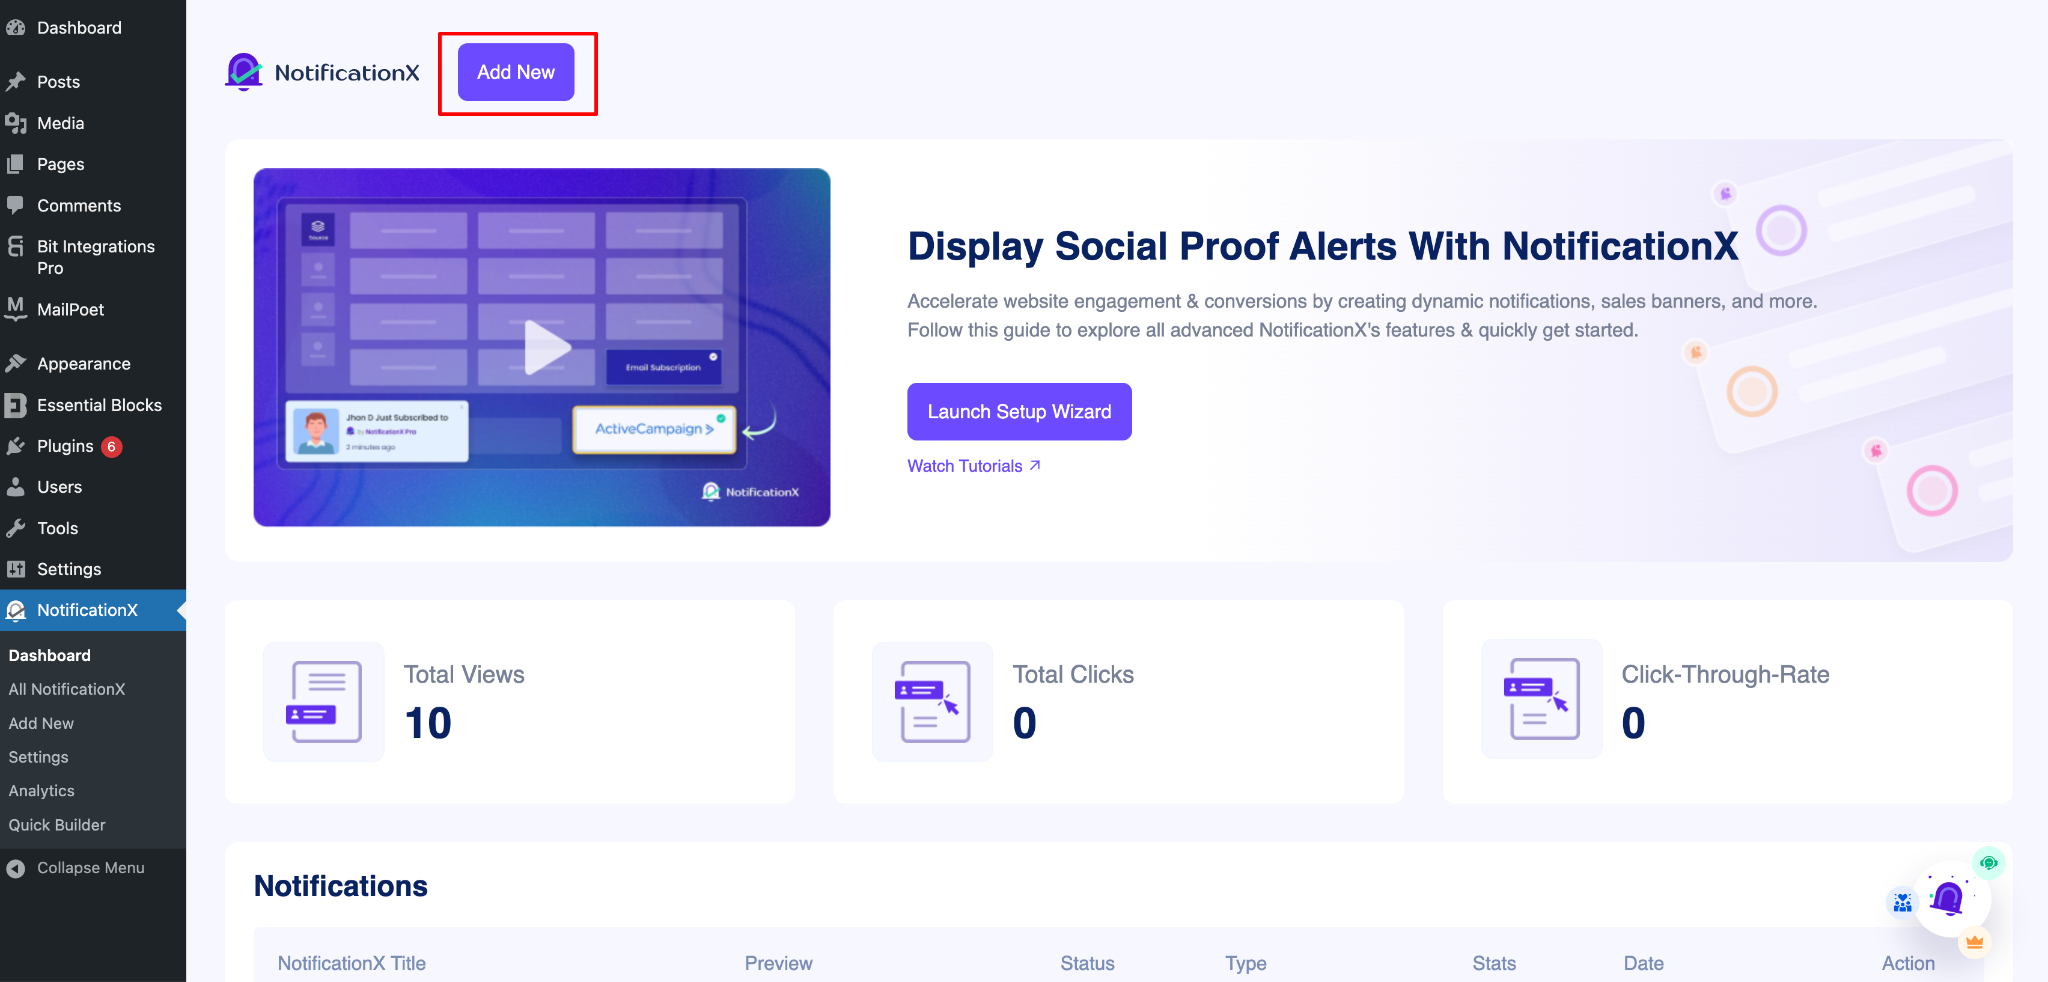
Шаг 1. Добавьте новое уведомление #
Перейдите на панель инструментов WordPress и перейдите к wp-admin -> NotificationX. Then, right at the top, click on ‘Добавить новое‘.
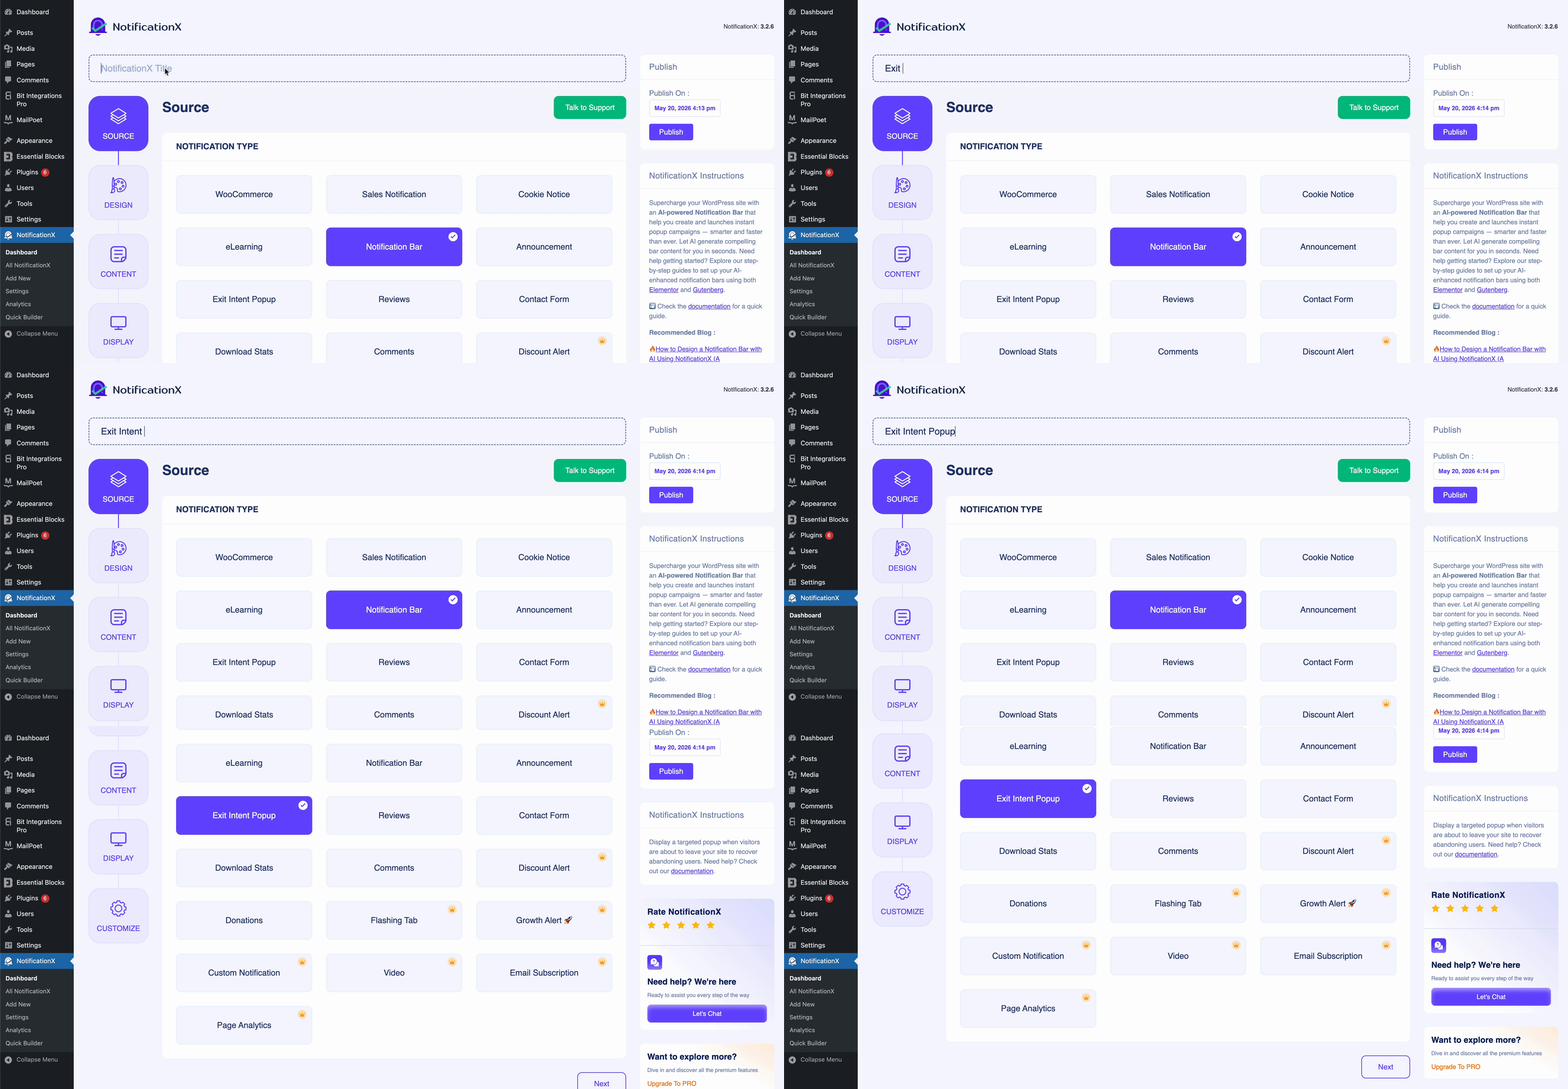
Step 2: Select Your Notification Type #
After you are done with step 1, you will be redirected to the ‘Источник‘ tab page of your NotificationX. You can also put a title. From the options, select ‘Exit Intent Popup‘ as your Source type.
Step 3: Generate the Exit Intent Popup Design with AI #
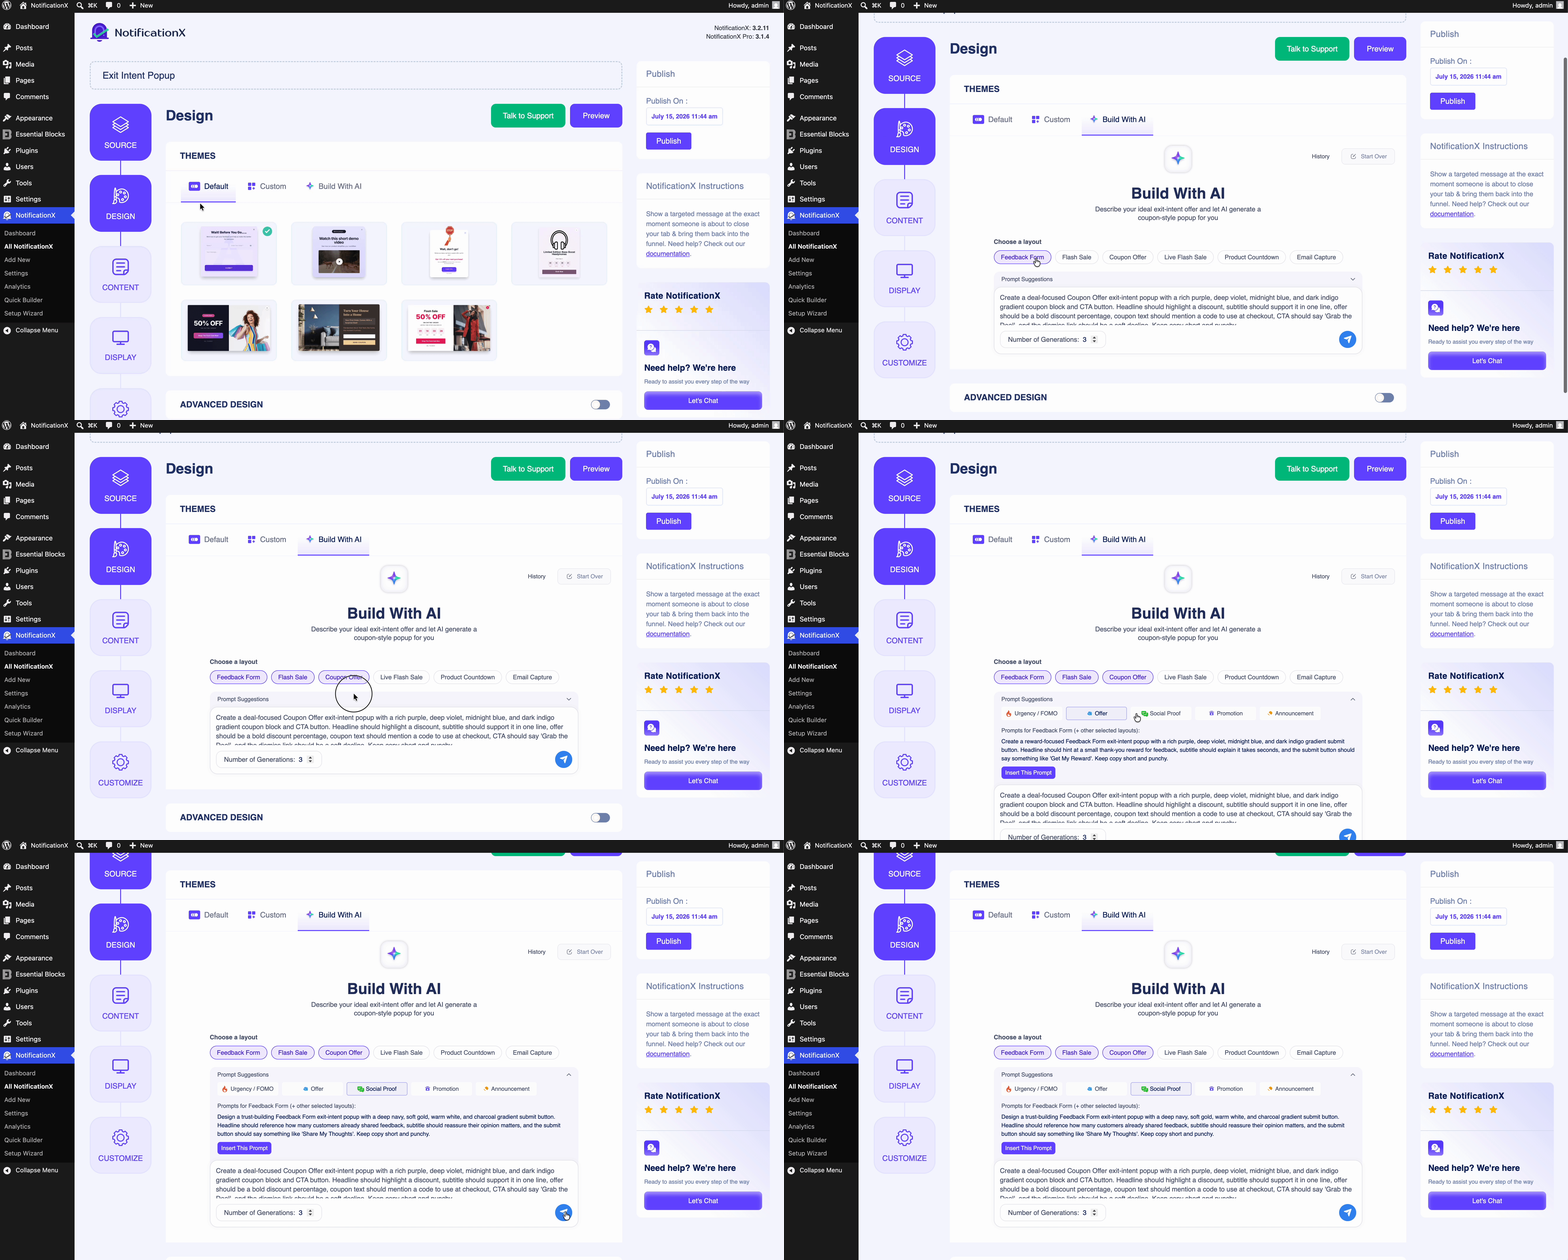
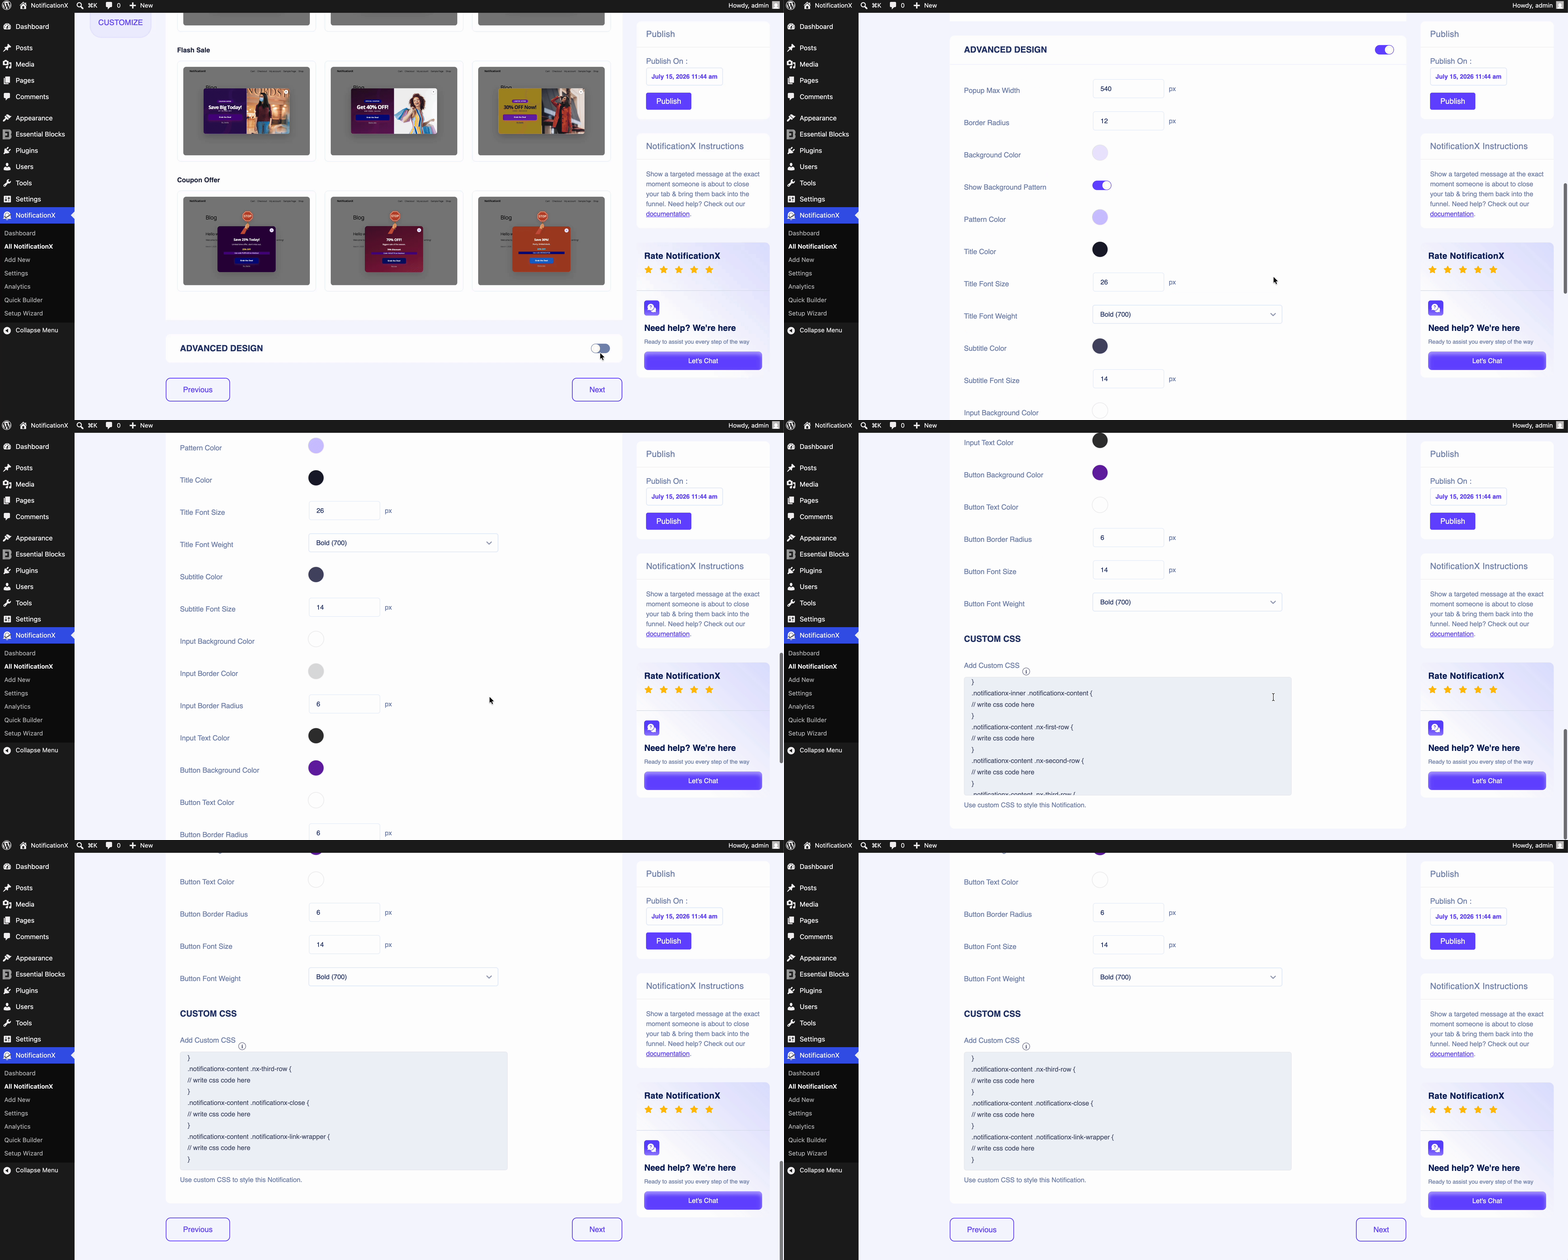
This is where the AI does the heavy lifting for you. Head over to the ‘Дизайн‘ tab, where you will find the ‘Build with AIвариант.
Simply type a prompt describing the exit intent popup you want in the text field or pick from the default on the dashboard. For example, mention the offer, the tone, and the style you have in mind, such as “Create a discount popup offering 20% off with a bold headline and a call-to-action button”. Once you are happy with your prompt, click on the ‘Generate‘ icon.
Within a few seconds, AI will generate a complete exit intent popup design for you, including the layout, colors, headline, subtitle, and button — all shown instantly in the live preview. If the result is not exactly what you had in mind, you can refine your prompt and generate again until you are satisfied.
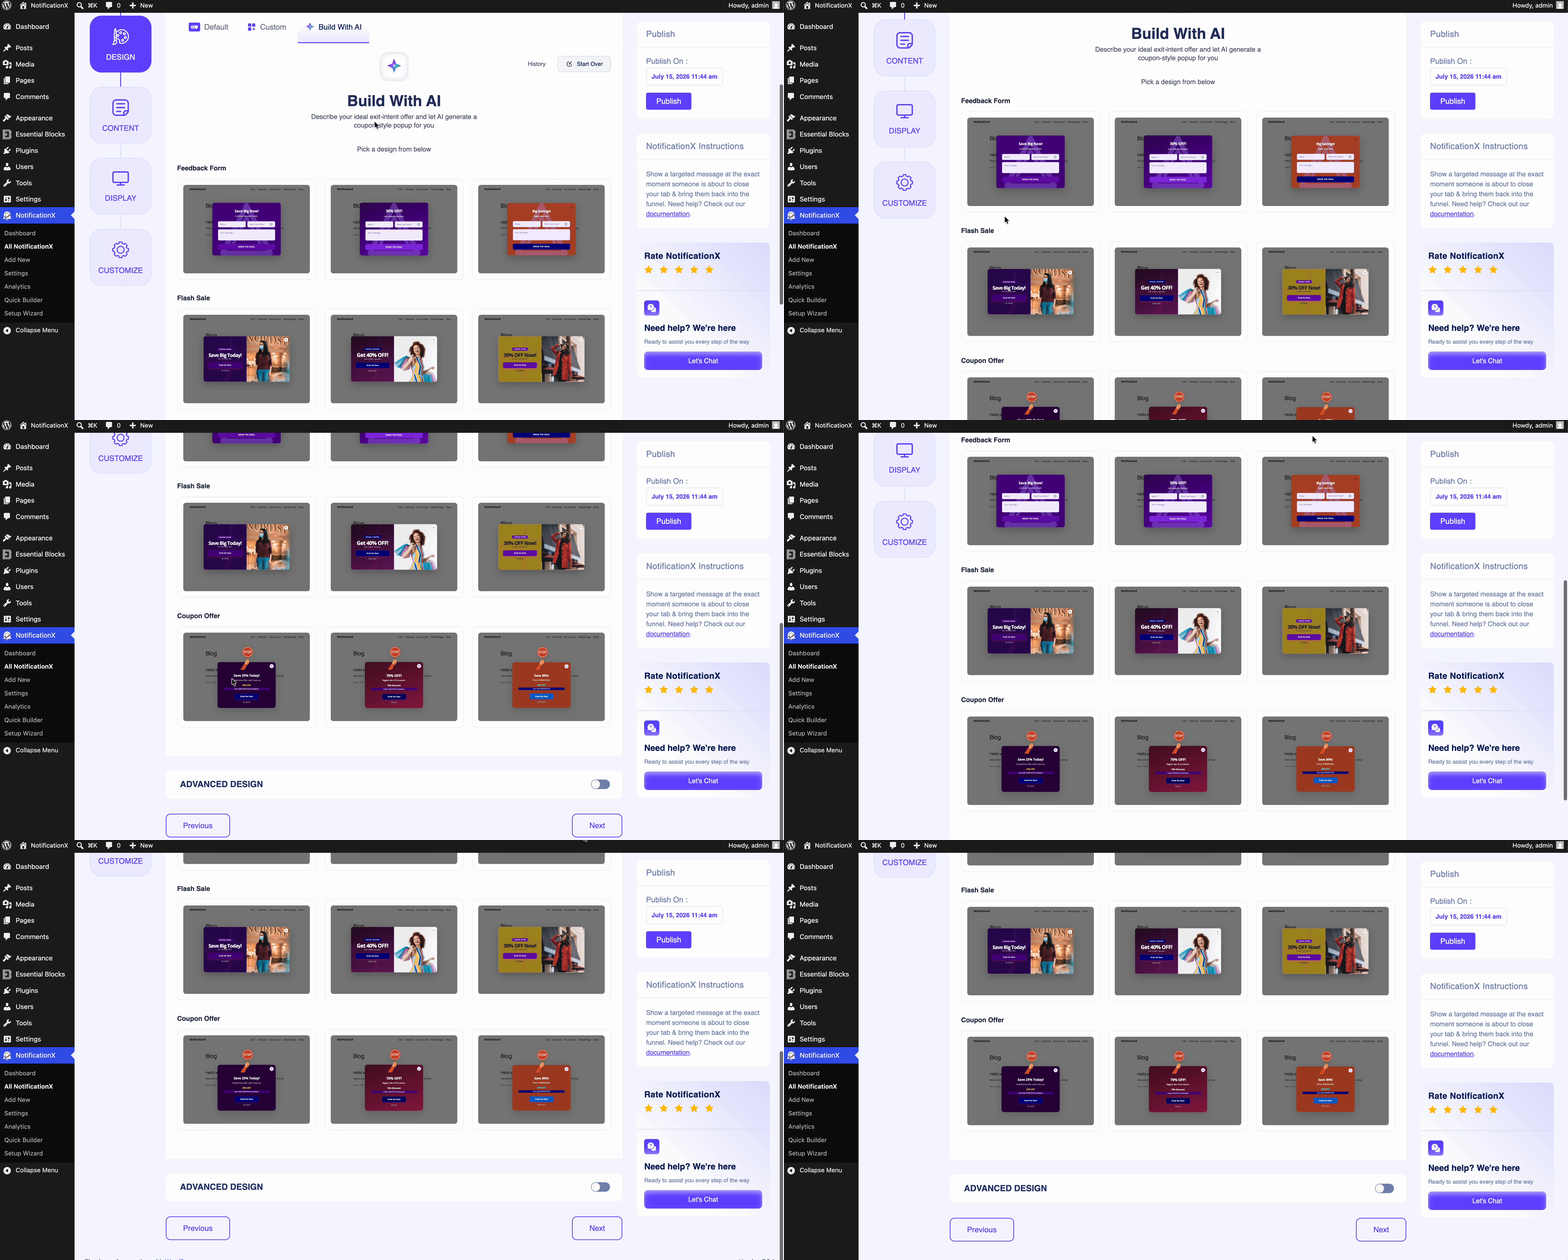
Once the AI has generated your design, you still have full control to fine-tune it. Enable the ‘Расширенный дизайн‘ button to manually adjust the background color, overlay background color, popup width, and close button color. You can also adjust the typography, font size and weight, content message color, and customize the button by changing its color, font size, radius, padding, and width.
Step 4: Customize the Content for Exit Intent Popup #
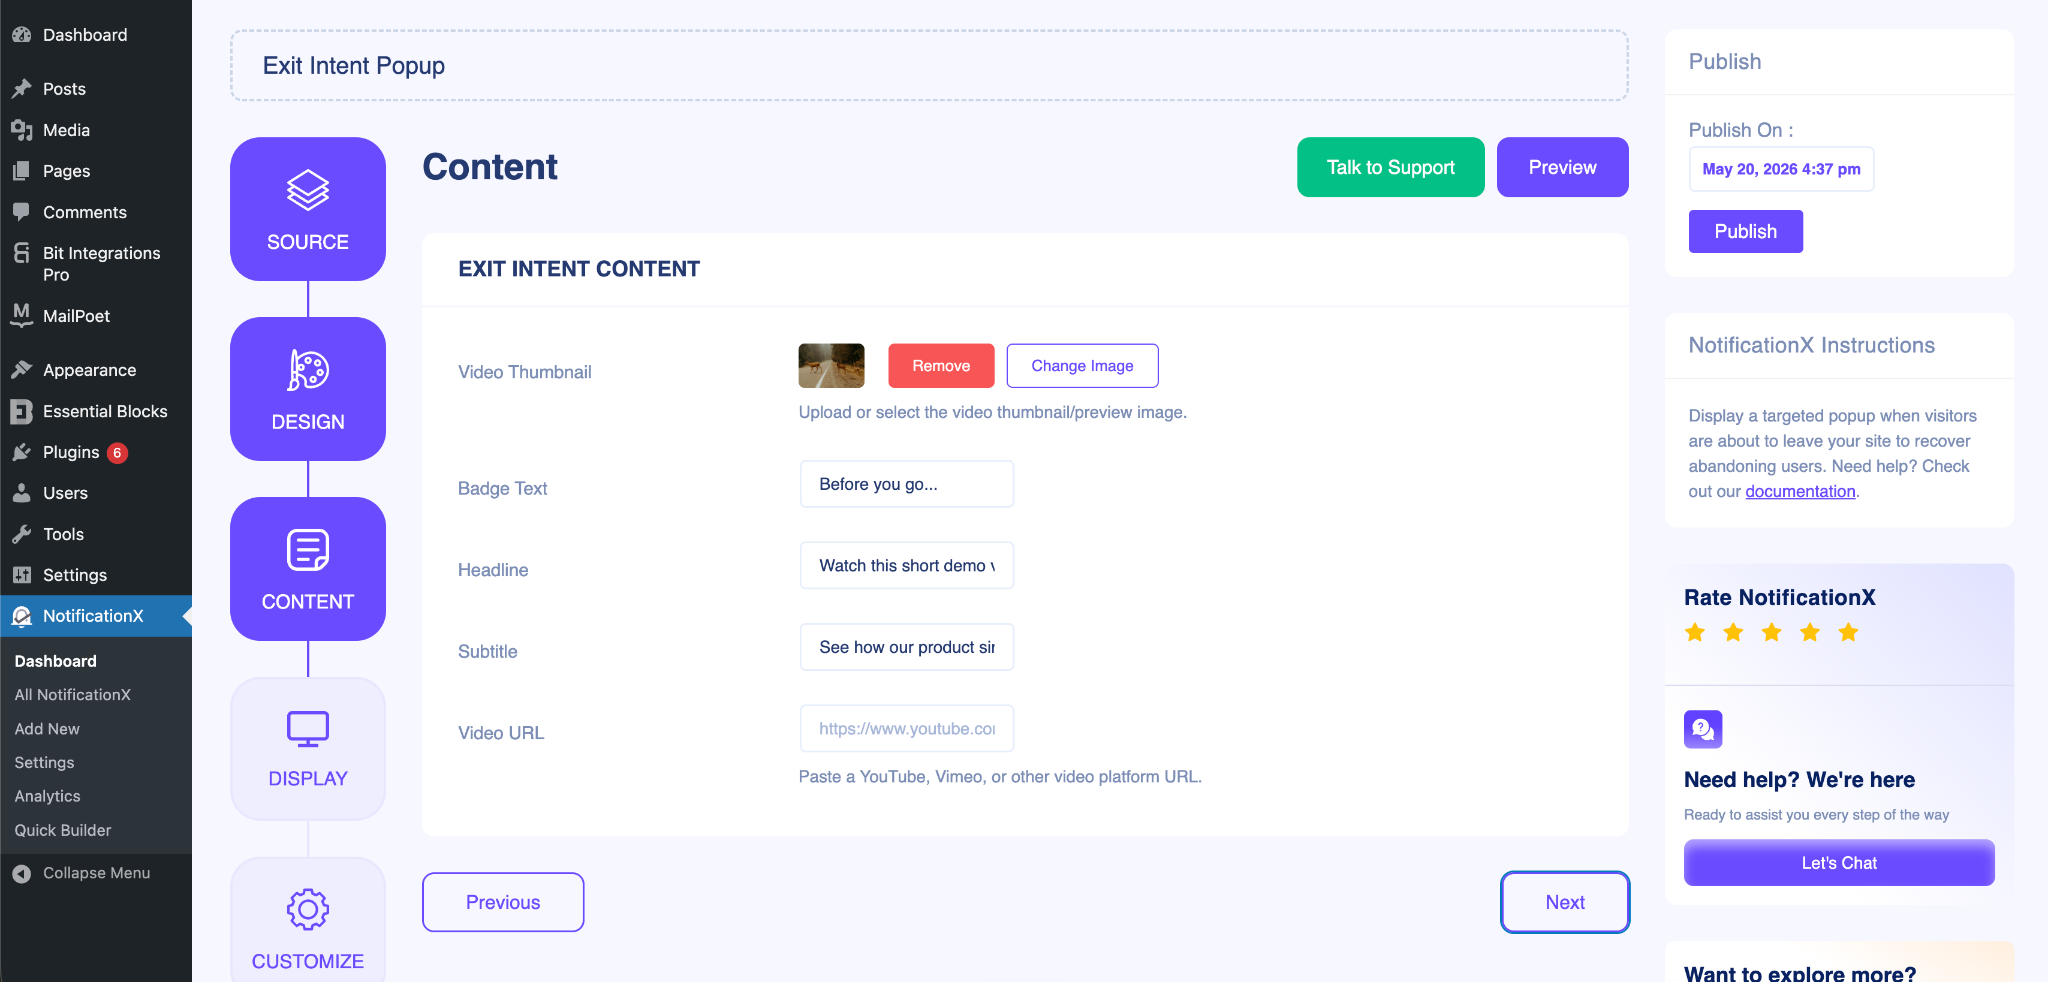
After clicking the ‘следующий‘ button, you will find the ‘содержание‘ tab. Here, you can review and edit the content for the popup. From setting the “Video Thumbnail”, to Badge Text, Headline, Subtitle & Video URL, you can set everything from this section.
After the settings, click on the ‘следующий‘ button to control the visibility of the exit intent popup.
Step 5: Control the Visibility #
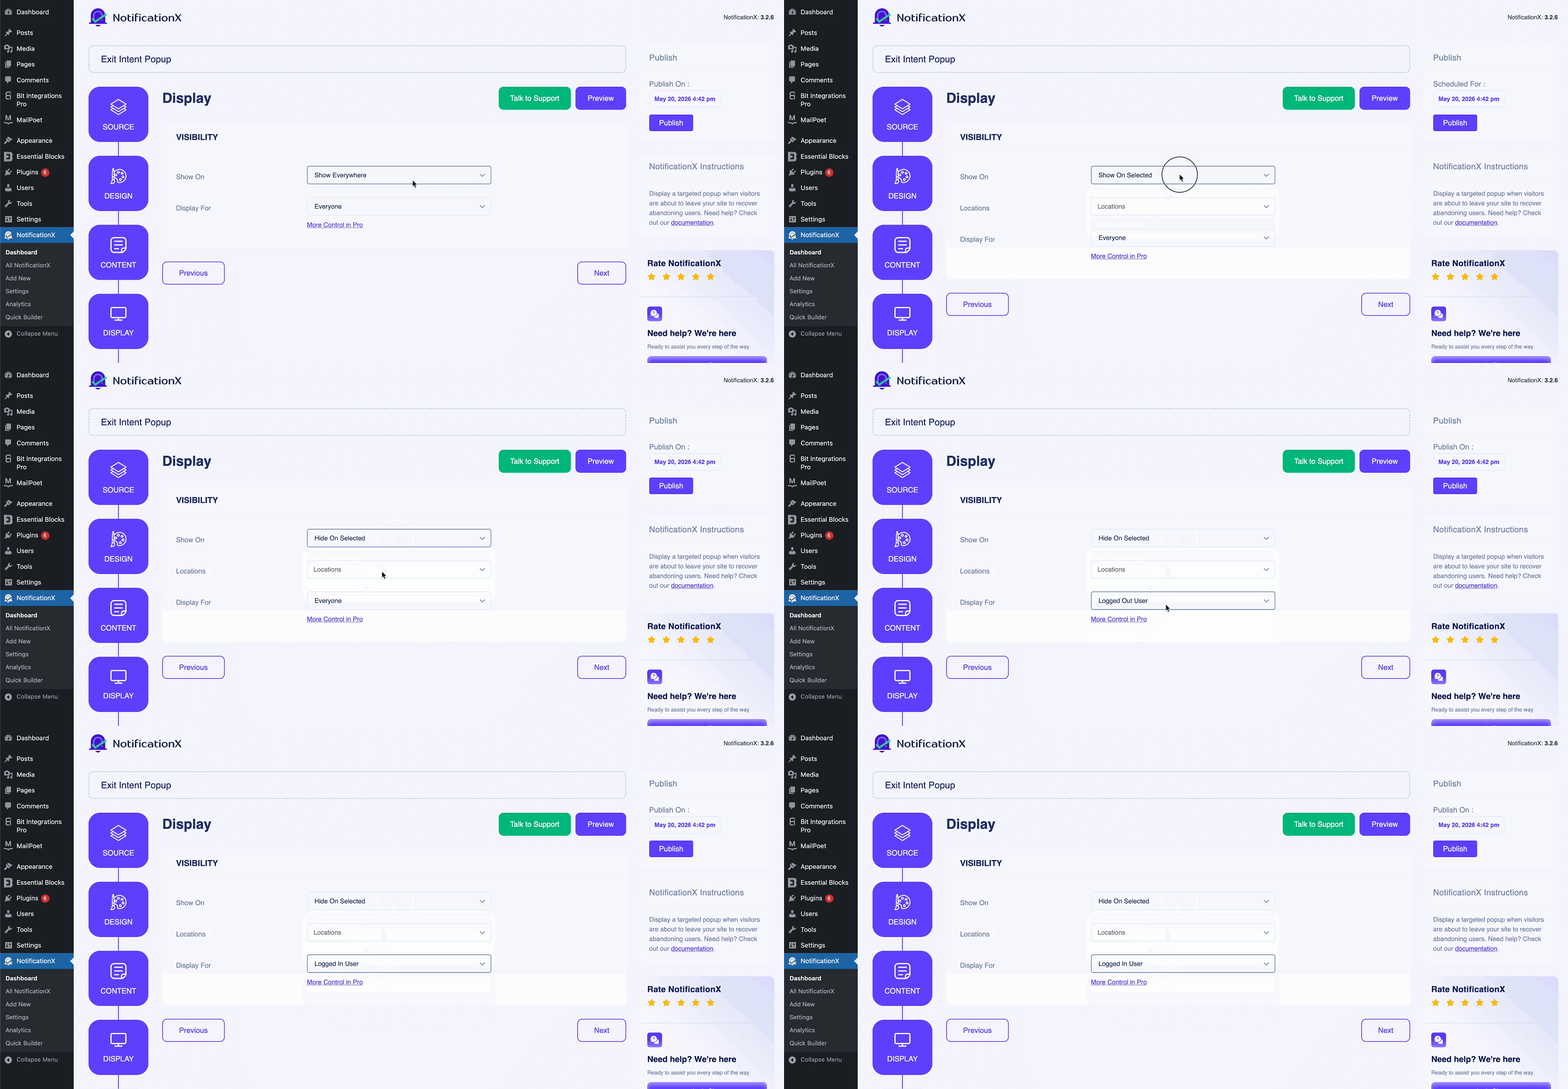
Next, from the ‘дисплей‘ tab, select the visibility option where you want to show/hide the exit intent popup on your website. You can also select to whom you want to display this notification type.
Step 6: Configure the Customization #
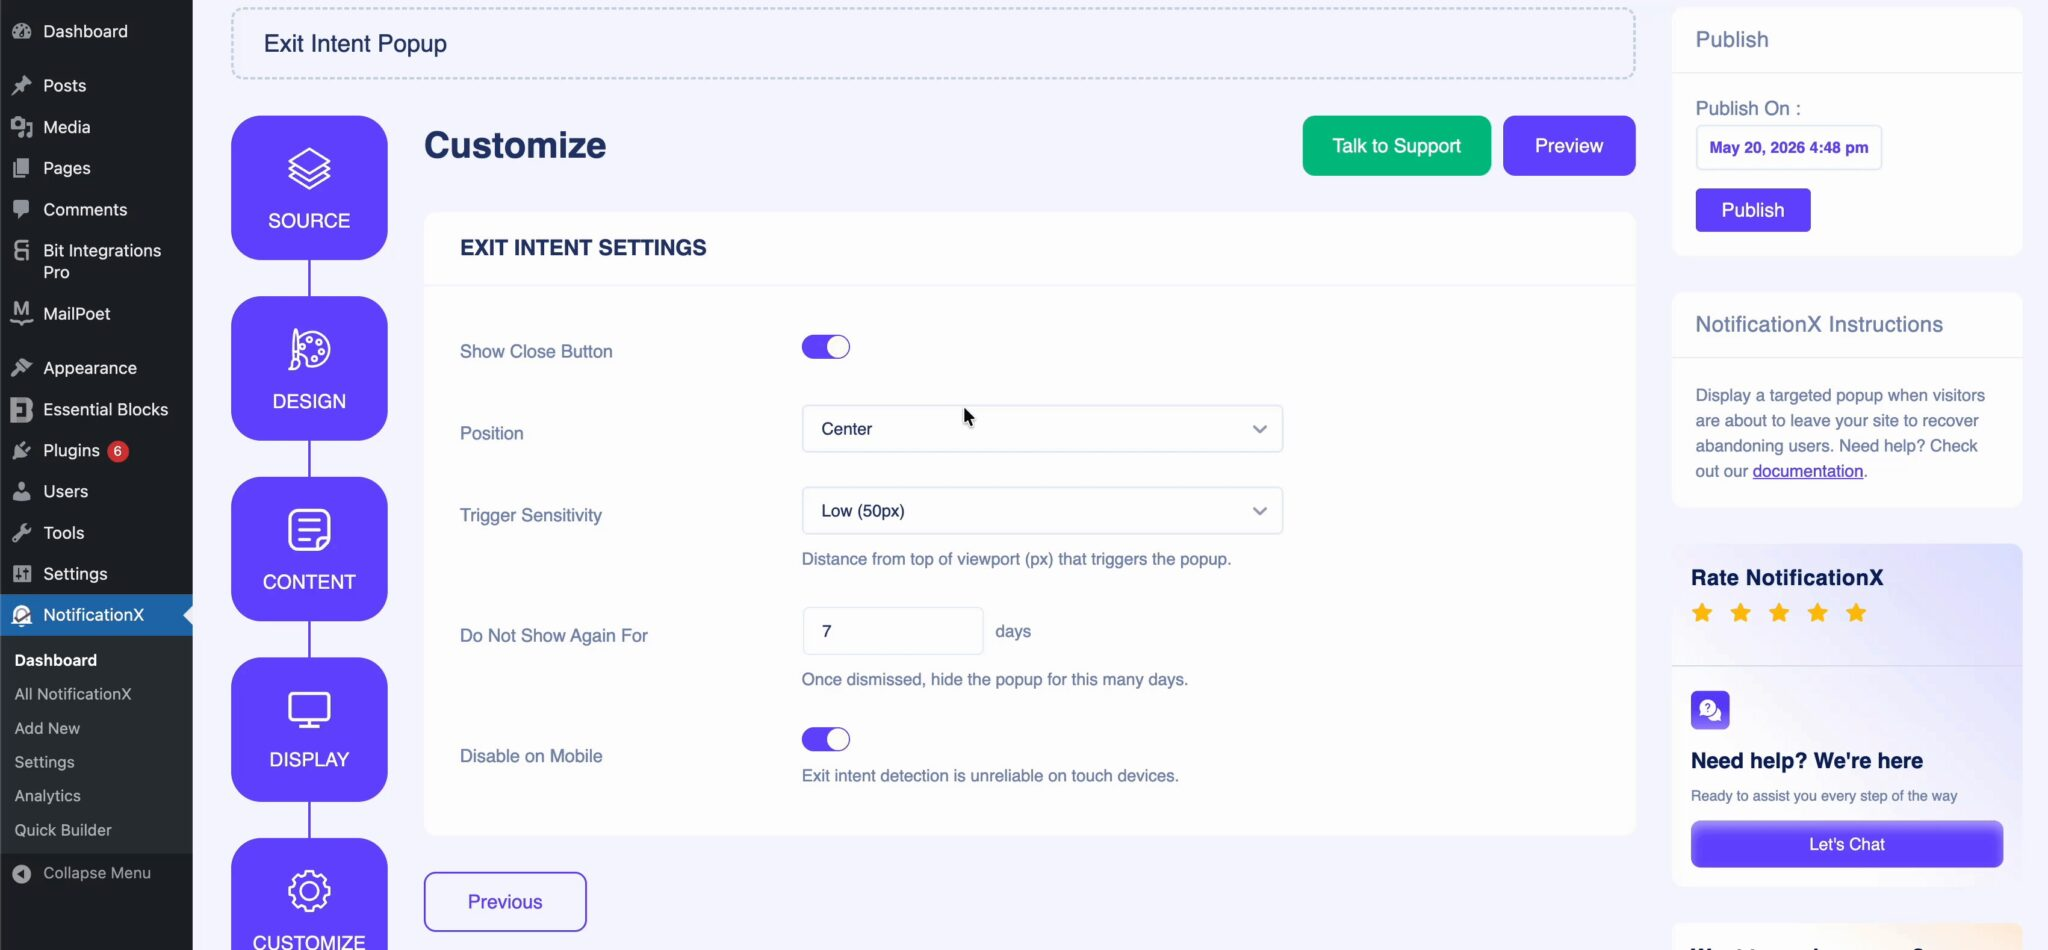
Next, under the ‘Настроить‘ tab, you can choose the Appearance of the exit intent popup. That means which position on your website you want to display the notification. You can also set Trigger Sensitivity and control the mobile visibility. Set the Timing to show a delay before the first notification. Click on the ‘Публиковать‘ button to make the exit intent popup live on your website.
Окончательный результат #
By following these steps and letting AI handle the design, this is how your Exit Intent Popup will appear on your WordPress website.
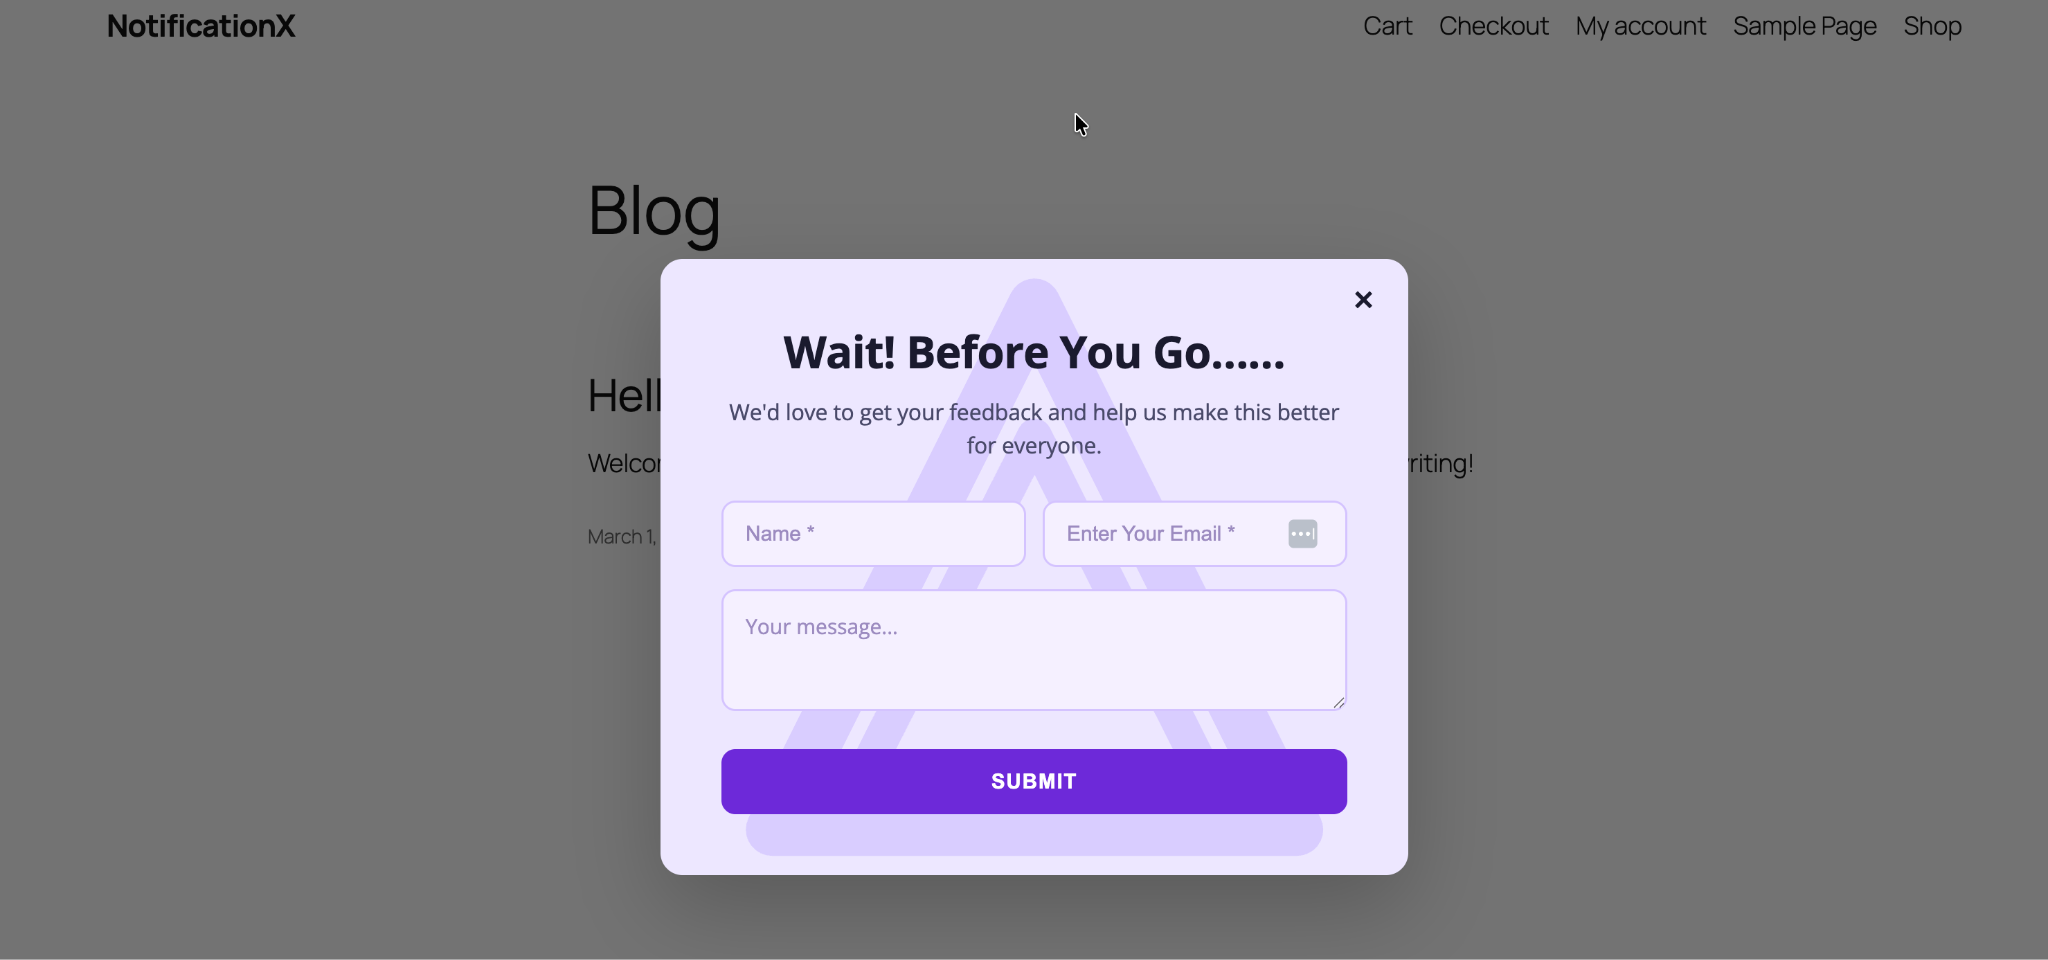
This is how easily you can create a stunning exit intent popup with AI using NotificationX — from design to execution, all in just a few clicks.
Если у вас возникнут какие-либо проблемы, вы можете связаться с нашими Группа поддержки.
 English
  Arabic
  Indonesian
  Spanish
  Portuguese
  German
  Dutch
Dutch  Russian
  Hindi
Hindi  French
  Japanese
  Chinese
  Vietnamese
  Malay
Malay