NotificationX PRO lets you showcase FluentCart Growth Alerts for products on your online store. This feature allows you to display sales counts, stock-out alerts and more, helping to boost engagement and sales.
Guide to Display FluentCart Growth Alerts with NotificationX #
To get started, make sure you have FluentCart installed and activated on your website. Once you have that set up, follow this easy, step-by-step guide to display FluentCart Growth Alerts for your products.
Step 1: Add a New Notification #
First, go to your WordPress dashboard and navigate to ‘NotificationX’ → ‘Add New.’ Click on it to get started with setting up your FluentCart Growth Alerts.

Step 2: Select The Notification Type & Source #
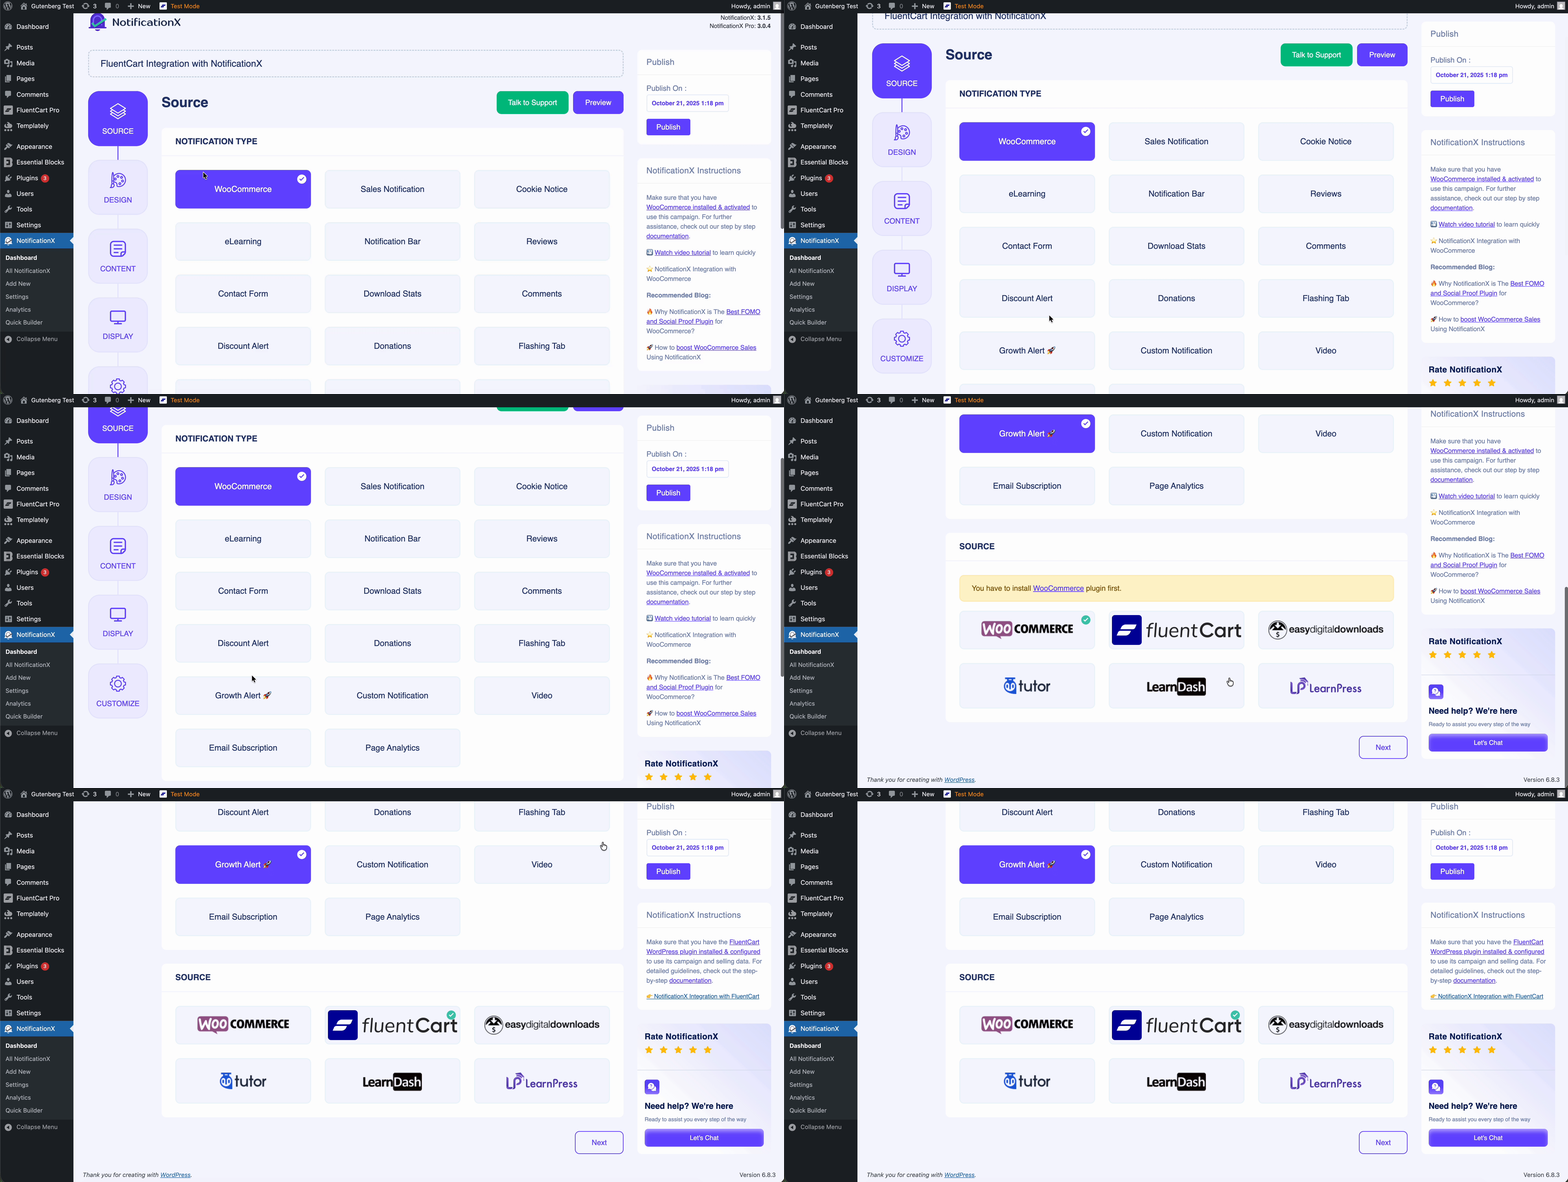
Depois de concluir a etapa 1, você será redirecionado para o 'Fonte’ Tab page of your NotificationX. You can also put a title. Select ‘Growth Alert’ as your notification type, & ‘FluentCart’ as source. Afterward, go ahead & click on the ‘Próximo’ Button.
Step 3: Customize Your Notification Design #
In the ‘Projeto’ tab, you can choose a layout and use the ‘Design Avançado’ option to customize it as you like. The layout you select in the ‘Temas’ section determines how the growth notification will appear on your site.
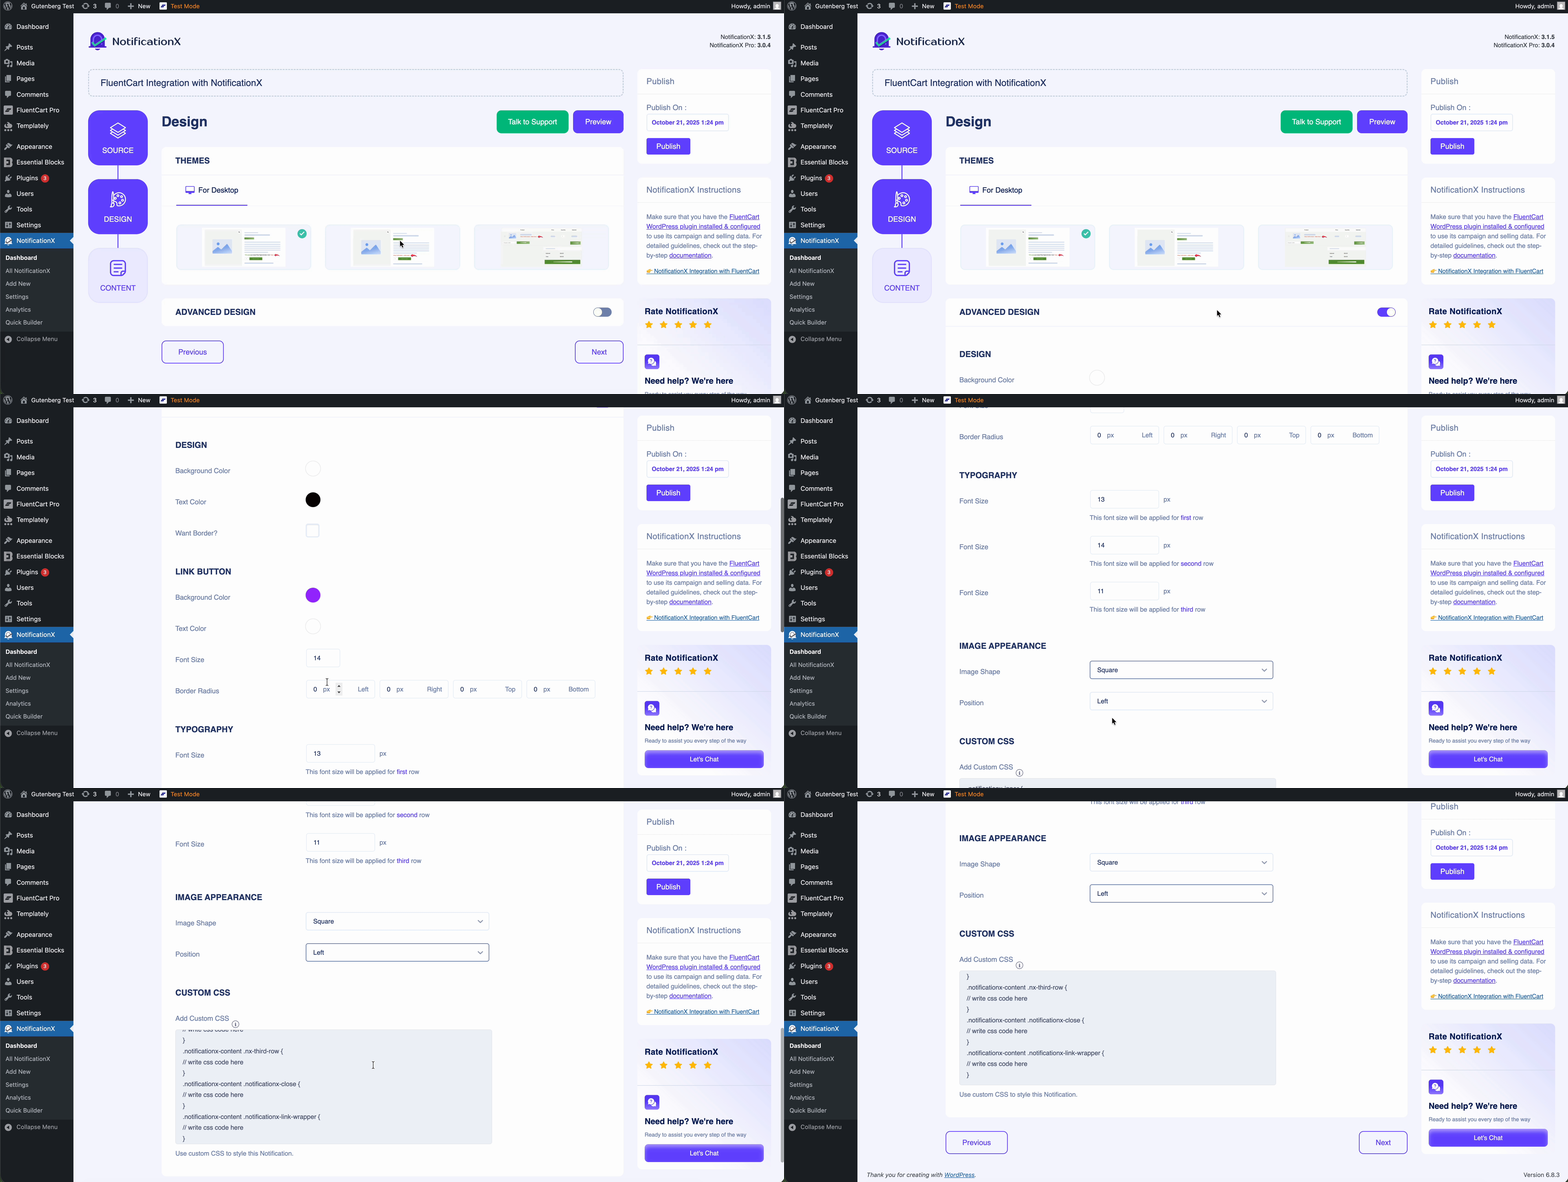
You can further customize your selected theme using the ‘Design Avançado’ option. This lets you easily adjust styling, image appearance, typography and more. You can also change the background or text color, add a border, and style it to match your website.
Step 4: Edit Notification Content #
You’ll be taken to the ‘Conteúdo’ tab, where you can customize your ‘Modelo de notificação’ and add the text you want to display. The options will depend on the type of notification you’re setting up.
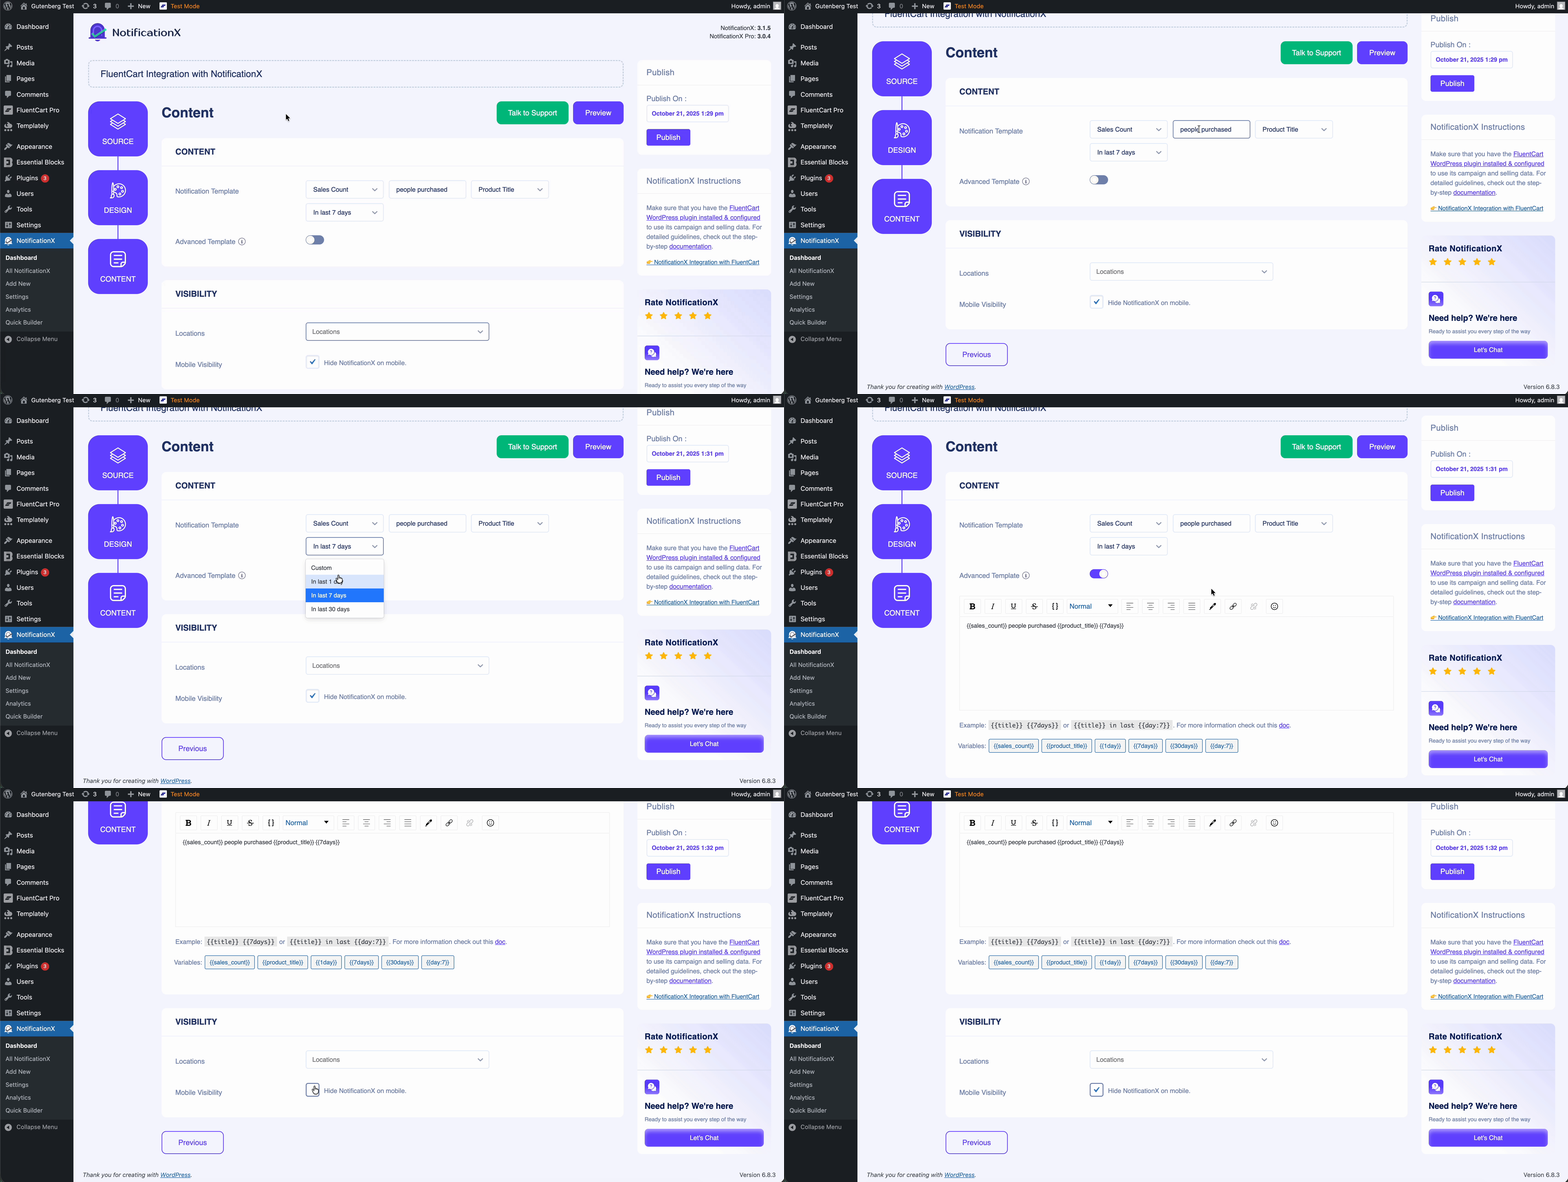
NotificationX provides a ‘Modelo de notificação ' with variables you can choose from. You can also add your own text to appear in the notification pop-up. Plus, you have control over your notification visibility location-wise & show/hide your notification on mobile devices.
Step 5: Publish The Notification #
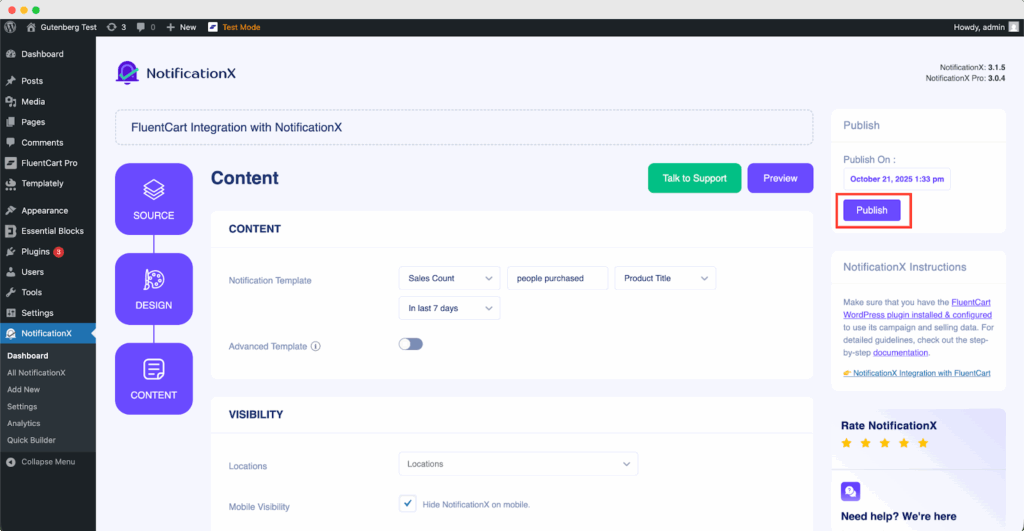
Once you’ve completed the adjustments, simply hit the ‘Publicar’ button, and your FluentCart Growth Notification will be live.
Resultado Final #
After following these steps and customizing a bit, your final result will look like this.
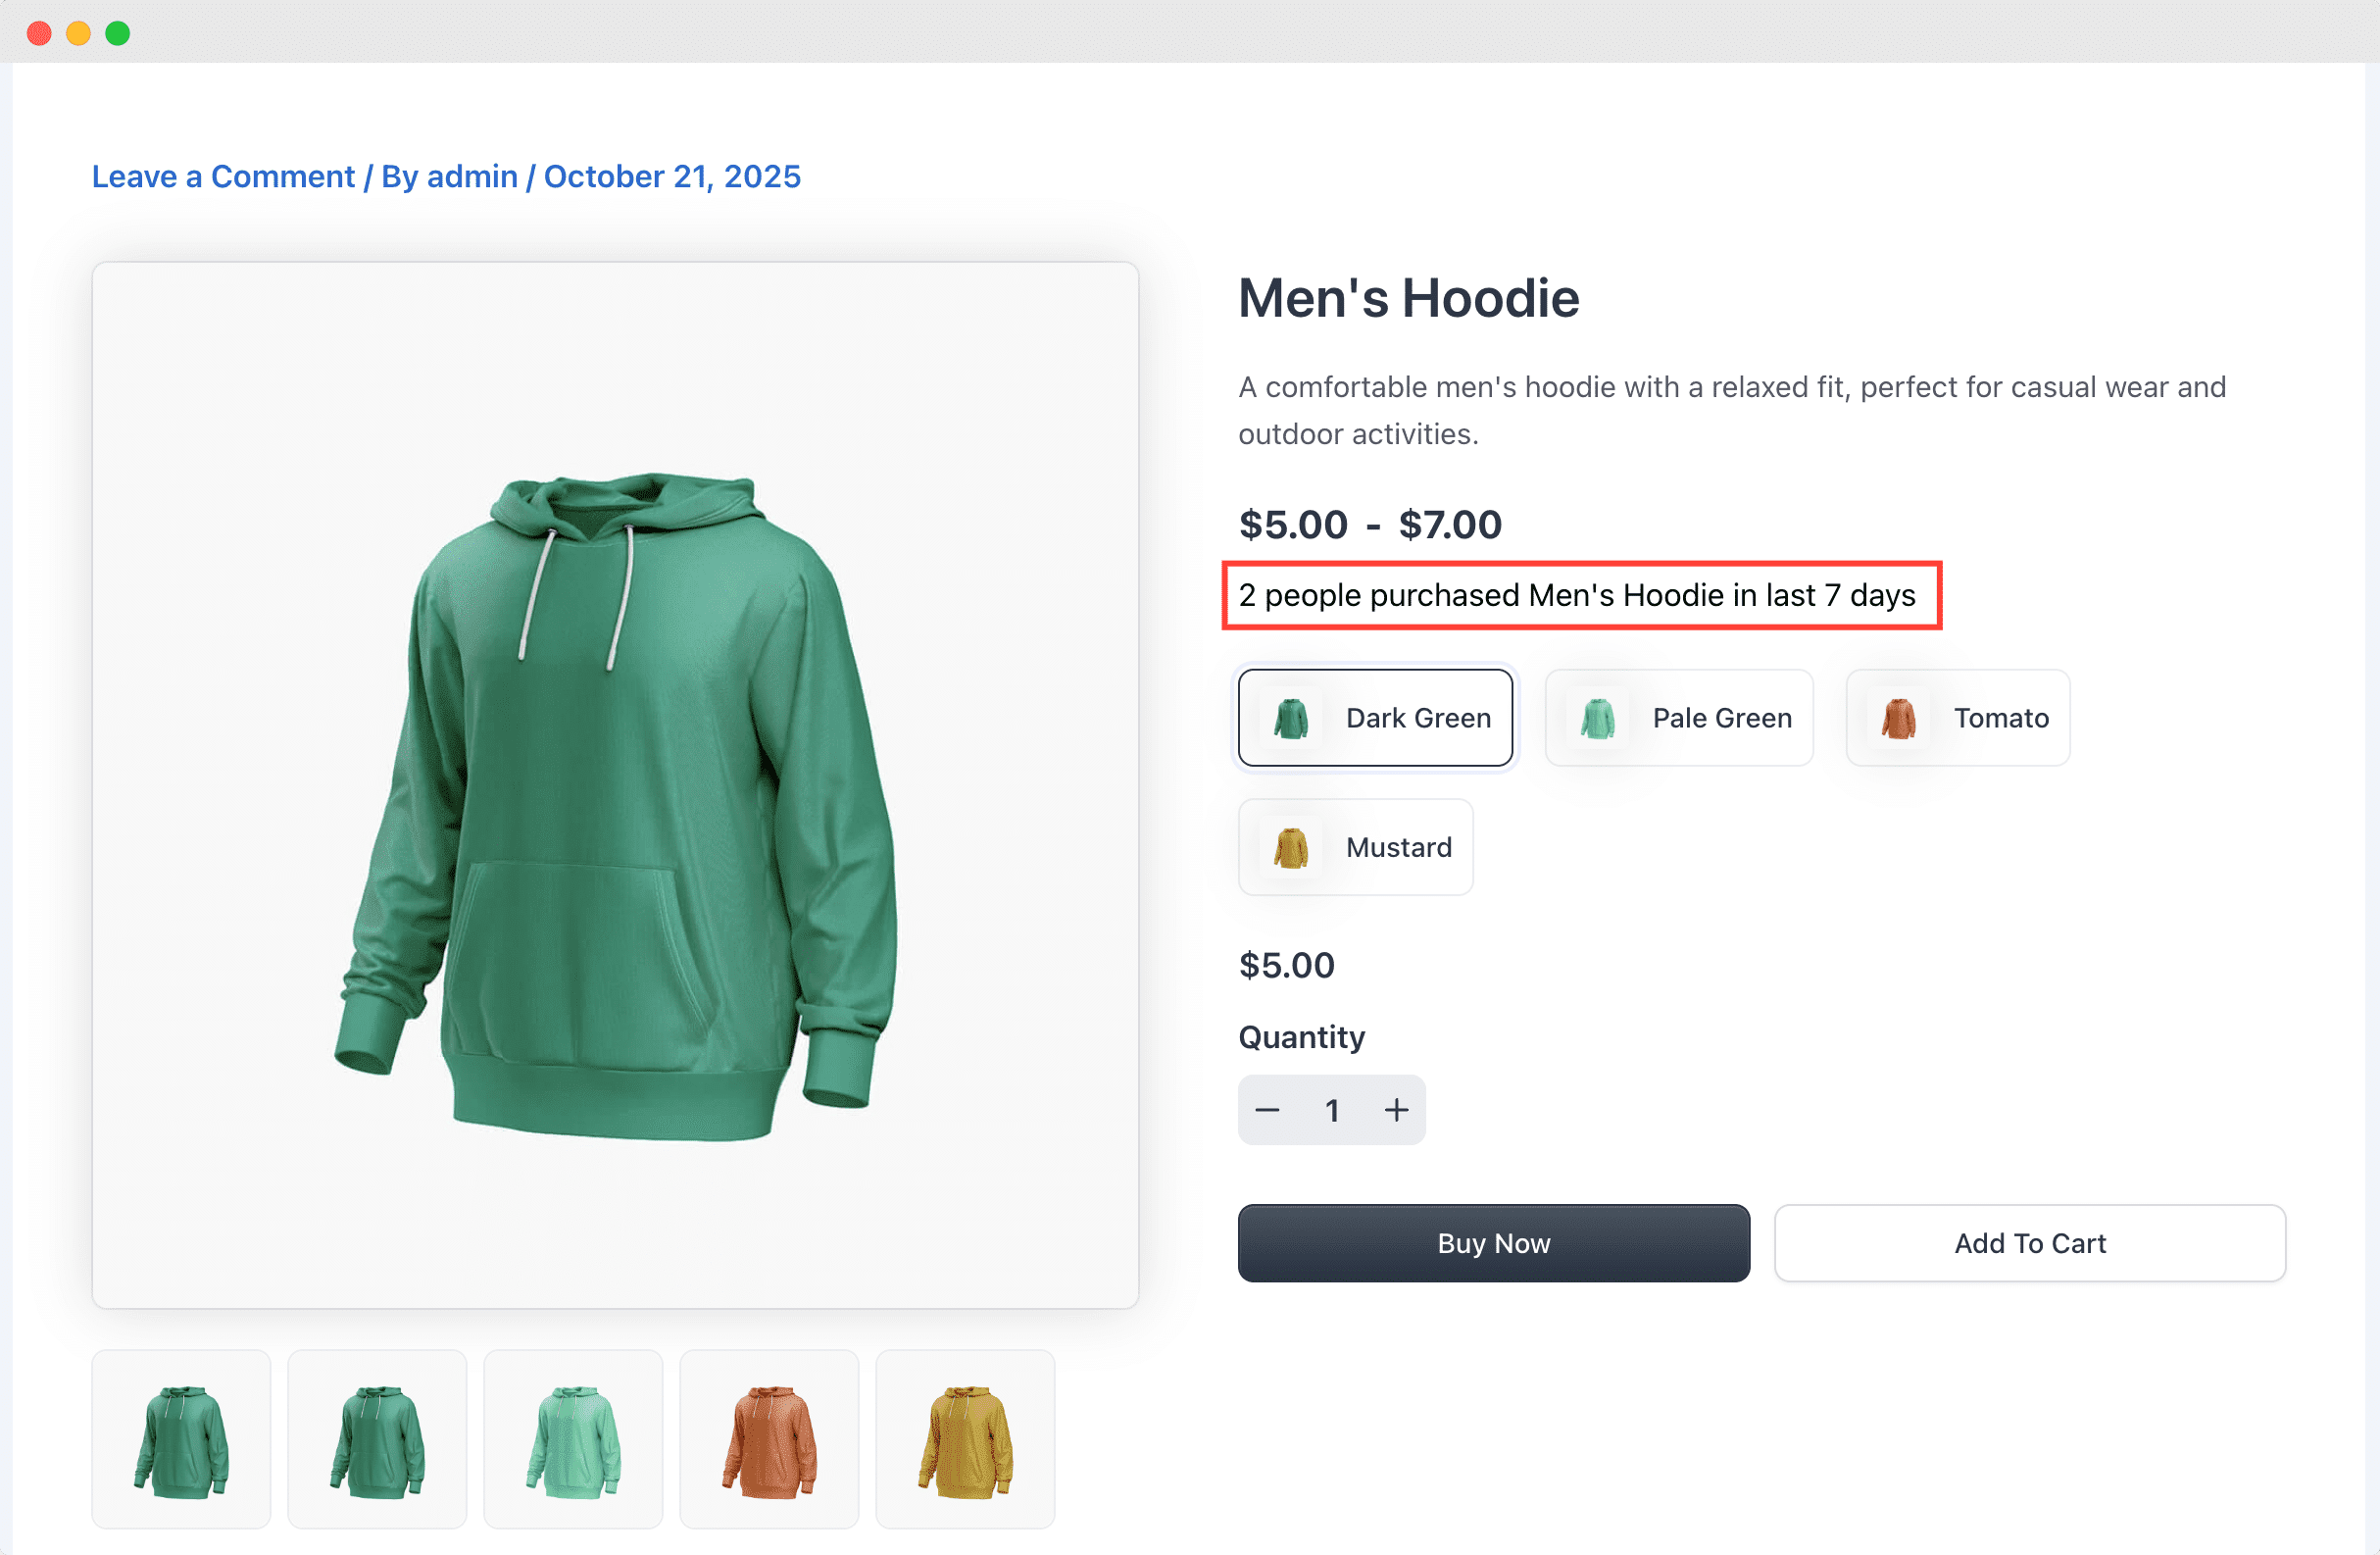
This is how you can easily create and display FluentCart Growth Alerts on your WordPress website using NotificationX.
If you face any problems, don’t hesitate to contact our Equipe de Suporte.


