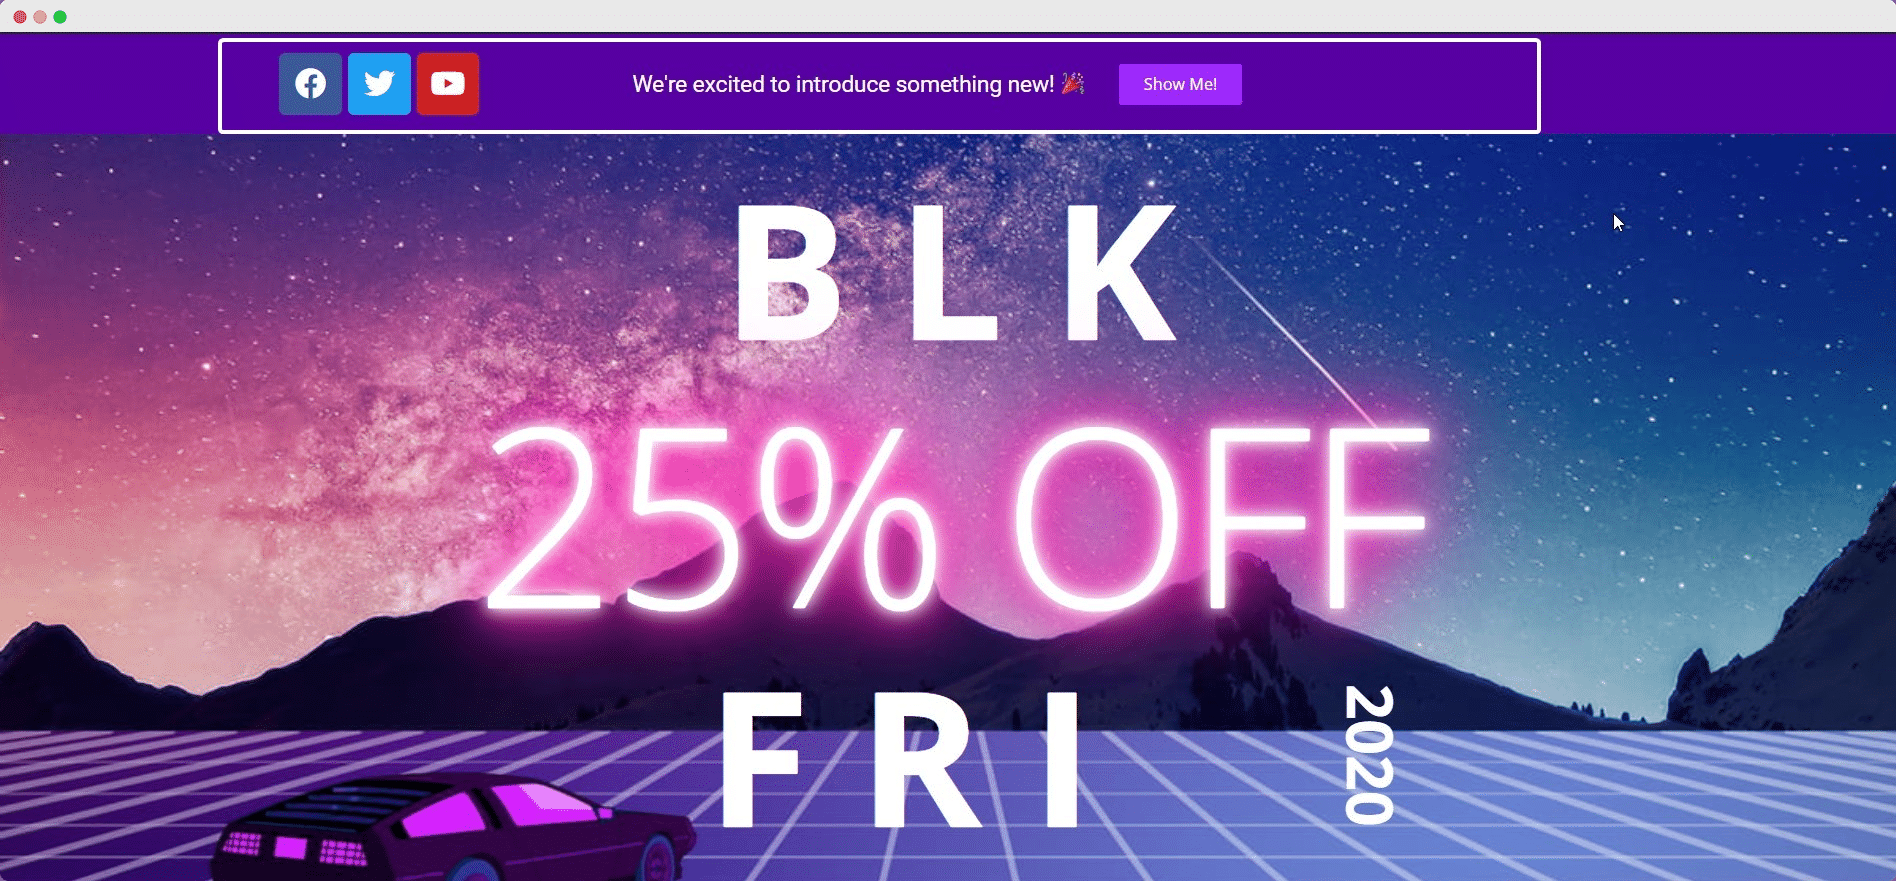
A WordPress notification bar is a great way to boost engagement on any kind of website. You can use it for important announcements, sales promotions and much more. It is a creative way to attract the attention of site visitors and increase your conversions. Thankfully, you don’t need to learn coding to add a beautiful WordPress notification bar on your website.

With the integration of NotificationX and the page builder Elementor, you can create stunning WordPress Notification bars in less than 5 minutes. Sounds amazing, doesn’t it? Let’s dive in and find out how you can design your WordPress notification bar in Elementor.
What Is A WordPress Notification Bar?
Have you ever visited a website and noticed a small banner at the top or bottom of the page? That’s a WordPress notification bar. These can be used to instantly grab a site visitor’s attention for many purposes.
For example, if you are running sales promotions, you can display the announcement using a notification bar. This way, whenever a site visitor comes to your page, they will immediately see the sales offer on the notification bar. Want to see it in action? Take a look at how these websites below are using notification bars on their WordPress websites.

Moreover, if you add a dynamic timer to your notification bar, site visitors might feel a sense of urgency to make a purchase. This is known as FOMO marketing (Fear Of Missing Out). You can use this kind of marketing strategy to boost conversions using a WordPress notification bar.
You can also use a WordPress notification bar to grow your mailing list. If a site visitor likes your content, they can simply click on your notification bar and subscribe to your newsletter with their email address. Similarly, you can use a WordPress notification bar for important announcements, or to provide contact details.
3 Ways To Make Your WordPress Notification Bar Stand Out
Of course, it’s not simply enough to just add a notification bar to your webpages. For the best results, you need to customize your notification bar to make it stand out. There are several ways you can do this without having to mess with codes or CSS. With NotificationX, the ultimate social proof and FOMO solution for WordPress, you can create attractive notification bars with a few clicks.
Add Attractive Buttons With Your WordPress Notification Bar
If you want to boost conversions with your WordPress notification bar, then you should add eye-catching buttons. This way, your visitors can simply click on the button to avail discounts, make purchases or subscribe for your newsletter. With NotificationX, you get to access different ready templates for your notification bar, all of which have beautiful buttons added to them.
Add An Animated Countdown To Create Urgency
FOMO marketing is all about creating a sense of urgency in your site visitors, and the best way to do this is by using countdown timers. This way, your site visitors can see that the time is running out for them to make a quick decision. So, they will feel compelled to quickly make a purchase before the offer runs out.
Use Evergreen Timers To Make Your Notification Bar More Dynamic
With NotificationX, you can make your notification bar more dynamic by using an evergreen timer. These timers use cookies as trackers. They start the timer as soon as a potential customer visits your website for the first time. What this means, is that your countdown be unique for every visitor. This makes your countdown timer more dynamic and creates an even greater sense of urgency in site visitors.
Watch The Video Tutorial Here
How To Create A WordPress Notification Bar In Elementor Using NotificationX
The pagebuilder Elementor is one of the most popular WordPress solutions to create whole websites without any coding. You can now use Elementor with NotificationX, the ultimate FOMO solution for WordPress, to create a stunning notification bar without coding. Just follow this step-by-step guide below, to create a WordPress notification bar in Elementor using NotificationX.
Step 1: Install And Activate NotificationX
First, you will have to install and activate NotificationX on your WordPres website. You only need the free version for this tutorial. To do this, navigate to Plugins→ Add New from your WordPress dashboard and type ‘NotificationX’ in the search bar. Then click on ‘Install’ and later ‘Activate’.

Step 2: Create A Notification Bar
After you are done installing and activating NotificationX, you need to create a notification bar in NotificationX. You can do this by navigating to NotificationX→ Add New from your WordPress dashboard. You will be taken to a new page where you can choose ‘Notification Bar’ as your notification type.

Step 3: Configure Your WordPress Notification Bar In NotificationX
After choosing your source, head over to the ‘Design’ tab in NotificationX. Here, you will be able to configure your WordPress notification bar. If you turn the ‘Advanced Design’ toggle on, you will find an option called ‘Build with Elementor’. When you click this button, you will see a popup appear displaying different layouts of your WordPress notification bar. Choose any of these layouts that you like. Then, click on the ‘Import’ button next to the layout you have selected.

Next, you have to move to the ‘Display’ tab in NotificationX. Here, you can configure the settings to choose where you want to display your WordPress notification bar. You can also choose to display your notification bar to everyone who visits your site, or to specific people only.
After you are done with this step move on to the ‘Customize’ tab in NotificationX. Play around with the settings here to choose the position of your notification bar, enable close option, mobile visibility and much more.

Step 4: Customize The Design Of Your WordPress Notification Bar In Elementor
When you are done with all of the above steps, click on ‘Publish’ from NotificationX dashboard. You will be redirected to the Elementor Editor. From here, you can design your WordPress notification bar in any way you want without touching a single line of code. You can even add any kind of Elementor widgets or add new sections next to your notification bar.
Step 5: Preview Final Outcome
Once you are done customizing your WordPress notification bar in Elementor, make sure to save your changes. You can then preview your notification bar to see how it looks and publish it if you are happy with its appearance.

As you can see, with the integration of NotificationX with Elementor, creating your WordPress notification bar in Elementor is easier than ever. Try it out for yourself today, and share your experience with us in the comments below. If you face any difficulties, feel free to contact our support team for further assistance. Or, join our Facebook Community to connect with other WordPress users like yourself.


