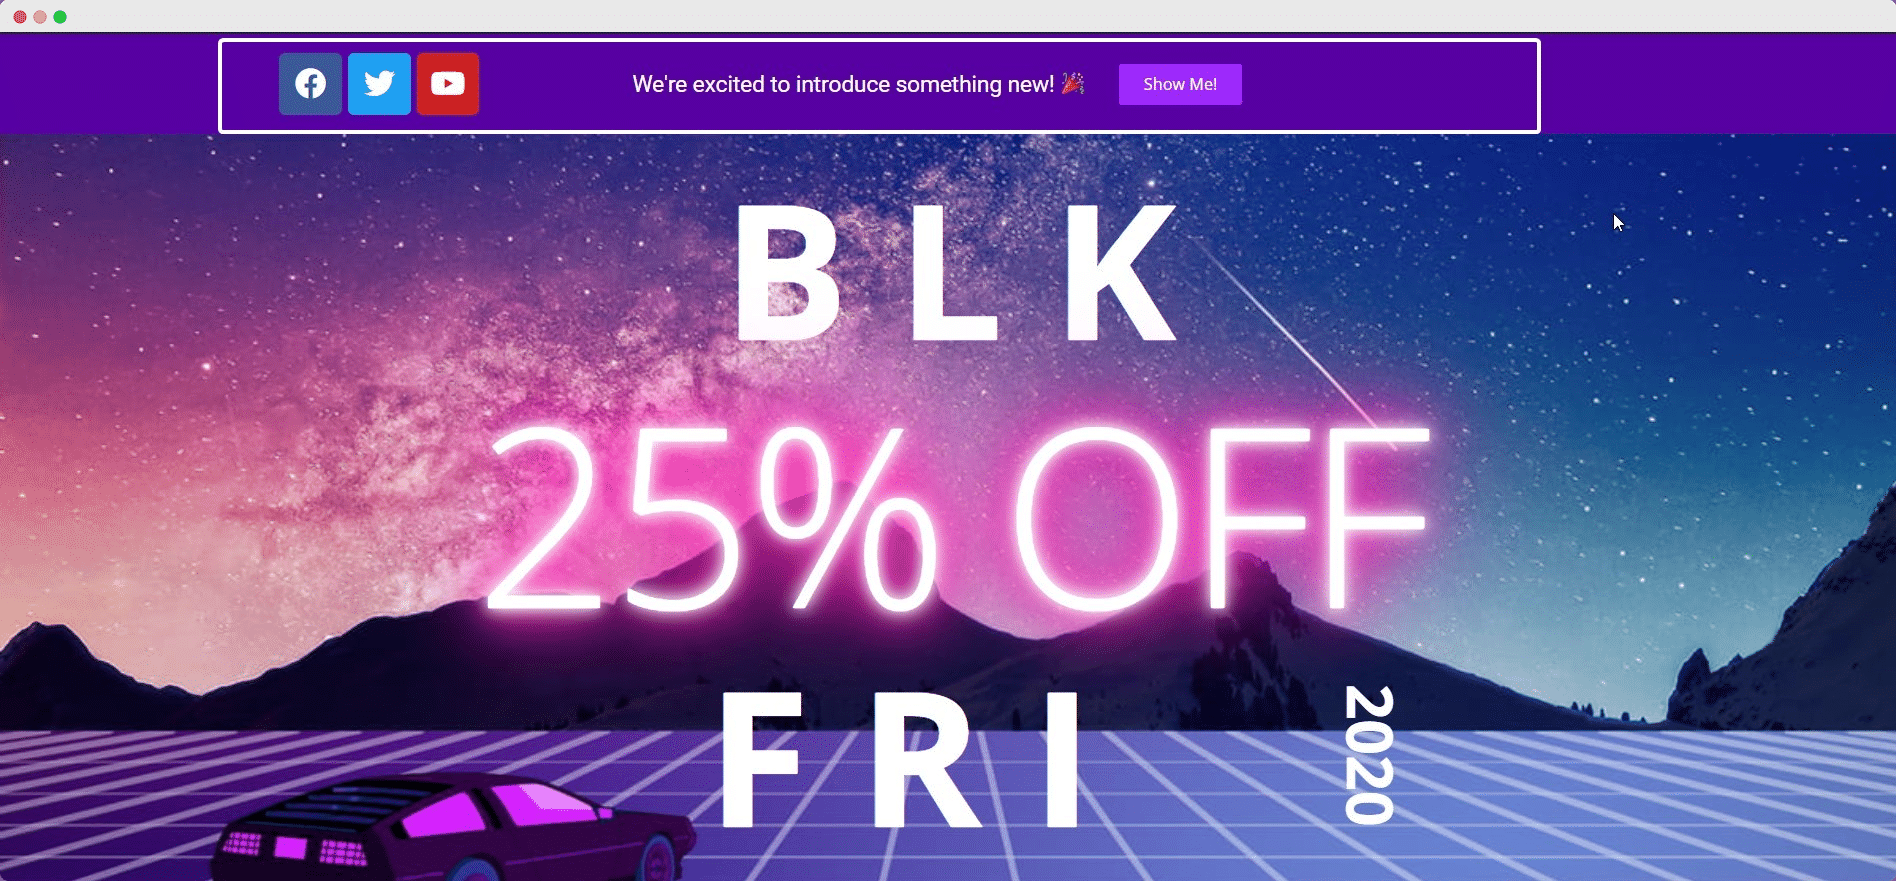
一个 WordPress通知栏 is a great way to boost engagement on any kind of website. You can use it for important announcements, sales promotions and much more. It is a creative way to attract the attention of site visitors and increase your conversions. Thankfully, you don’t need to learn coding to add a beautiful WordPress notification bar on your website.

With the integration of NotificationX 和页面构建器 元素,您可以在不到5分钟的时间内创建令人惊叹的WordPress通知栏。听起来很棒,不是吗?让我们深入了解如何设计自己的 Elementor中的WordPress通知栏.
什么是WordPress通知栏?
您是否曾经访问过网站,并注意到页面顶部或底部的小横幅?那是一个 WordPress通知栏。这些可以用于立即吸引站点访问者的注意,用于多种目的。
例如,如果您正在跑步 促销活动,您可以使用通知栏显示公告。这样,无论何时有网站访问者访问您的页面,他们都会立即在通知栏上看到销售报价。想要看到它的实际效果吗?看看下面的这些网站如何在其WordPress网站上使用通知栏。

此外,如果您添加 动态计时器 在您的通知栏上,网站访问者可能会感到急需购买商品。这被称为 FOMO营销 (害怕错过什么)。您可以使用这种营销策略通过WordPress通知栏来促进转化。
您还可以使用WordPress通知栏来增加您的邮件列表。如果网站访问者喜欢您的内容,则只需单击您的通知栏并使用其电子邮件地址订阅您的时事通讯。同样,您可以将WordPress通知栏用于重要公告,或提供联系方式。
使您的WordPress通知栏脱颖而出的3种方法
Of course, it’s not simply enough to just add a notification bar to your webpages. For the best results, you need to customize your notification bar to make it stand out. There are several ways you can do this without having to mess with codes or CSS. With NotificationX,是WordPress的终极社交证明和FOMO解决方案,您只需单击几下即可创建有吸引力的通知栏。
使用WordPress通知栏添加有吸引力的按钮
如果您想通过WordPress通知栏提高转化率,则应添加醒目的按钮。这样,您的访问者只需单击按钮即可享受折扣,购买或订阅您的新闻通讯。使用NotificationX,您可以访问通知栏的不同就绪模板,所有模板都添加了漂亮的按钮。
添加动画倒计时以创建紧急度
FOMO营销就是要在您的网站访问者中营造一种紧迫感,而最好的方法是使用 倒数计时器。这样,您的网站访问者可以看到时间已到,他们可以迅速做出决定。因此,他们将被迫在报价用完之前迅速进行购买。
使用Evergreen计时器使通知栏更加动态
使用NotificationX,您可以通过使用 常绿计时器。这些计时器使用cookie作为跟踪器。一旦潜在客户首次访问您的网站,他们就会启动计时器。这意味着您的倒计时对于每个访客都是唯一的。这使您的倒数计时器更加动态,并在站点访问者中产生了更大的紧迫感。
在这里观看视频教程
如何使用NotificationX在Elementor中创建WordPress通知栏
页面生成器 元素 是最流行的WordPress解决方案之一,无需任何编码即可创建整个网站。现在,您可以将Elementor与WordPress的最终FOMO解决方案NotificationX结合使用,以创建无需编码的精美通知栏。只需按照下面的分步指南,使用NotificationX在Elementor中创建WordPress通知栏。
步骤1:安装并激活NotificationX
首先,您必须 安装并激活NotificationX 在您的WordPres网站上。您只需要本教程的免费版本。为此,请导航至 插件→添加新 from your WordPress dashboard and type ‘NotificationX’ in the search bar. Then click on ‘Install’ and later ‘Activate'。

步骤2:创建一个通知栏
完成安装和激活NotificationX之后,您需要 创建一个通知栏 在NotificationX中。您可以通过导航到 NotificationX→添加新 从您的WordPress仪表板。您将被带到一个新页面,您可以在其中选择 “通知栏” 作为您的通知类型。

步骤3:在NotificationX中配置WordPress通知栏
选择来源后,前往 '设计' tab in NotificationX. Here, you will be able to configure your WordPress notification bar. If you turn the ‘高级设计” toggle on, you will find an option called “用Elementor构建”。当您单击此按钮时,您将看到一个弹出窗口,显示WordPress通知栏的不同布局。选择任何您喜欢的布局。然后,单击所选布局旁边的“导入”按钮。

接下来,您必须转到 '显示' NotificationX中的标签。在这里,您可以配置设置以选择要显示WordPress通知栏的位置。您还可以选择向访问您网站的所有人或仅特定人群显示通知栏。
完成此步骤后,请转到 '定制' NotificationX中的标签。尝试此处的设置以选择通知栏的位置,启用关闭选项,移动可见性等等。

步骤4:在Elementor中自定义WordPress通知栏的设计
完成上述所有步骤后,请点击 '发布' 从NotificationX仪表板。您将被重定向到 元素编辑器。在这里,您可以按任何需要设计WordPress通知栏,而无需触及任何一行代码。您甚至可以添加任何类型的Elementor小部件,或在通知栏旁边添加新部分。
步骤5:预览最终结果
在Elementor中自定义WordPress通知栏后,请确保保存更改。然后,您可以预览通知栏以查看其外观,并在满意时将其发布。

如您所见,通过将NotificationX与Elementor集成,在Elementor中创建WordPress通知栏比以往更加容易。立即尝试一下,并在下面的评论中与我们分享您的经验。如果遇到任何困难,请随时 联系我们的支持团队 为进一步协助。或者,加入我们 Facebook社区 与其他像您这样的WordPress用户建立联系。


