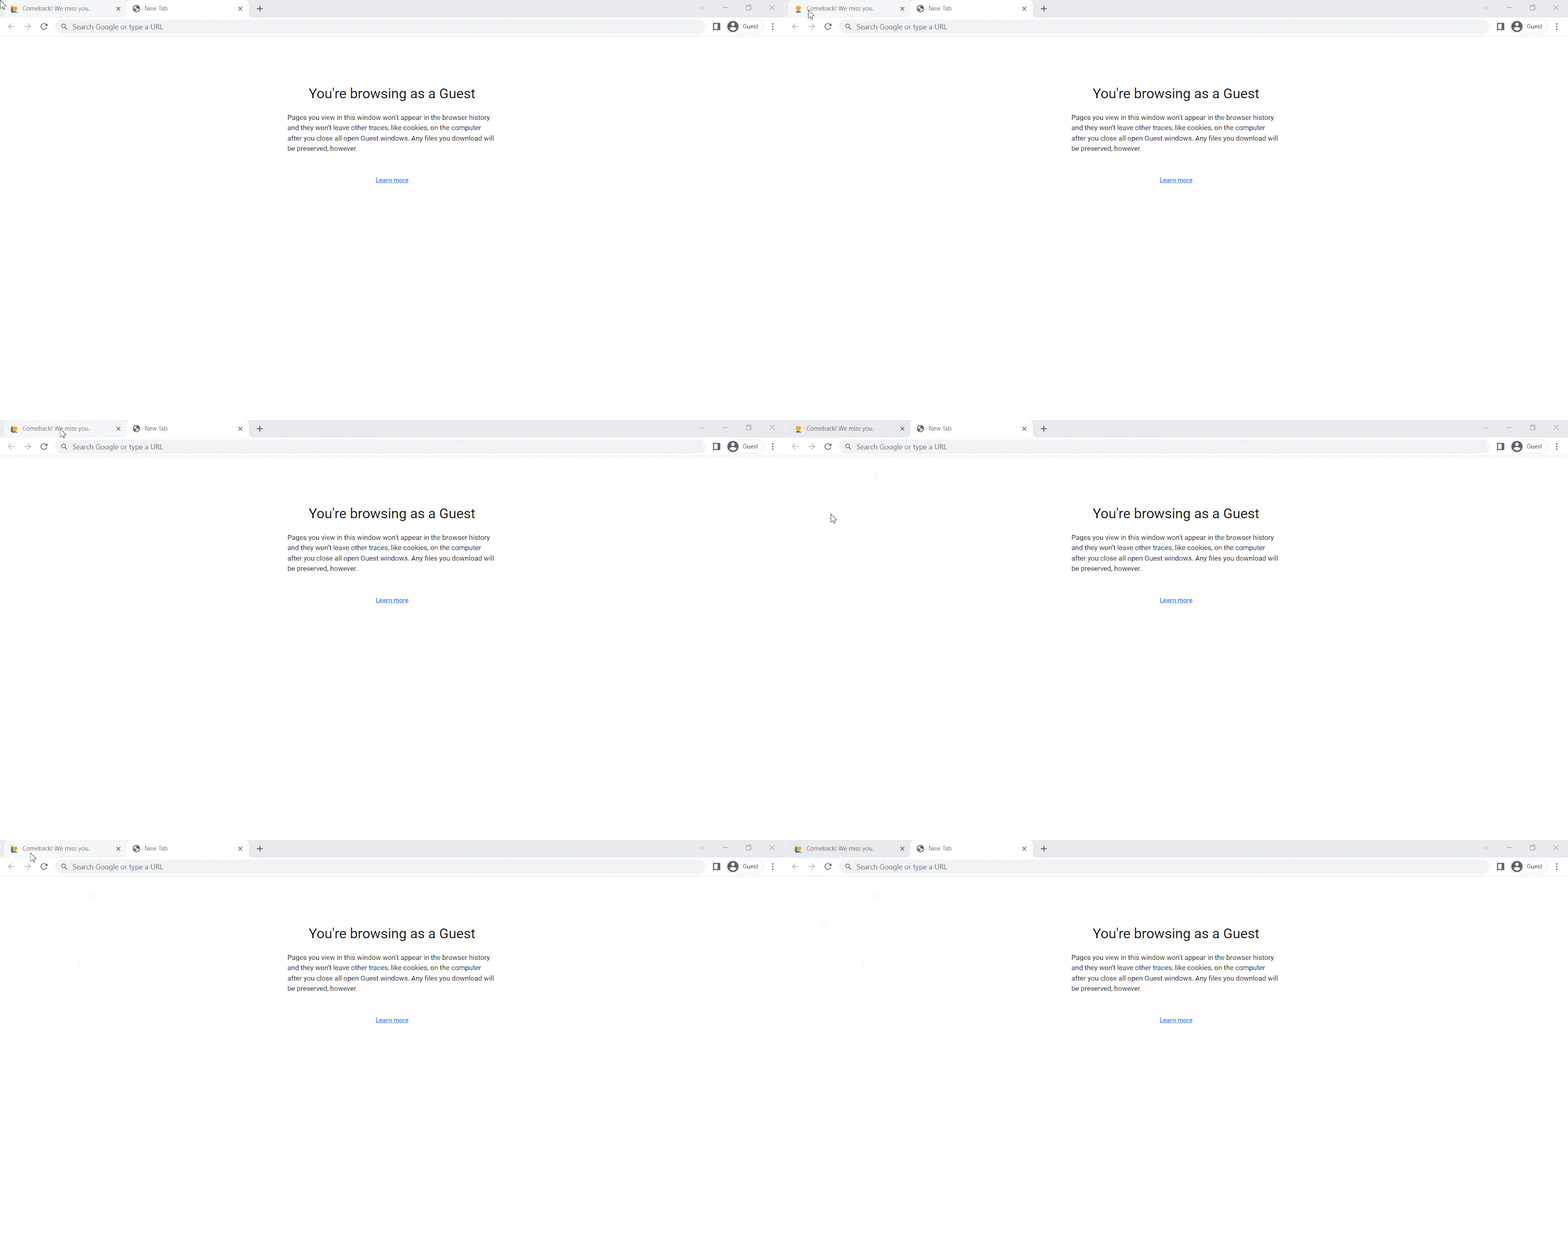
NotificationX PRO offers a seamless solution for configuring Flashing Tab alerts on your WordPress site. With this blinking tab feature, you can effectively re-engage users who have moved to a different website or browser tab. By incorporating compelling and personalized messages and emojis within your site’s title you can give the user a proper reason to return.
By following the steps outlined below, you’ll be able to effortlessly configure flashing tab alerts using NotificationX PRO and make the most of this advanced, premium feature.
*Note: Make sure you’ve installed and activated NotificationX PRO to use this premium feature.
Configure Flashing Tab Alerts With NotificationX #
Now follow these steps below to easily configure flashing tab alerts using NotificationX PRO, and get your site abandoners back with ease without writing a single line of code.
Step 1: Go To the ‘Settings’ From Dashboard #
Once you complete the installation of NotificationX free and PRO, go to your WordPress dashboard & navigate to NotificationX → Settings. Then, turn on the ‘Flashing Tab’ toggle & click on ‘Save Settings.’

Step 2: Go To The ‘Add New’ From Dashboard #
Now, you have to add and configure the alert from the dashboard. Navigate to NotificationX → Add New, and click on ‘Flashing Tabs’ from the source tab. Once you choose this, your source will automatically be set as ‘Flashig Tabs.’

Step 3: Choose Your Preferred Theme To Create The Flashing Tab Alerts #
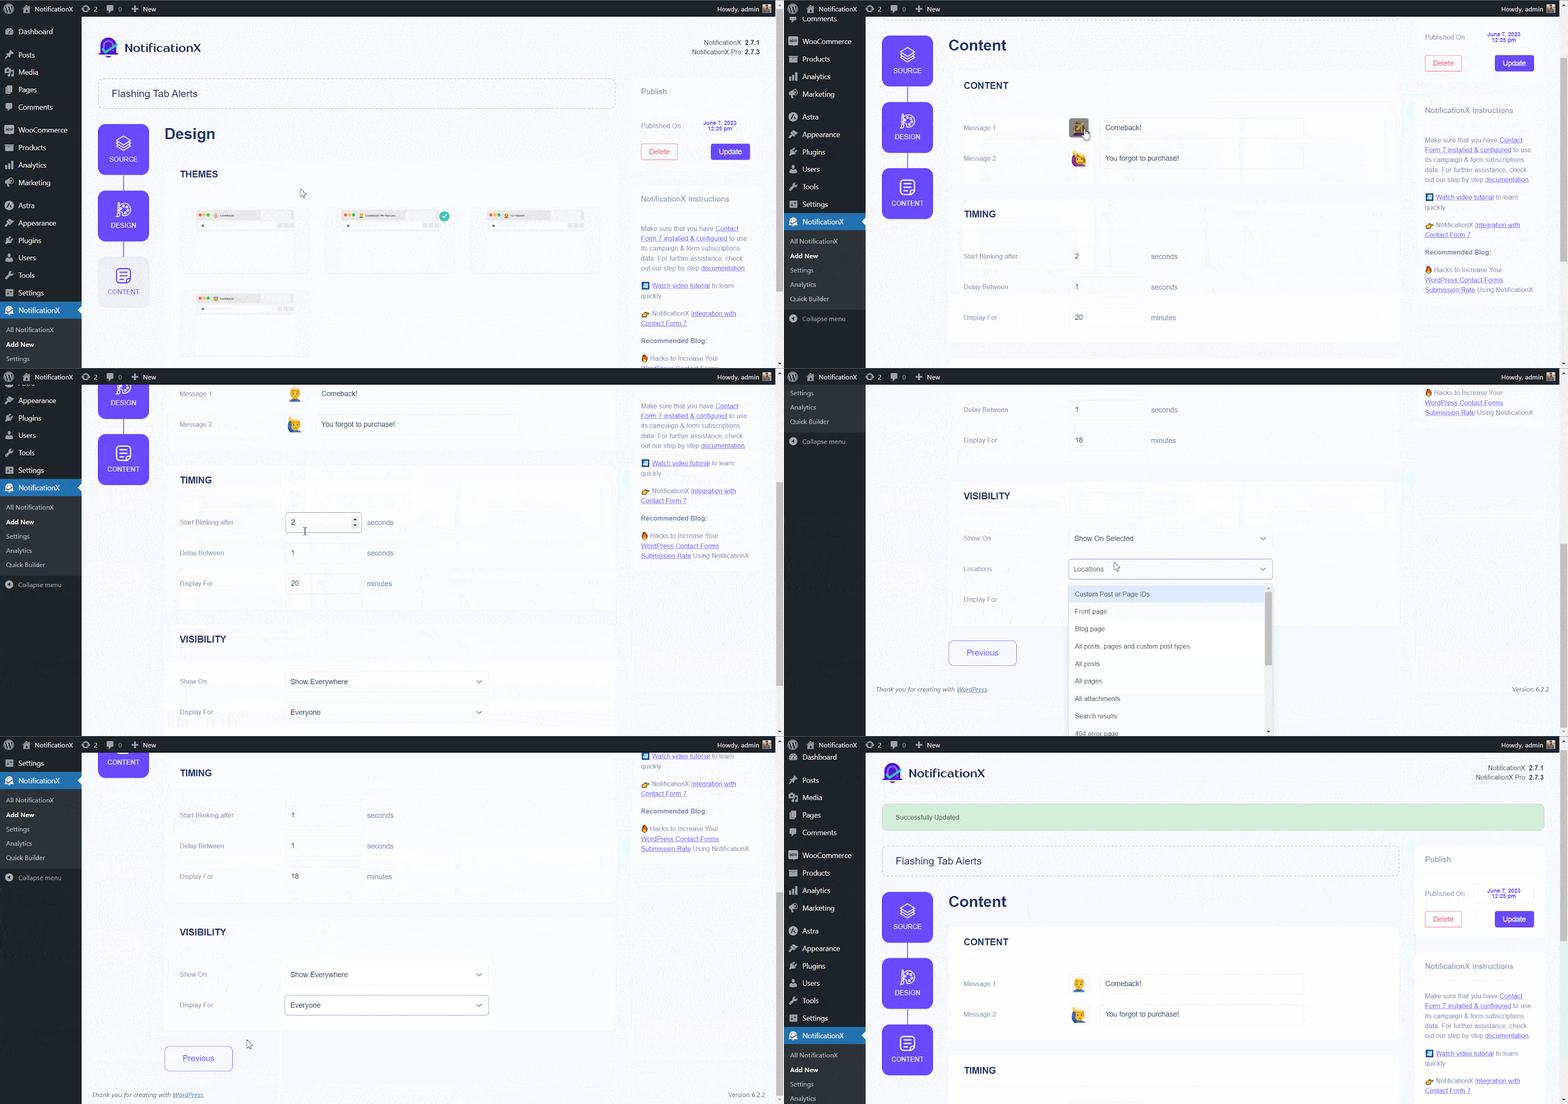
في ال 'تصميم' tab, you’ll get 4 separate themes to choose from. The first two themes have been developed to help you call visitors back to your site, while the last two are built specifically to help attract website visitors back to WooCommerce store pages. Let’s dive deep to see how these flashing tab alerts work.
i. Call Your Site Visitors Back With Flashing Tab Alerts #
من 'تصميم' section, choose any of the first two designs. That will lead you to the 'المحتوى' section from where you can set your flashing tab alert Icons, Message, Timing & Visibility fields.
في ال ‘Timing’ section, set your ‘Start Blinking after’, ‘Delay Between’، و ‘Display For’ time as you prefer.
And from the "الرؤية" section, you can configure the audience limit of your flashing tab alerts.

Once you’re done filling in all the requirements, click on 'ينشر' from the top right corner. Let’s see how the final outcome of flashing tab alerts looks.

ii. Re-engage Those Who Forgot To Purchase With Flashing Tab Alerts #
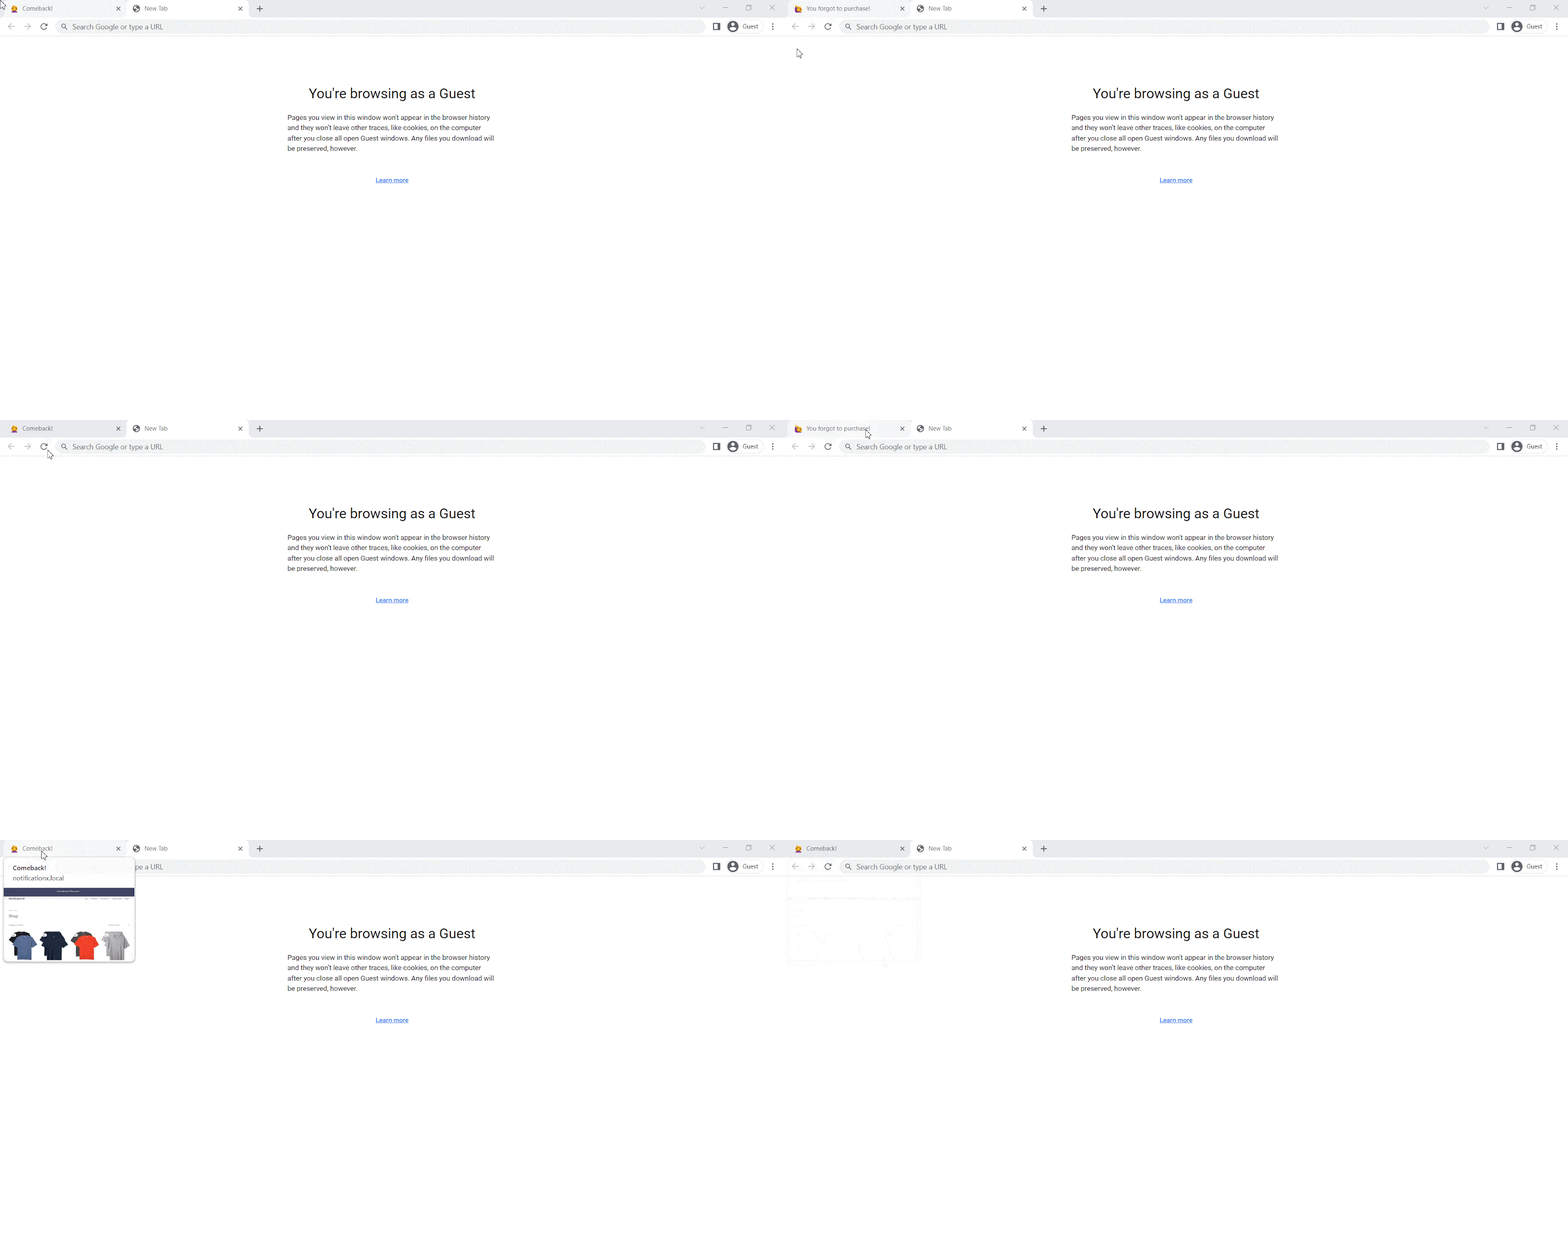
To remind your WooCommerce visitors who paid a visit to your store, and added items to the cart but forgot to purchase, flashing tab alerts is the solution. To do so, pick the third theme from the 'تصميم' الجزء.
Set your content, timing, and visibility like before, and click on ‘Publish.’

Below is the result, when you configure flashing tab alerts for your WooCommerce store using NotificationX.

iii. Remind Visitors How Many Items Are In The Cart #
To configure this flashing tab alerts using NotificationX, select the fourth theme from the 'تصميم' section. Set all things as you did above for other tab alerts. To remind you again, navigate to NotificationX → Add New.
Now, set your source ‘Flasing Tabs’, pick the last theme from 'تصميم', fill up the ‘Content’, ‘Timing’, and ‘Visibility’ section as you prefer, and click on ‘Publish.’

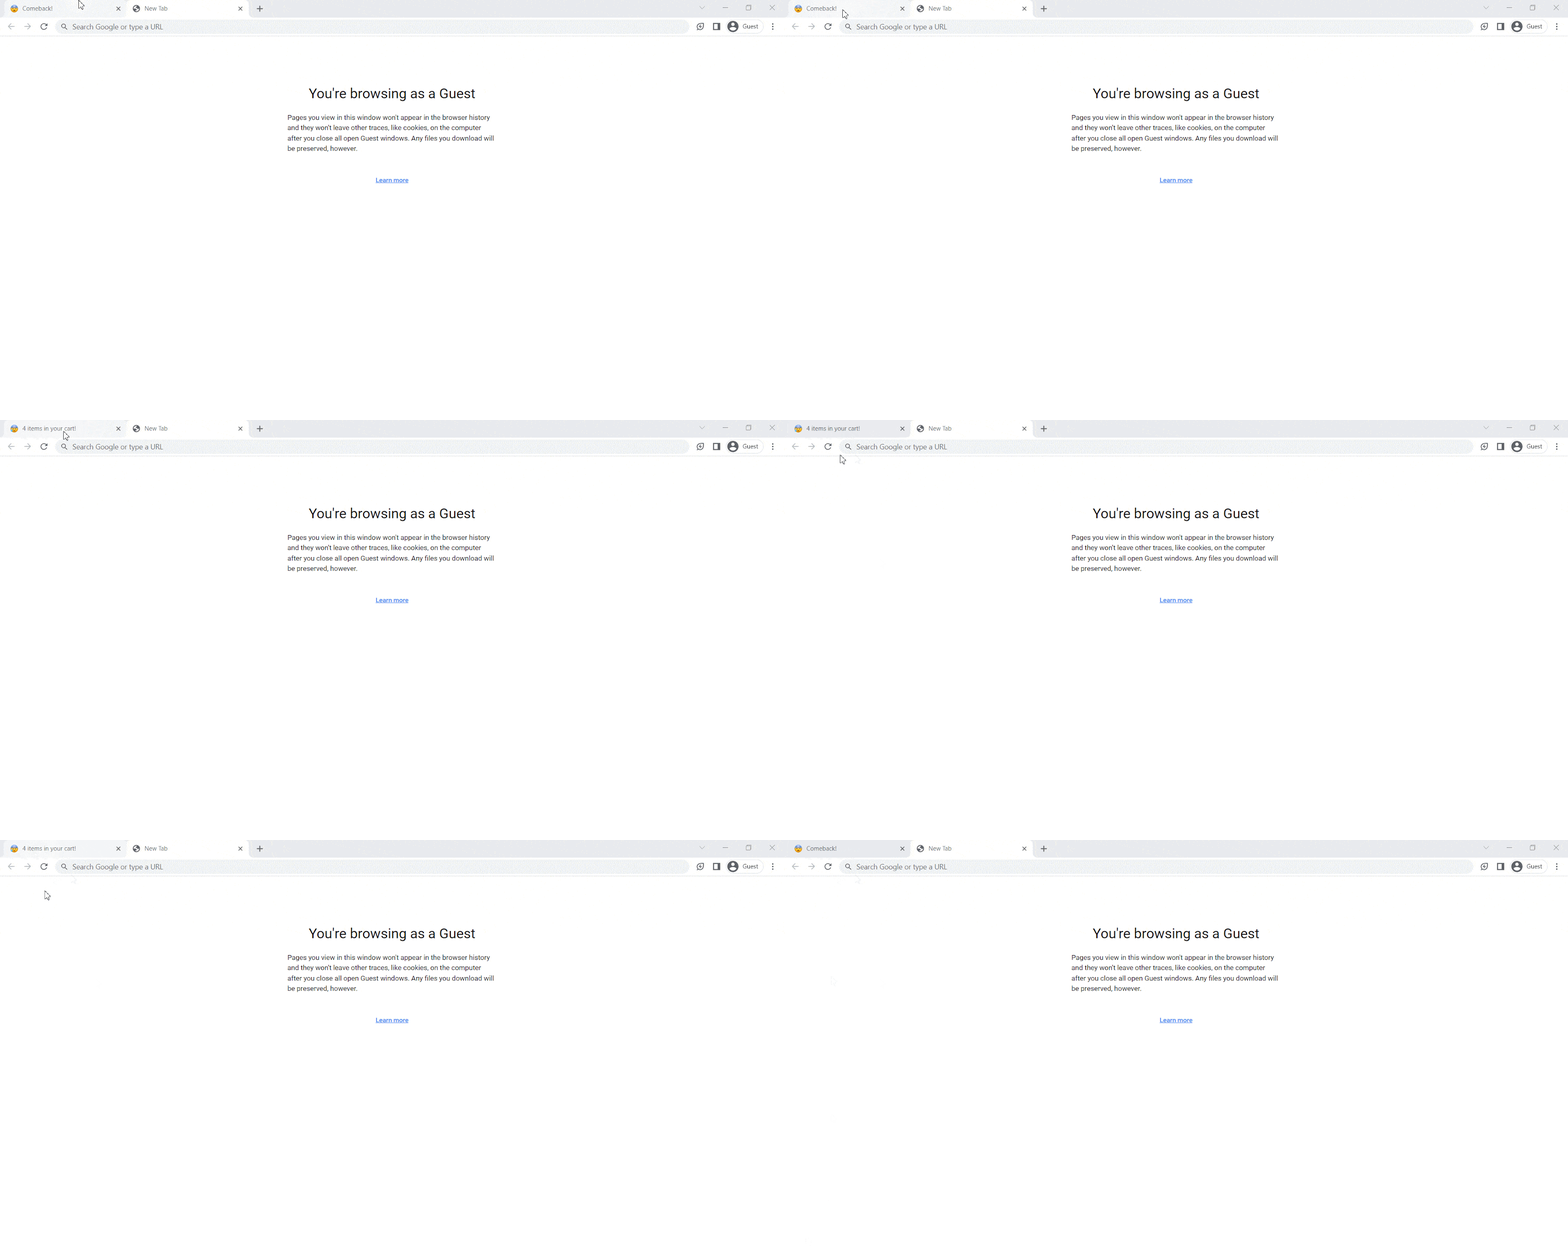
And you’re done! From now, when your store visitor left your store tab, a flashing text with emoji blinks with the number of items in the cart. Here’s what the result will look like.
By following these mentioned steps and a bit more modifying, this is how you can configure flashing tab alerts using NotificationX.
If you face any issues or need any further assistance, feel free to اتصل بفريق الدعم لدينا.


